Modeling Amps On Stage: Gigging With An Amp Modeler
 3,4 / 5,0 |
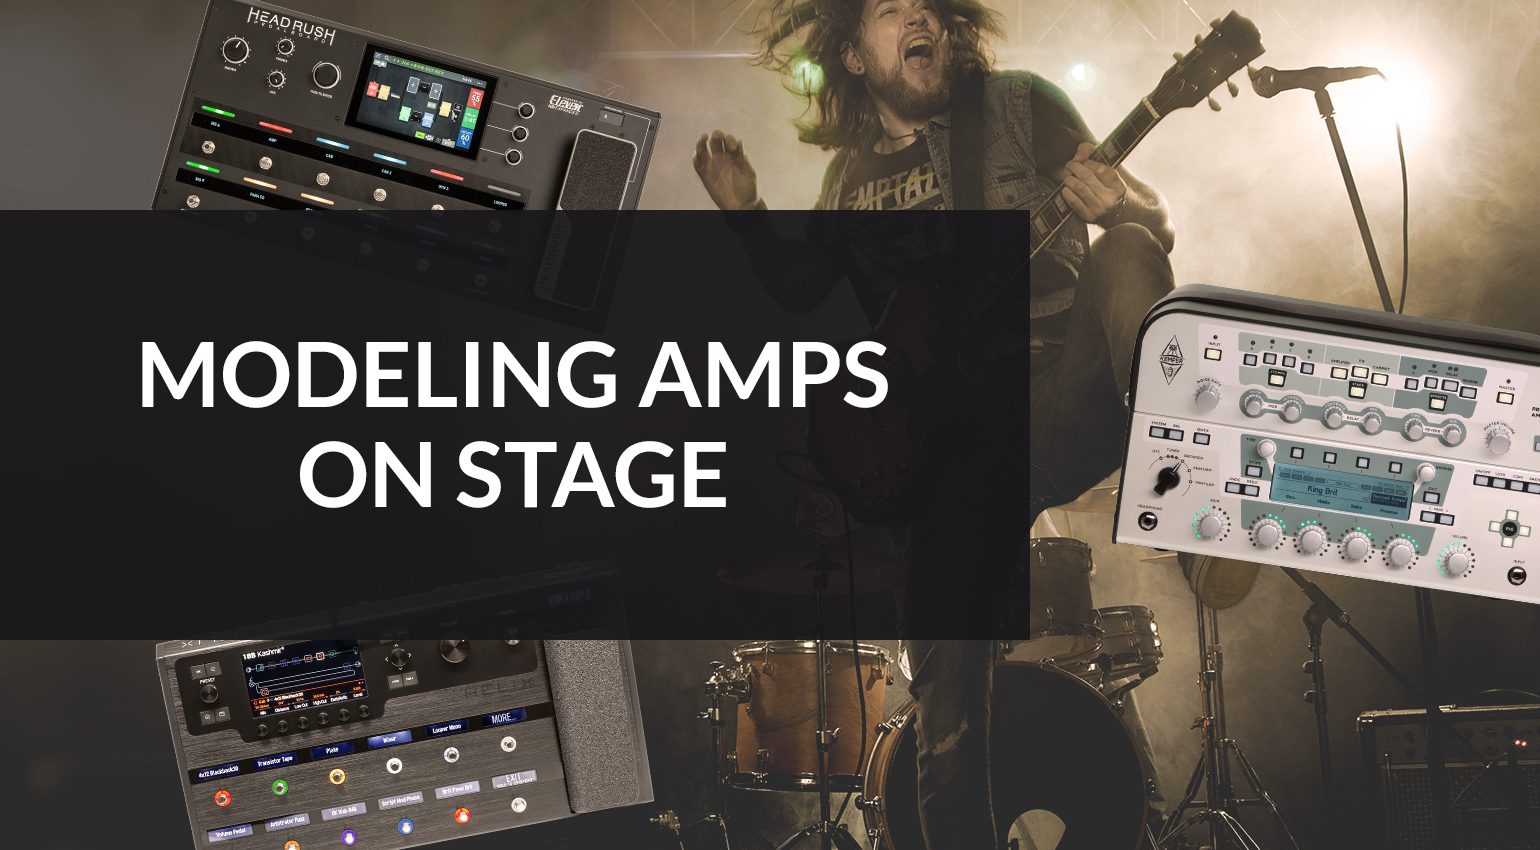
Modeling Amps On Stage: Gigging With An Amp Modeler · Source: shutterstock; Roman Voloshyn

After revolutionizing the way we record guitar, modeling amps have also made their way onto the stage in recent years. From large tour productions to local cover bands, gigging with amp modelers is clearly on the rise. In fact, chances are that the massive wall of cabinets your favorite band likes to show off on stage isn’t actually making any sound, while the guitar sound is coming from a digital box. Join us as we take a look at the advantages, disadvantages, and common pitfalls of using modeling amps on stage.
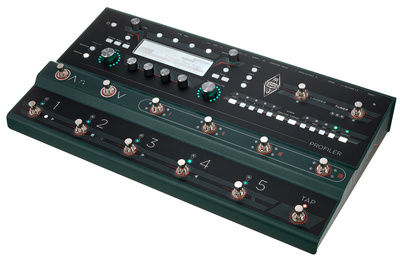
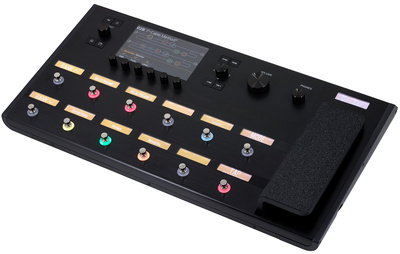
The main advantage of gigging with a Line 6 Helix, Axe-Fx AX-8, Headrush Pedalboard, or Kemper Profiler, for example, is obvious: It saves you (or your roadie) the hassle of lugging around, setting up and maintaining a massive amp and speaker rig. What’s more, the FOH engineer always gets the same reliable signal. Most modern all-in-one guitar processors provide both amp and speaker modeling as well as effects, which makes them complete standalone solutions for your guitar sound. However, there are a few things to consider to make sure that nothing goes wrong on stage. We’ve put together some tips for successfully using modeling amps on stage.
Modeling Amps on Stage: Mono or Stereo into the PA?
The FOH engineer should receive your complete guitar signal including the speaker simulation. Although most amp modelers can output a stereo signal, many bands and engineers prefer to use a mono feed for live applications. This means that you need to make sure that your sounds are mono-compatible. Be especially careful when it comes to sounds with stereo delay effects – it’s best to use them rather sparingly.
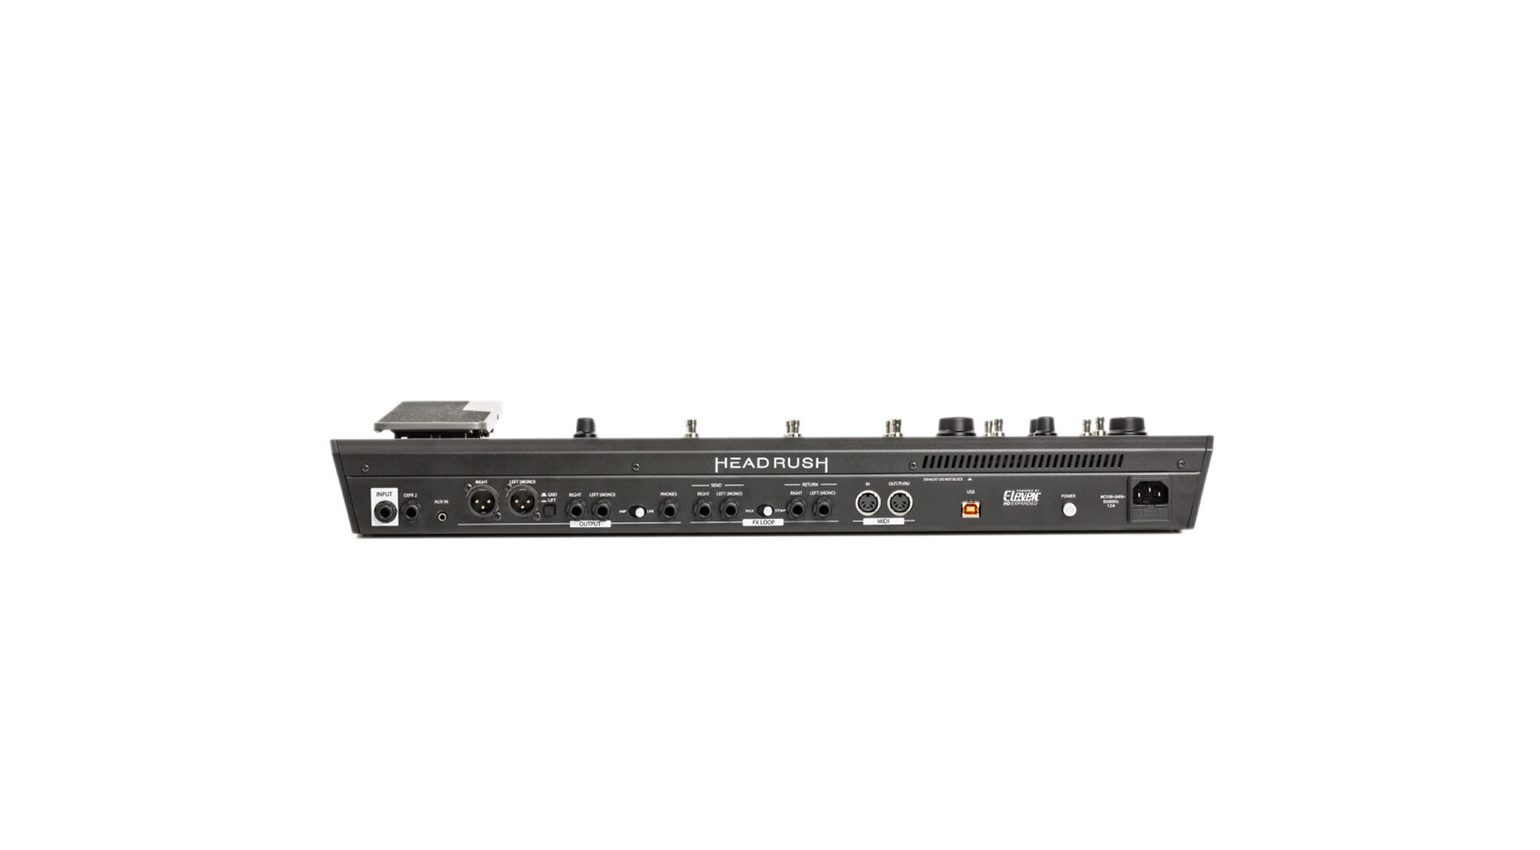
Rear connections of a Headrush Pedalboard · Source: Bonedo
XLR Output and DI Box
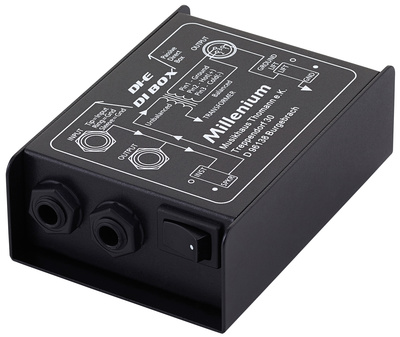
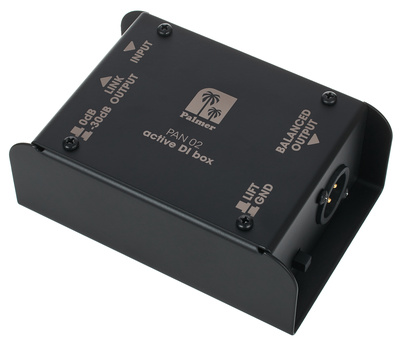
As the cable runs can be very long, using a modeling amp on stage requires a balanced connection. If your modeler doesn’t have a balanced XLR output, you’ll need a DI box. Most of the time, these will be supplied by the sound crew, but it doesn’t hurt to have one in your bag.


-
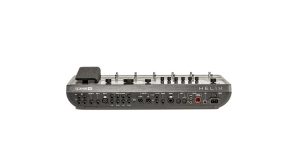
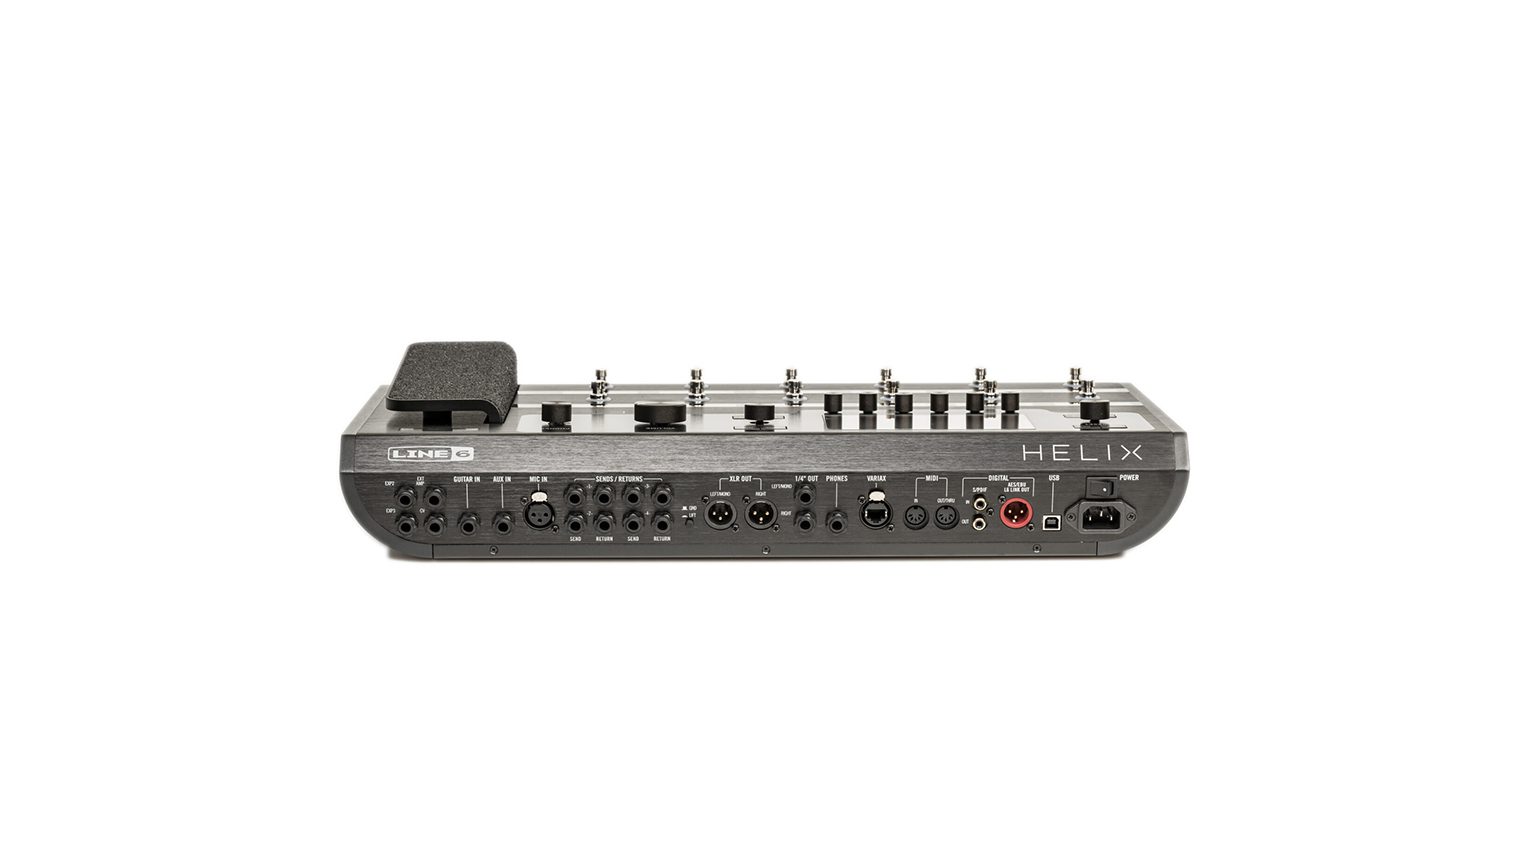
- Rear Connectors of a Line6 Helix · Source: Bonedo
-
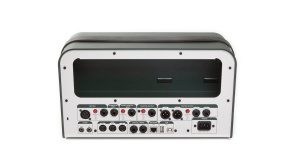
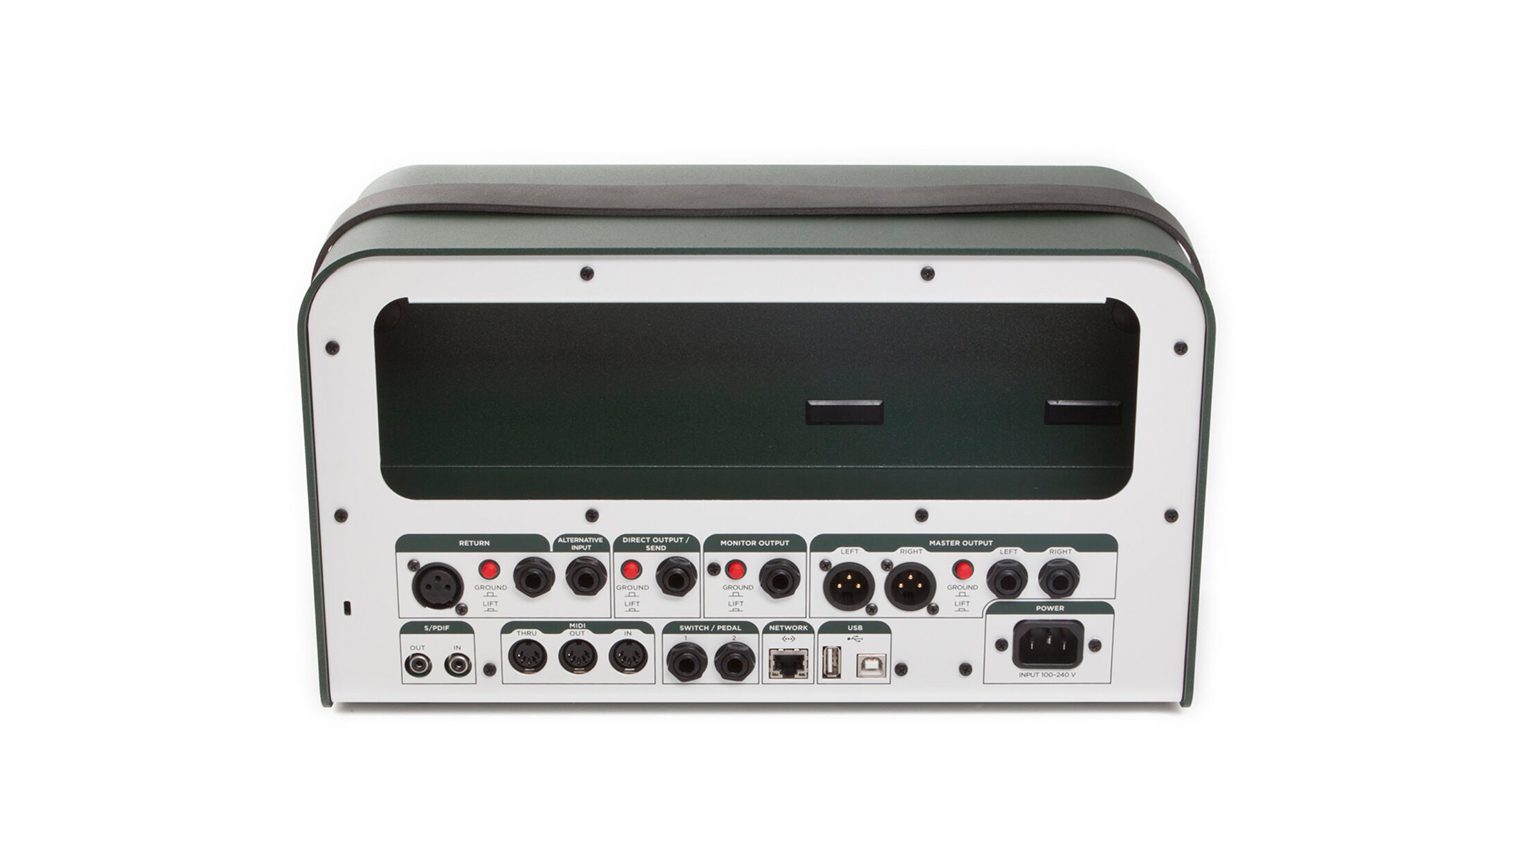
- Rear Panel of a Kemper Profiling Amp · Source: Bonedo
Monitoring a Modeling Amp on Stage
Monitoring is one of the most important considerations when it comes to using a modeling amp on stage. In contrast to the classic setup with a guitar amp and cabinet, an amp modeler gives you a choice of several different methods.
In-ear Monitoring
One of the biggest advantages of amp modelers is that they produce no noise. These days, many FOH engineers and production crews tend to prefer a low volume level on stage. If the stage is quiet, the PA doesn’t have to fight against the sound mush coming from the monitors and cabinets. This makes it much easier to create a good-sounding FOH mix.
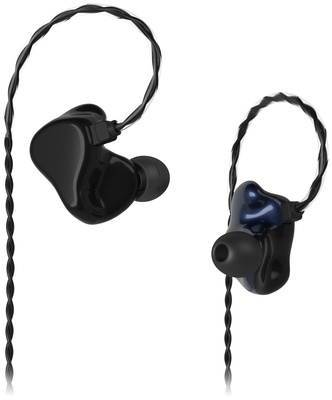
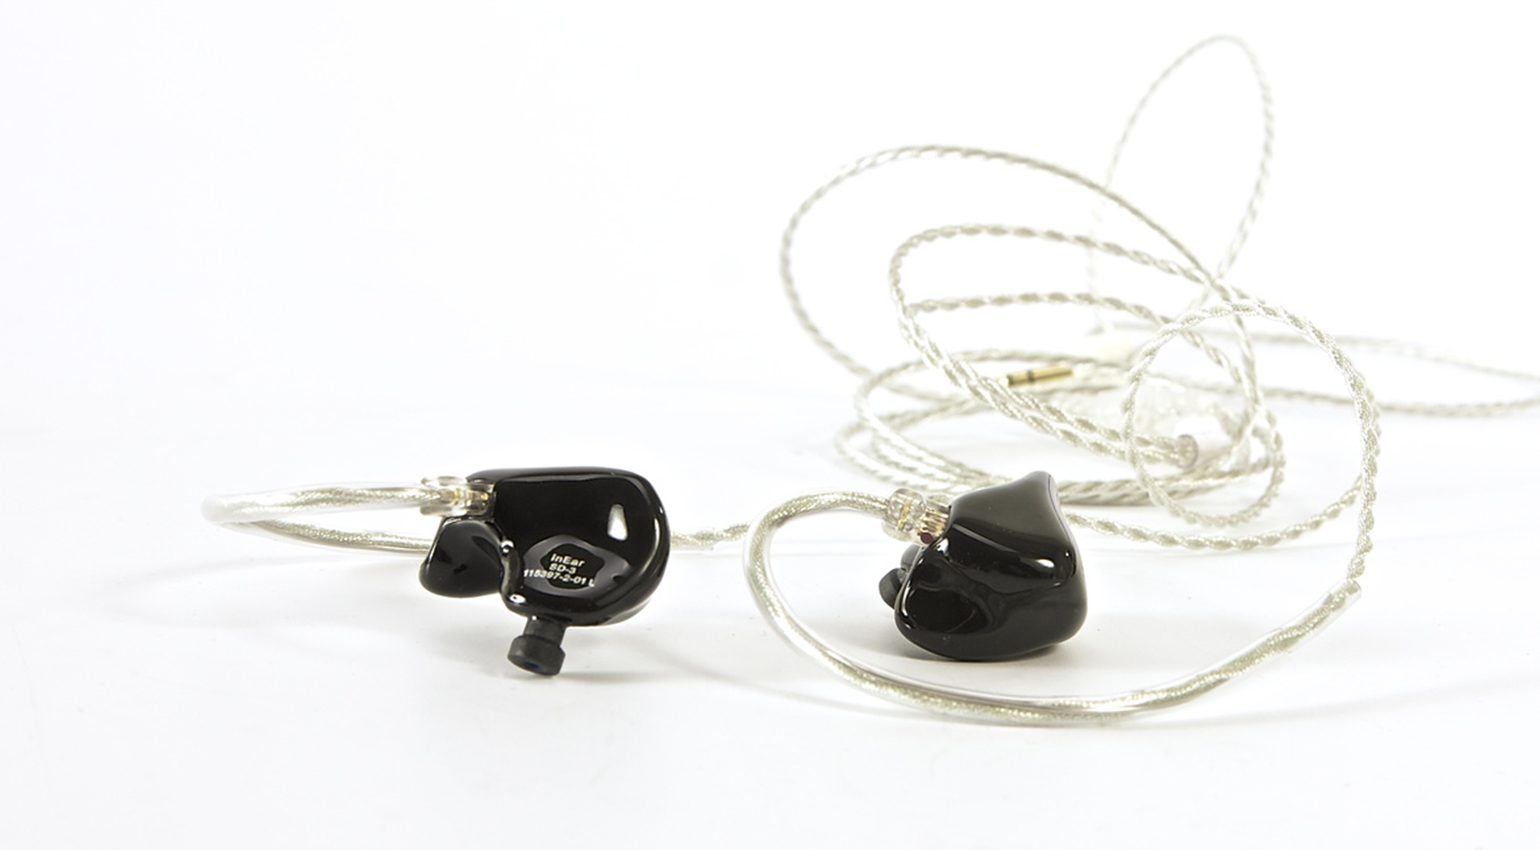
In-ear monitoring has all but replaced floor monitors in most major productions, and even in many clubs. When you combine it with a modeling amp, you basically don’t need a guitar cabinet on stage at all. The only problem is: there’s no direct interaction between the guitar and the speaker anymore. This is why it can take a while to get used to playing with in-ears and amp modelers as a guitarist. Choosing the right earphones is also very important. They must have sufficient mids and should be tested in advance, preferably with the modeling amp you’ll be using.

-
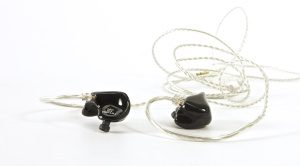
- InEar StageDiver 3 · Source: Bonedo
-
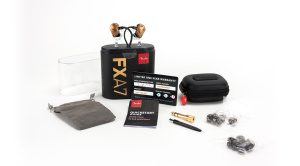
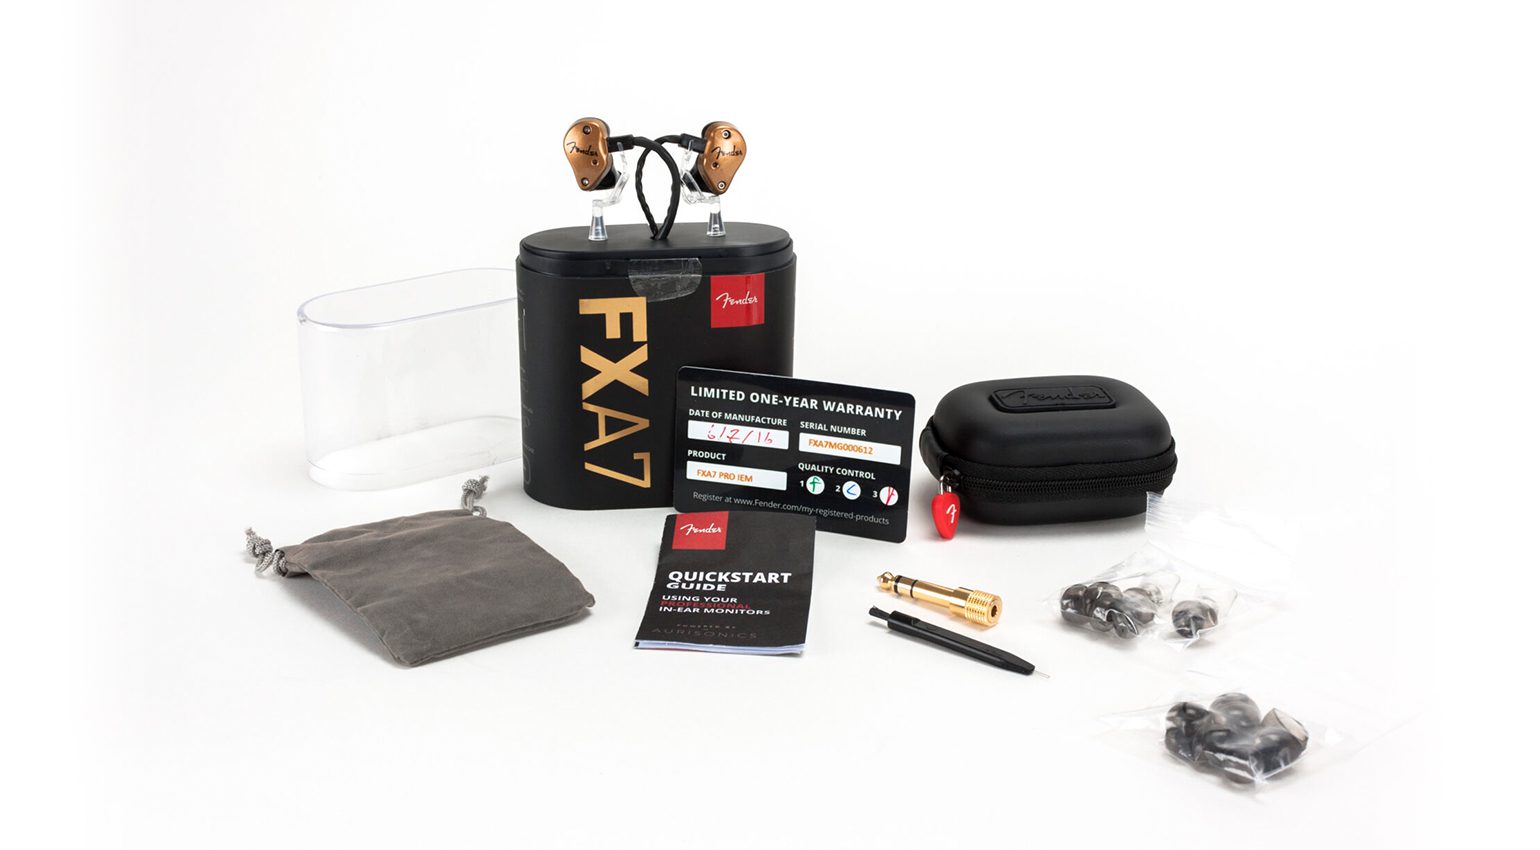
- Fender FXA7 Pro Gold · Source: Bonedo
Modeling Amps on Stage: Guitar Cabinet
Most of you are probably used to direct sound from a speaker cabinet. Guitar cabinets, however, have a limited frequency response, with most speakers topping out at about 5 kHz. Because these types of speakers have great punch on stage, many guitarists also like to run their modeling amp through conventional guitar cabs, along with a (tube) power amp.
However, there are a few things to consider when doing this. In this case, the amp modeler’s speaker simulation should be disabled. This means that the amp modeler must be able to output a separate signal without speaker simulation for monitoring. Turning off the speaker simulation altogether makes no sense, because you clearly want it in the main feed that goes to the PA.
The catch with this setup is that you won’t be able to hear any speaker simulations you may have programmed on your modeler on stage. Another disadvantage of monitoring through a guitar cabinet applies to acoustic guitars: Because of the speaker’s limited frequency response, the crisp highs and harmonics that are essential components of the acoustic sound will be missing.

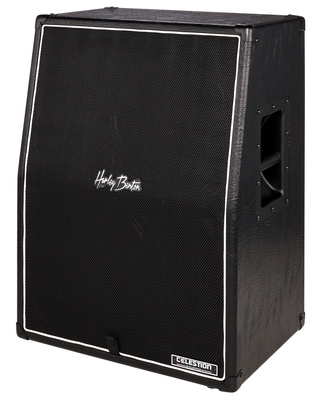
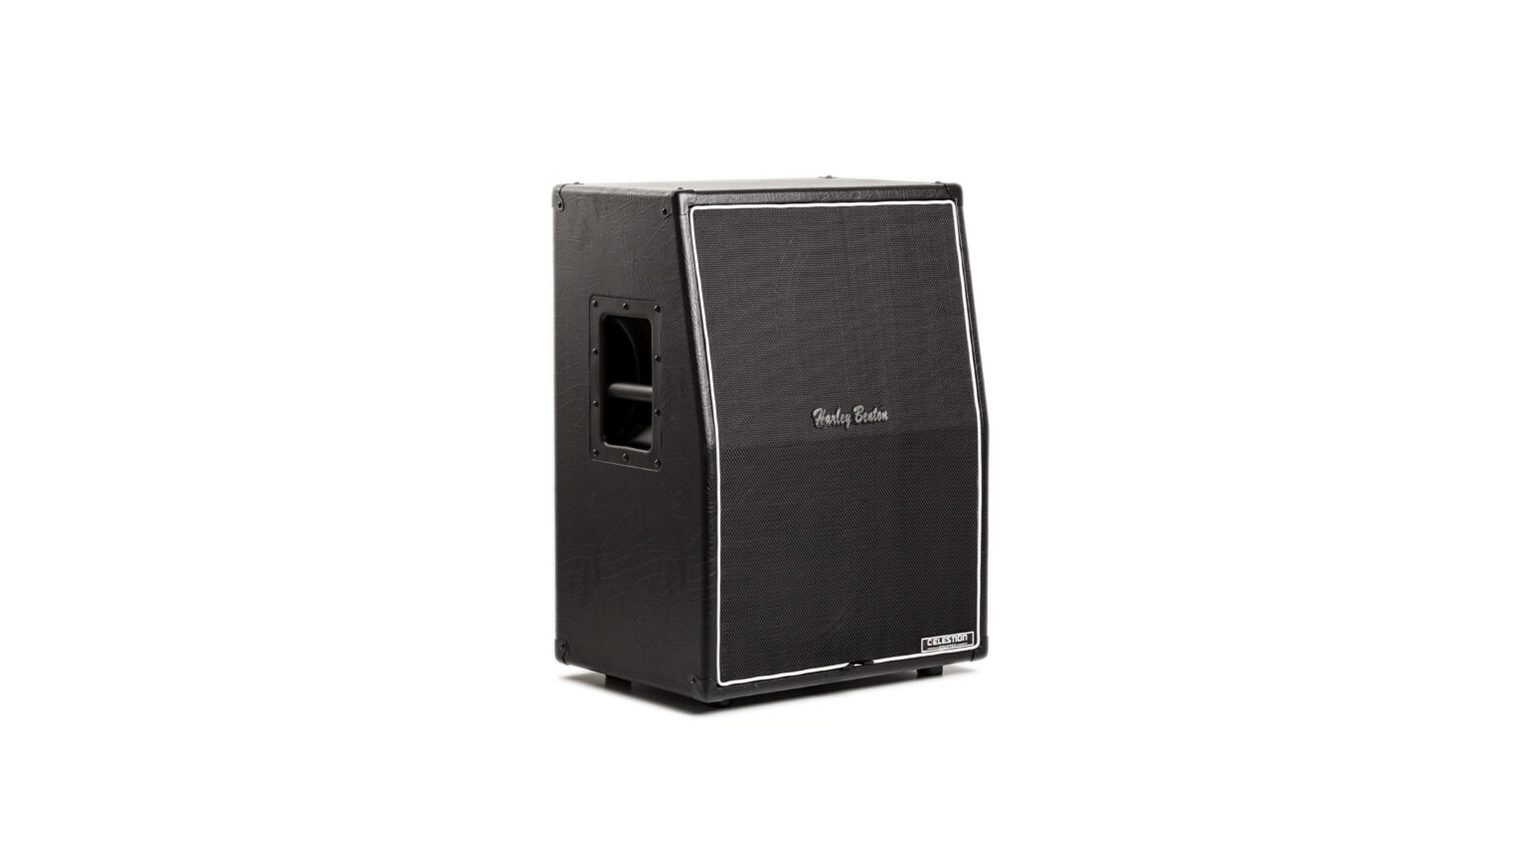
Harley Benton G212 Vintage Vertical · Source: Bonedo
Modeling Amps on Stage: Monitoring through a Full-range Speaker
Apart from in-ears, a full-range speaker is probably the best solution for monitoring, because the signal you hear is identical to the one that goes to the PA – including the speaker simulation. These active speaker systems have a wide frequency range, which means that even your acoustic will sound like it’s supposed to.
However, we guitarists are notoriously picky about our mids and highs. Some speakers have a pretty underwhelming midrange, which happens to be the range that is most important for an assertive electric guitar sound on stage. Therefore, it’s best to choose a speaker with a linear frequency response. These are now often labeled with the unofficial designation “FRFR” (Full Range Flat Response).
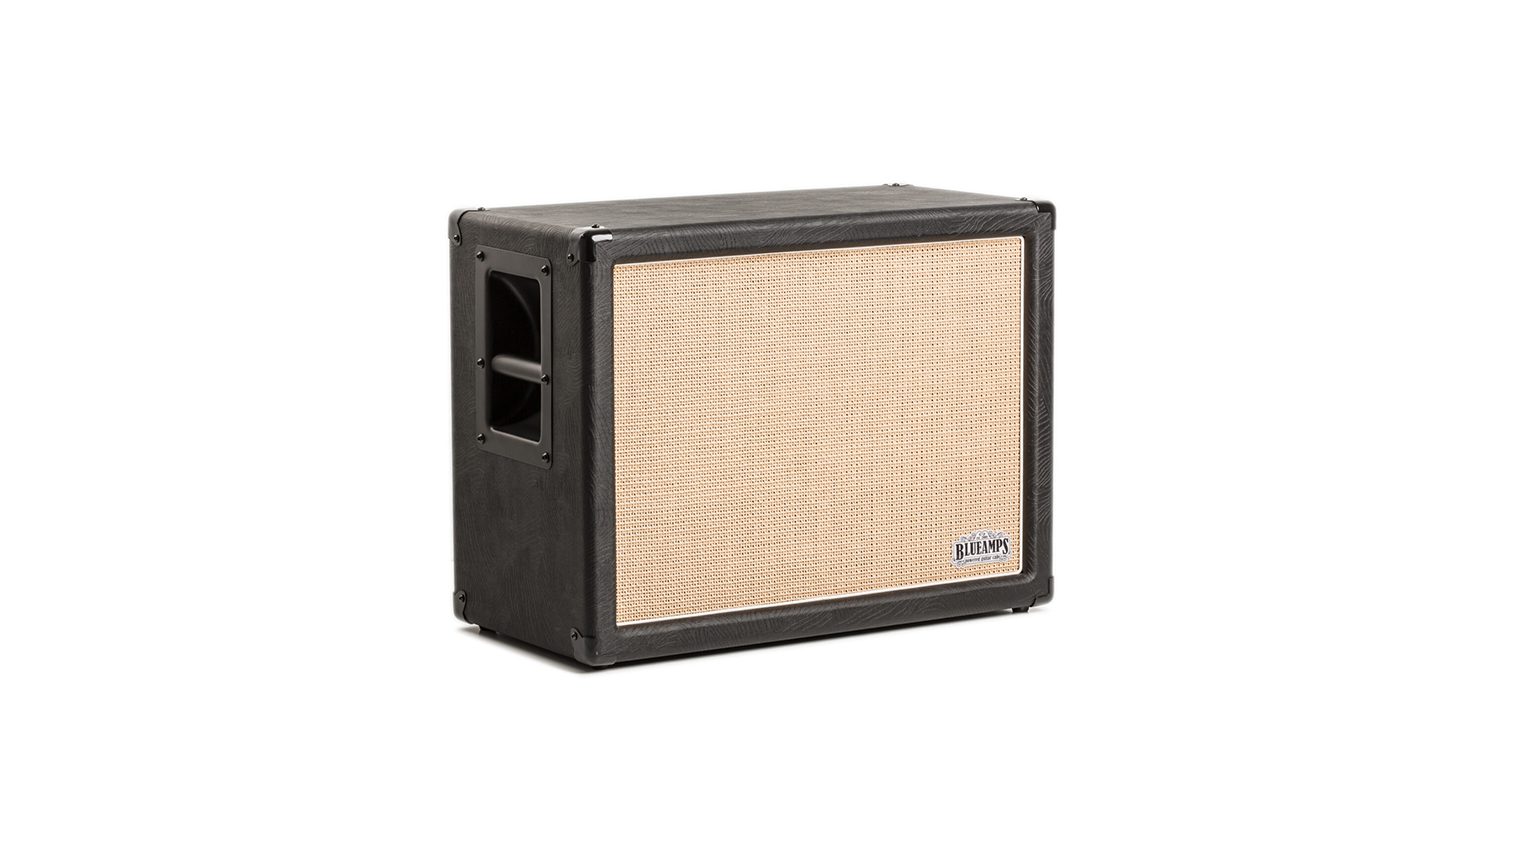
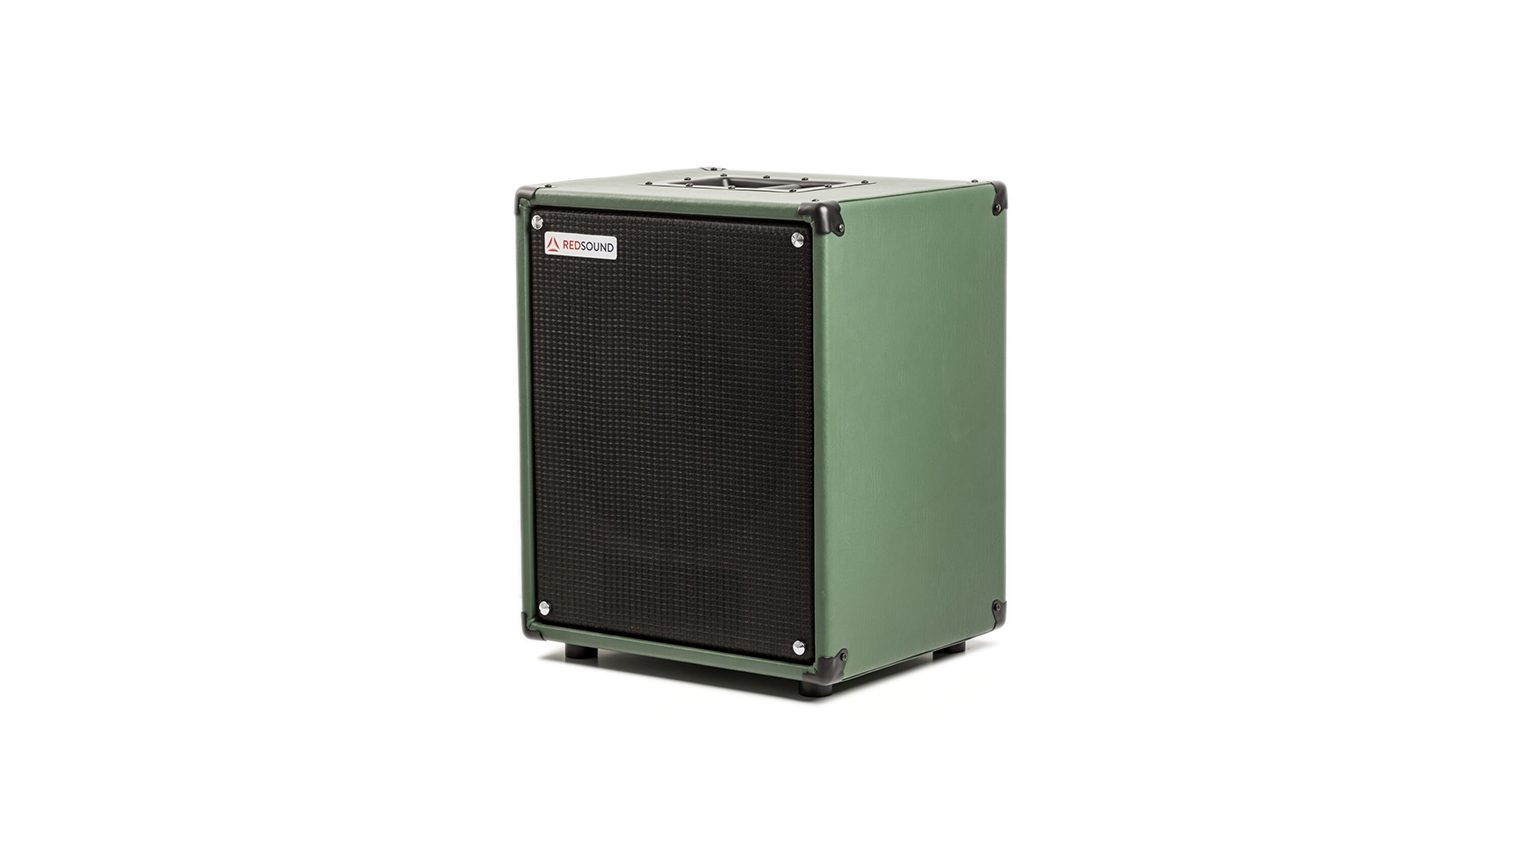
As mentioned earlier, many standard PA and monitor speakers tend to underexpose our beloved warm mids, which in turn makes the highs sound harsh. While this can work with modern high-gain sounds, it can completely ruin warmer vintage tones. If this happens, it’s easy to place blame on the amp modeler, accusing it of “digital highs”. However, the culprit is more likely the quality and frequency response of the speaker cabinet. Some manufacturers such as Redsound or BlueAmps have addressed this issue and offer active full-range speakers specifically for use with amp modelers.
-
- BlueAmps Spark · Source: Bonedo
-

- RedSound RS-LG12 · Source: Bonedo
Modeling Amps on Stage: Sound Programming
Frequency Response and Volume
For use on stage, you should set up your amp modeling sounds a little differently than in the studio. In a studio production, even a thin and brittle guitar sound can be just right, because it needs to work in the mix – and studio mixes obviously tend to be much more intricate than live mixes. On stage, however, you should be a bit more selfish and program your sounds so that they make themselves heard.
It’s best to use a set of good (linear) reference speakers for sound programming. You can use studio monitors or a PA, but preferably not earphones or guitar speakers. Be careful with the lows, because they can clash with the bass drum and bass – give your colleagues some space. The bass-heavy sound that sounded great at home can quickly turn into muddy mess on stage and the guitar is completely lost as soon as the bass and drums get going.
The mids are the be-all and end-all, that’s where the guitar can really shine. That’s why I recommend using an amp model with a pronounced midrange on stage, even if you took a completely different approach during the studio production.
Be consistent with your sounds
Perhaps most importantly, it’s best to keep it simple. For live use, most of my Kemper Profiler sounds are based on the same amp model, with a few tweaks here and there. The reason for this is the frequency response. If you keep switching between sounds with drastically different frequency profiles, you’ll quickly drive the FOH engineer (and audience) nuts. Remember that the sound engineer has to react to each sound at short notice to get everything under control and deliver a good-sounding mix. If you want to save your FOH person a lot of trouble, then make sure all of your amp models have a uniform or at least similar frequency response.
It’s also a good idea to go easy on the gain. In the volume fight on stage, the first milliseconds are often the deciding factor – much more so than the amount of distortion. At the same volume, a guitar sound with a crisp response and attack will come through better than a high-gain sound with a mushy attack. This can lead to the unfortunate situation that the clean sound appears louder than the distortion channel.
Get your volume levels sorted out
When using a modeling amp on stage, make sure to volume-match your presets. You can’t expect the engineer to always have a hand on the fader; it’s your job to prepare this in advance. The distortion sound should be slightly louder than the clean sounds, and for the lead you can go a bit higher. It’s best to set the levels at stage volume, because this gives you a real idea of how they compare. And be sure to ask the sound engineer for feedback, as they can point out any problems with your volume levels in the band context.
Modeling Amps on Stage: Reverb
Regardless of whether I’m using a traditional amp or a modeler, I’m always very careful with reverb on stage. A touch of small room reverberation (ambience) has served me very well and is now my standard. I put the same reverb on all of my sounds, so that everything sounds consistent. Always keep in mind that the venue itself usually produces a good amount of reverberation. If everyone adds their own reverbs to their sounds, the whole band will inevitably drown in a sea of mud.
The exception, of course, are sounds that use reverb as a distinct effect, such as clattering spring reverb attacks or wide shimmer pads that send your guitar to outer space. It goes without saying that you should let your engineer know in advance it if you plan to use such effects.
Modeling Amps on Stage: Keeping Sounds Organized
The more possibilities or memory you have available, the more complicated it gets. Chances are that you started with a few presets (I only need clean, distorted and lead …), only to find yourself crafting special sounds for each individual song soon after. If that sounds like you, I can only recommend to come up with a good naming system, and stick to it. Trust me: you’ll quickly get to the point where you no longer know what “Preset 15” or “Eddie B” is.
The problem is that it’s incredibly easy to throw your best intentions under the bus, like when you throw together a new lead sound just before the gig and don’t have time to name it on the small display. That’s why it makes sense to go through your sound library at home every once in a while. Give each preset a descriptive name, and while you’re at it, get rid of duplicates and sounds you’re not using anymore. Nothing is worse than spending ten minutes in rehearsal looking for the sound that worked great last week, just because you forgot to name it.
Have your basics ready to go
For jam sessions and all other situations where you just don’t have the time to look for sounds, I recommend creating a “bread-and-butter” bank that provides quick access to four or five essentials. Here’s an example:
- Clean
- Crunch
- Rhythm
- Lead
Line 6 Firehawk FX Editor · Source: Bonedo
In their basic form, all of these sounds should be without additional effects, except for the small reverb mentioned above. If your amp modeler has switches for turning other effects on and off, assign them. I always have a compressor, chorus, phaser, and delay on the switchable effect blocks for my clean sound. For crunch, I like to add some tremolo or vibrato, and for the distorted rhythm sound, I sometimes use phaser and flanger. For leads, I like to use delays. I also like to have a wah assigned and on standby for all sounds, so I have immediate access to it in case I need it.
Modeling Amps on Stage: Don’t forget the Backup!
Finally, I would like to remind you to back up your sounds – both on the device itself and externally. Save duplicates of your favorite sounds and name them accordingly (e.g.: xxx-BU). This way, if you happen to overwrite your best lead sound while hastily programming presets at rehearsal, you’ll have a backup available directly on the device. And it goes without saying that you should also back up your sounds to a computer every now and then. This can really save the day in the unfortunate event your amp modeler breaks or – even worse – gets lost or stolen. The unit can be replaced. Without an external backup, however, your precious sounds could be lost forever.
More about Modeling Amps and Guitar Effects
- Best All-in-One Multi Effects for Guitar
- The Best Modelling Amplifier: Our Top 5 Picks
- 7 Guitar Effects Pedals You Need To Know
Note: This article was originally published in German on bonedo.de.
* This post contains affiliate links and/or widgets. When you buy a product via our affiliate partner, we receive a small commission that helps support what we do. Don’t worry, you pay the same price. Thanks for your support!


This might also interest you