Microphone Gain Explained: How To Set Your Microphone Level
 4,7 / 5,0 |
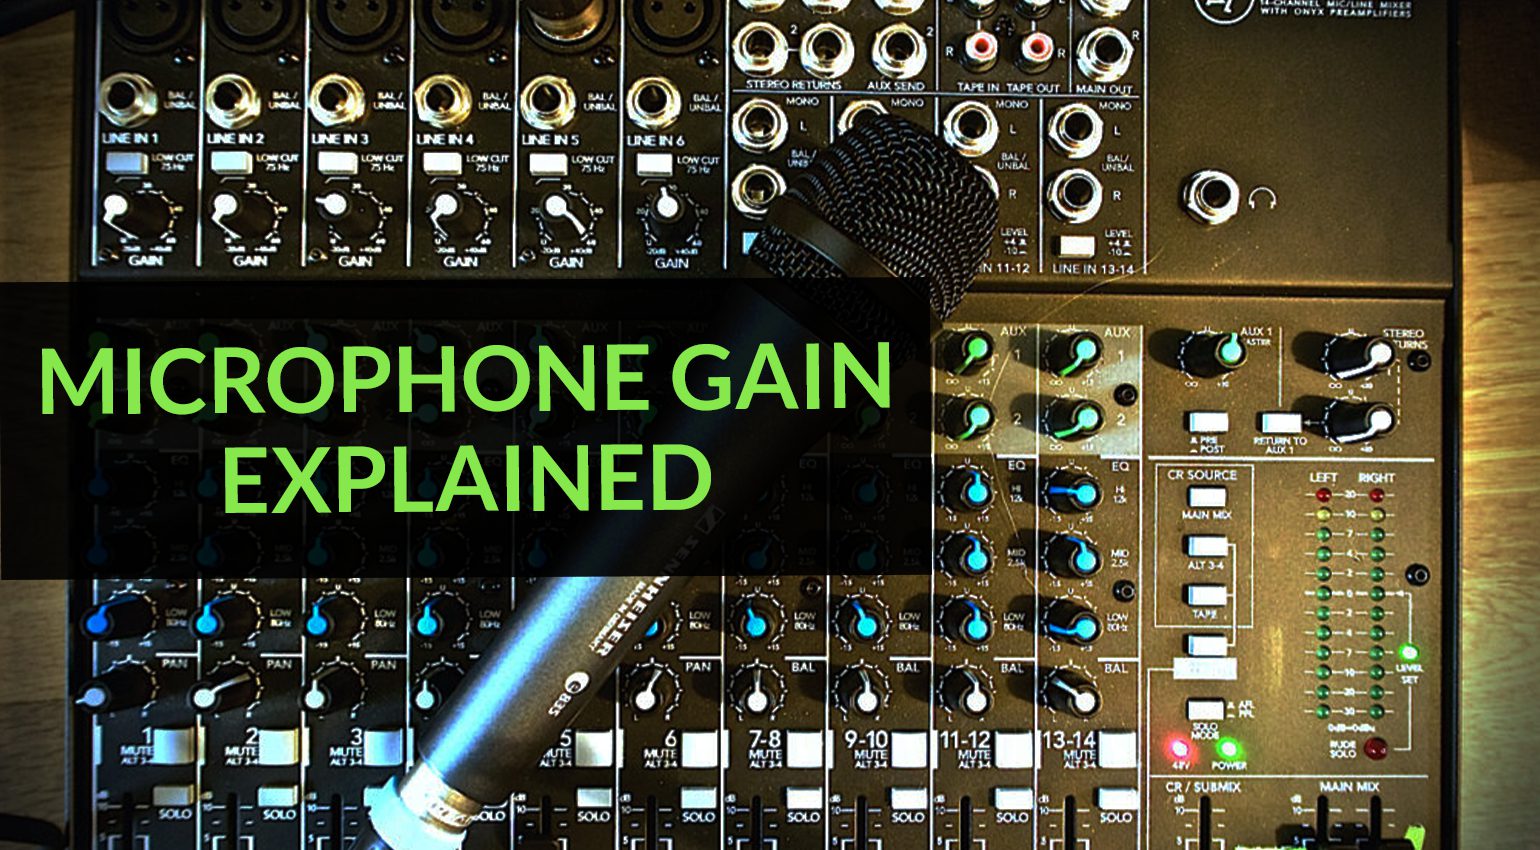

The correct microphone gain setting is essential if you want to get the most out of your microphone and preamp. In this tutorial, we explain how to dial in the right amount of microphone gain on your mixer or audio interface to ensure you get a clean and workable signal while avoiding distortion.
Quick Guide: How to set your microphone gain
- Speak, sing or play the instrument into the microphone at the same volume you’ll be using later during recording.
- Slowly increase the gain.
- For LED level meters: Green should always light up, yellow rarely, red almost never, “clip” never.
- With VU meters, avoid bringing the needle too far into the upper third if possible.
- To be on the safe side with digital systems (computer, digital mixer, etc.), allow for a safety margin by setting the gain a bit lower.
- If possible, listen solo and/or make a test recording and listen to it.
What is microphone gain and why is it important?
Most microphones produce very low output voltages. In order to be further processed by other devices, these must first be amplified by a preamplifier, which is usually found in the microphone input channels of your audio interface or mixer. The amount of amplification is controlled by the gain knob. How much gain is required depends on many factors:
- Volume of the instrument or voice: A classical guitar is quieter than a cranked Marshall amp.
- Distance to the microphone: Sound energy decreases rapidly with increasing distance from the sound source.
- Type of microphone: Dynamic microphones usually have a much lower output level than condenser microphones.
- Microphone settings: Some microphones have settings (PAD, polar pattern, high-pass filter…) that can affect the output level.
There are essentially two mistakes you can make when setting your microphone gain: too much and too little. Both can lead to a variety of problems.
| Gain too low | Gain too high |
|---|---|
| Too much self-noise | Distortion and noise can occur when a signal with insufficient gain is converted to digital |
| Heavy distortion can make the signal unusable | The signal can clip during A/D conversion, rendering it unusable |
It is therefore extremely important to ensure that the microphone gain is never set too high. But it also shouldn’t be too low.
Connecting a microphone: Choosing the right input
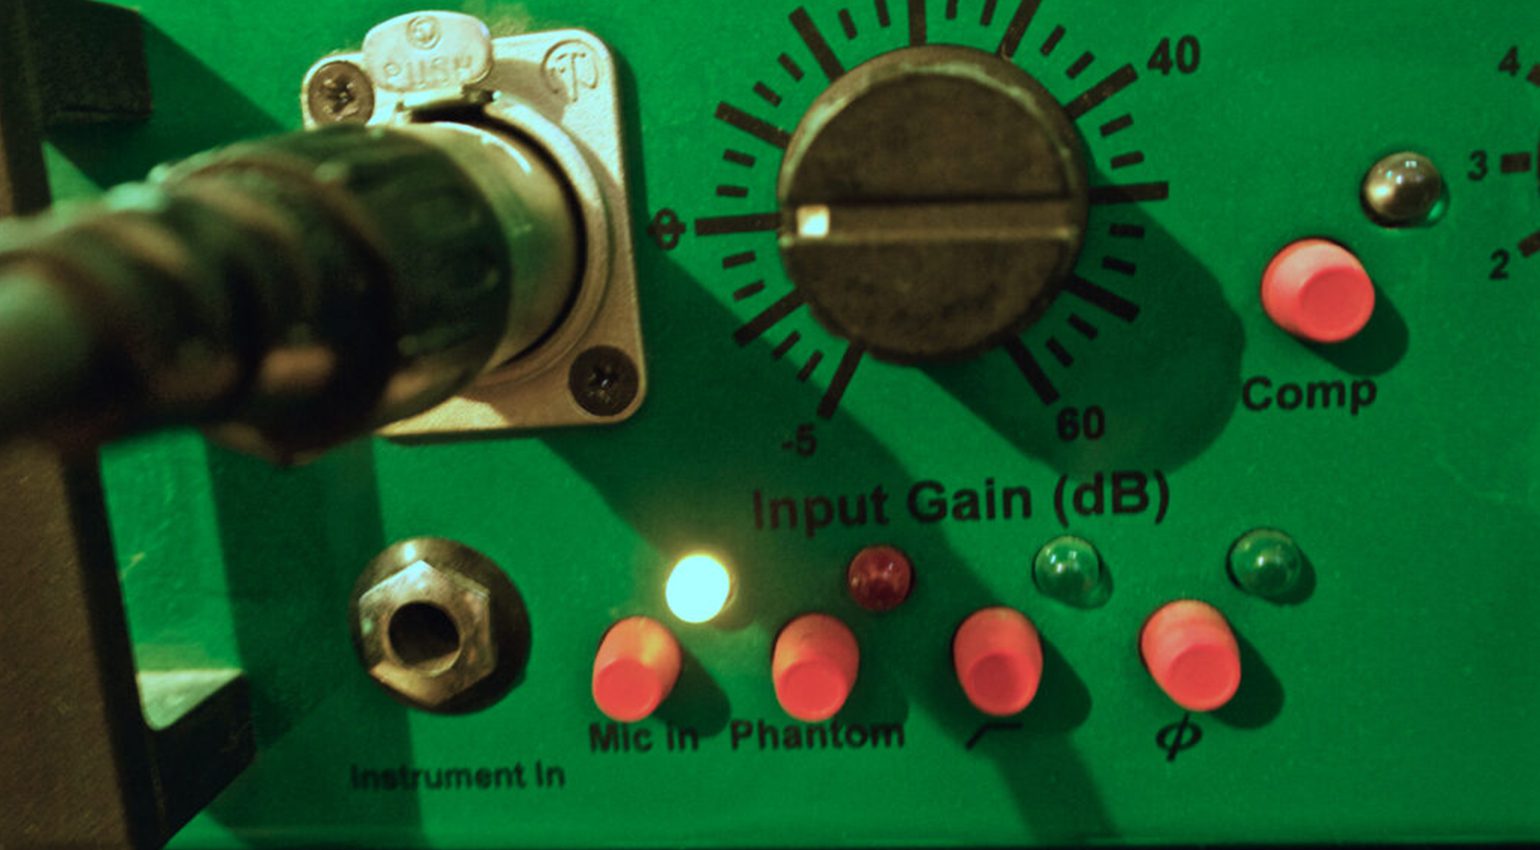
Connecting a microphone isn’t complicated. Nearly all microphones used for home recording, on live stages, and in professional recording studios have XLR outputs. To make the connection, simply run an XLR cable from the “male” XLR output of the microphone to the “female” XLR microphone input on your mixer or interface.
Certain microphones require phantom power to function. This feature supplies an operating voltage (usually 48 volts) to the microphone over the XLR cable. In most cases, it can be activated with a little push of a button on just about any preamp, mixer, or audio interface. You can find out more about how phantom power works here: Phantom Power Explained.
Plug the microphone cable into an XLR mic input of your mixer, preamp or audio interface · Source: Bonedo
Which microphones require phantom power?
This table provides an overview of different types of microphones and their phantom power requirements. There are some exceptions, but they’re very rare and mostly apply to vintage microphones and certain consumer products.
| Microphone type | Phantom power |
|---|---|
| Condenser microphone | Required |
| Tube condenser microphone | Most have dedicated power supplies and don’t require phantom power. |
| Dynamic (moving-coil) microphone | Not required |
| Active ribbon microphone | Required |
| Passive ribbon microphone | Not required |
In many cases, you’ll also find information on the phantom power requirements on the microphone itself. By the way: While passive ribbon microphones don’t require phantom power, it’s a myth that they’re immediately destroyed when it is applied by accident. It’s still best to leave it off, though!
Switch for activating +48 V phantom power · Source: Bonedo
How to set your Microphone Gain
After connecting your microphone to the audio interface or mixer, the next step is to adjust the gain to set the amount of preamplification.
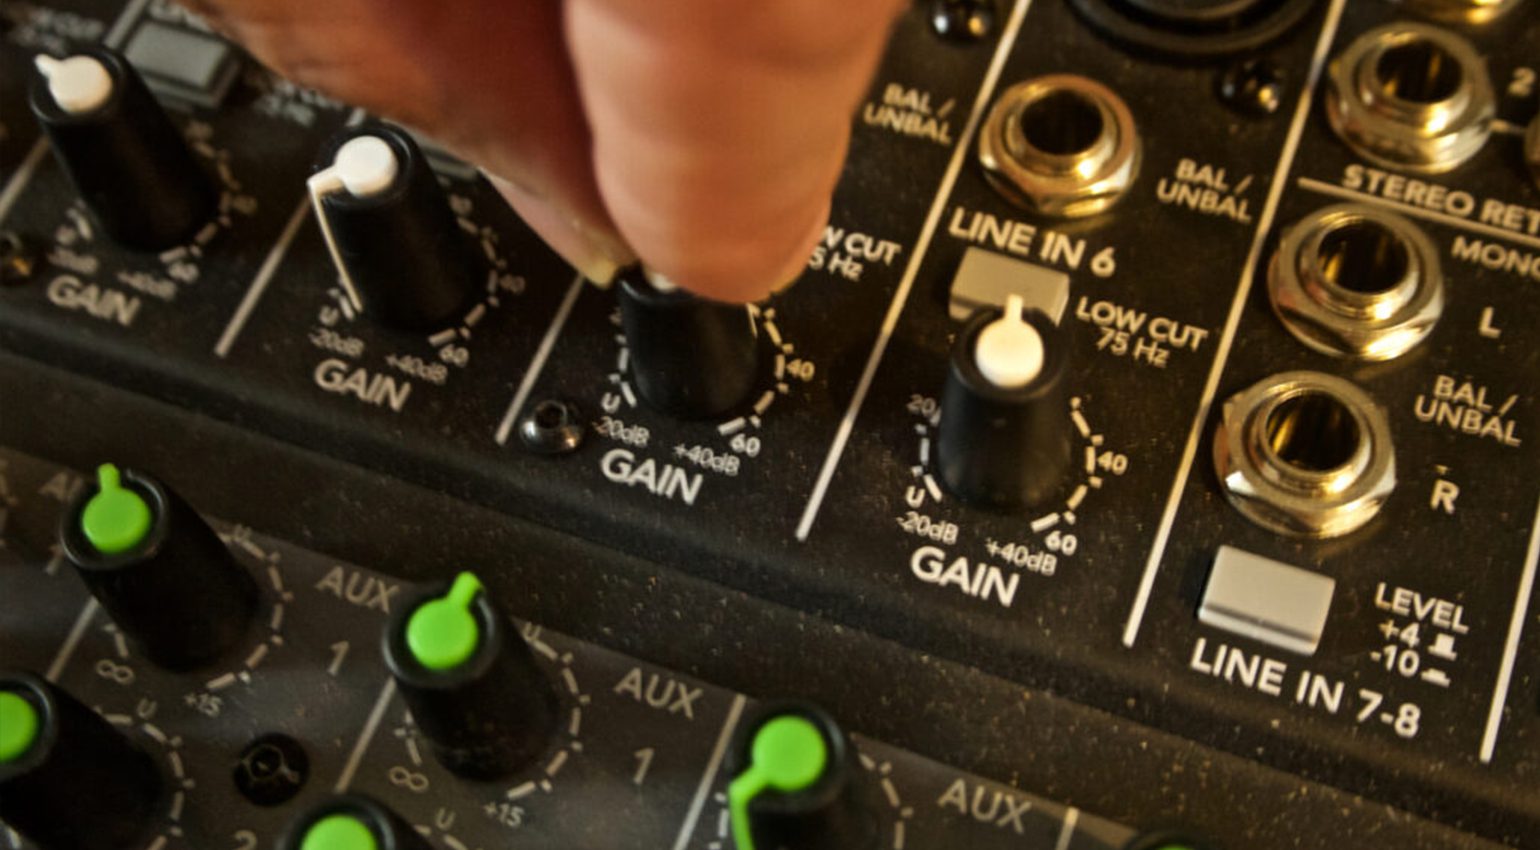
Gain controls come in different varieties. Most mixers and many audio interfaces have rotary knobs that work just like the volume control on your stereo system. On mixers, these are usually located at the very top of each channel strip. Some preamps (especially more expensive, external varieties), have stepped controls, which help to reproduce settings exactly.
Some audio interfaces do not have analog gain knobs for each input, but instead offer endless encoders to control the gain digitally. In some cases, there’s no hardware control at all and you need to use the control software that came with your interface to set the gain.
-
- Simple solution: Gain knob of a “plug-style” microphone interface · Source: Bonedo

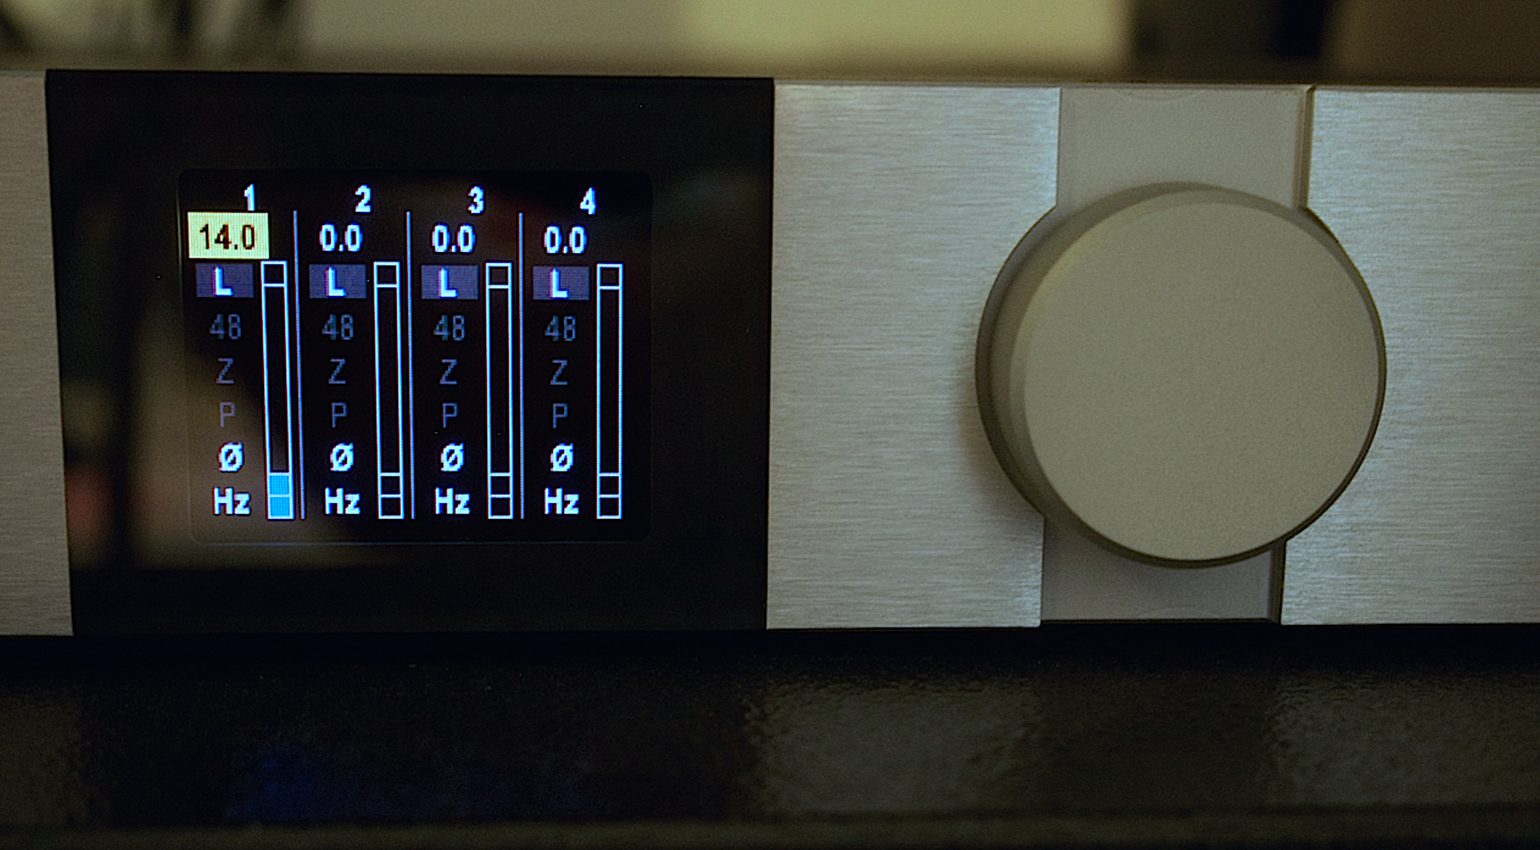
-
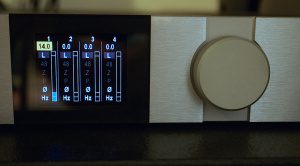
- This high-end interface has a digital encoder for gain adjustments · Source: Bonedo
-
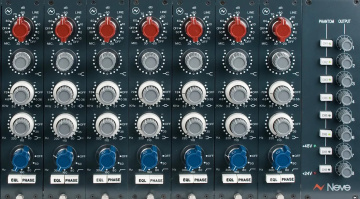
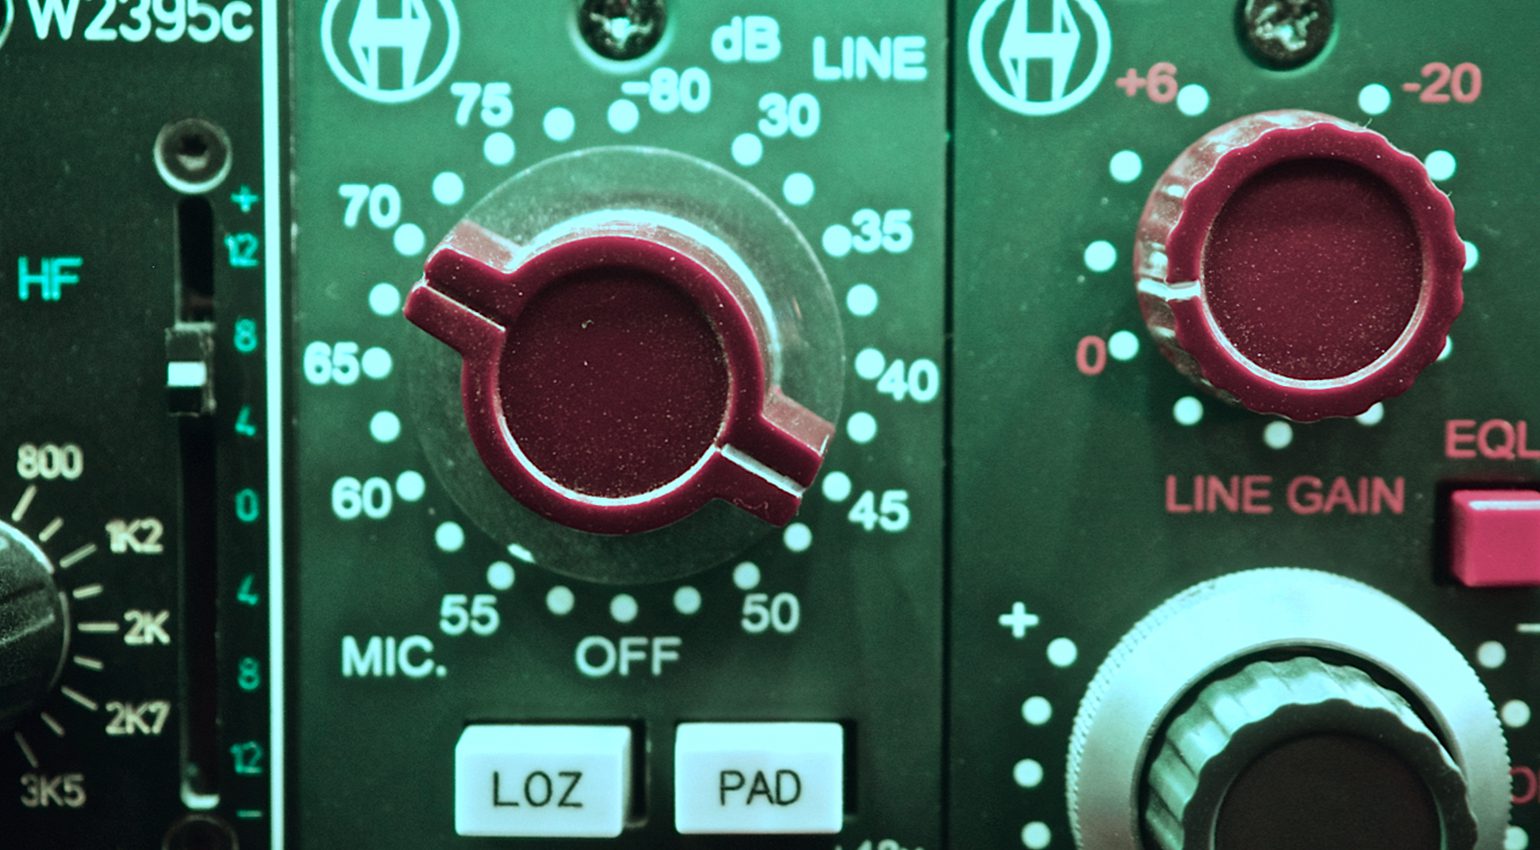
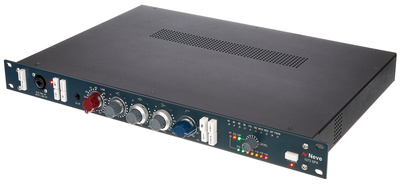
- Gain knobs of a 1073-style preamp · Source: Bonedo
Microphone gain: How to read the level meter
Many audio interfaces and microphone preamps offer level meters that provide a visual indication of the level after amplification. They come in many different shapes and resolutions, from simple clipping LEDs or “traffic lights” to high-resolution meters. This also greatly affects how useful they are.
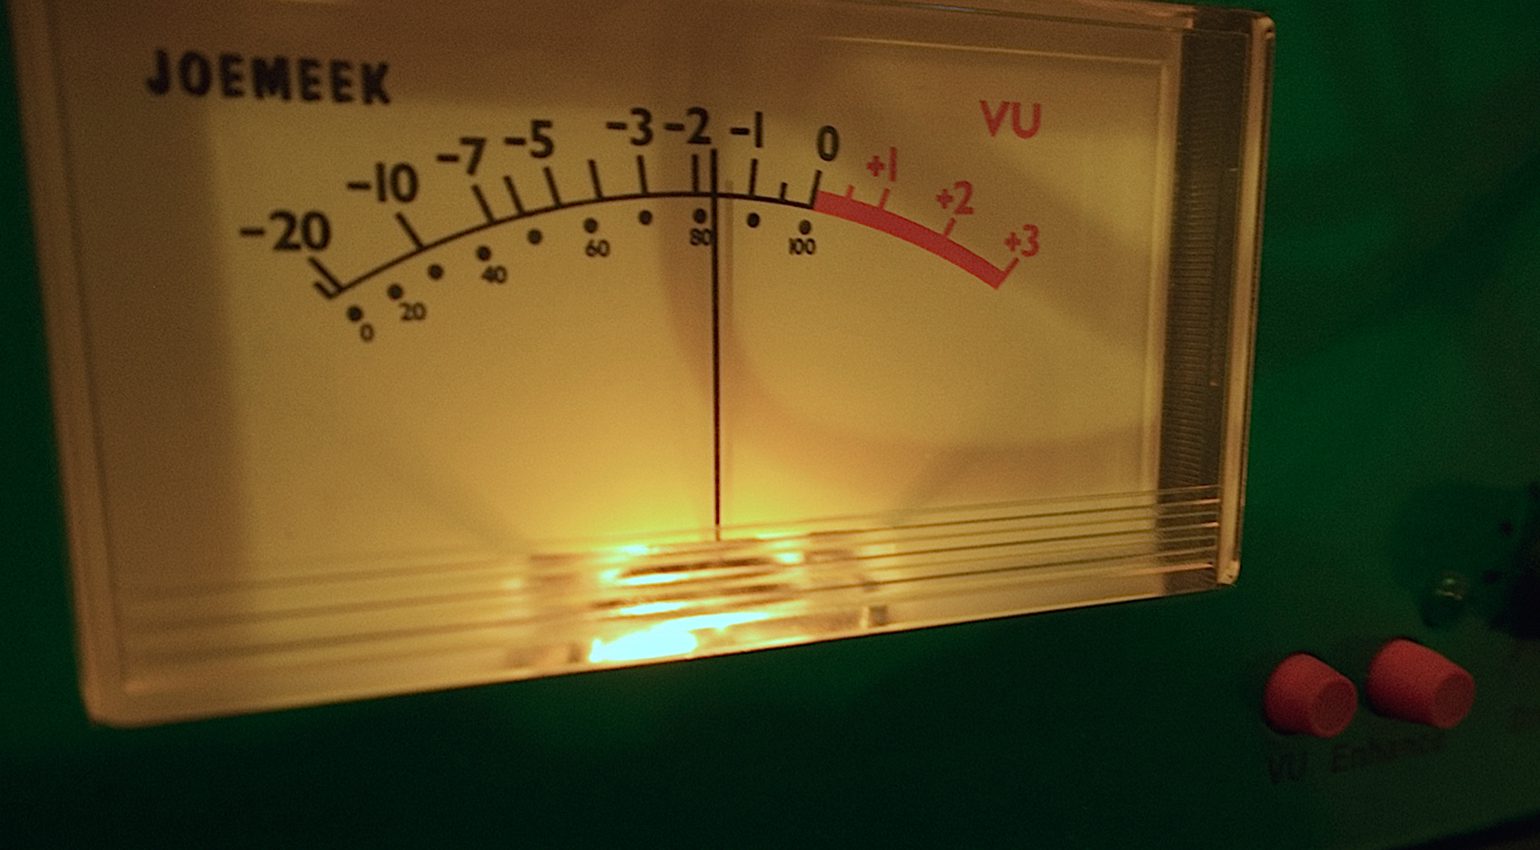
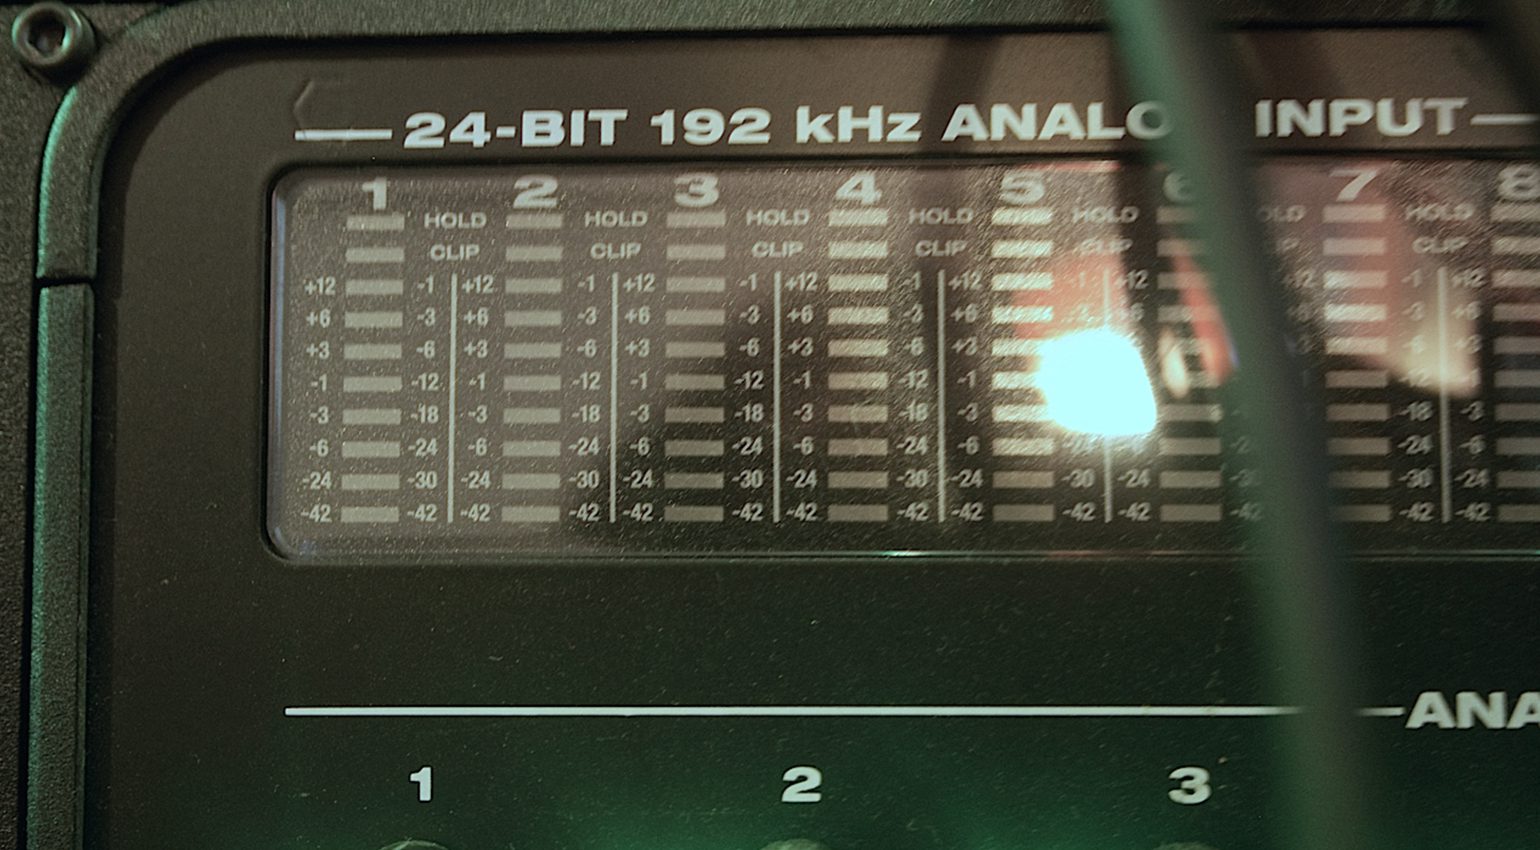
The traditional VU meter is an analog needle instrument. It looks very stylish and corresponds to the human perception of loudness. However, it is a bit sluggish, which is why it isn’t ideal for setting the microphone gain. An LED chain serves the purpose better, especially if the signal subsequently enters the digital world. Higher-resolution LED meters can consist of many green, yellow, and red LEDs, providing a quick response and a good indication of the level. A simplified version often found on more affordable interfaces is an LED display that resembles a traffic light: green = signal present, yellow = level just ok, red = clip, risk of overload!
| Level meter | Response | Precision |
|---|---|---|
| VU meter | slow | low |
| LED chain | fast | high |
| Signal / Clip LEDs | fast | low |
Some preamps do not have a level meter at all, even some very high-quality ones. This isn’t the end of the world, because you can then usually read the level on downstream devices, such as the AD converter or audio interface.
-

- VU meters look great, but can be sluggish · Source: Bonedo
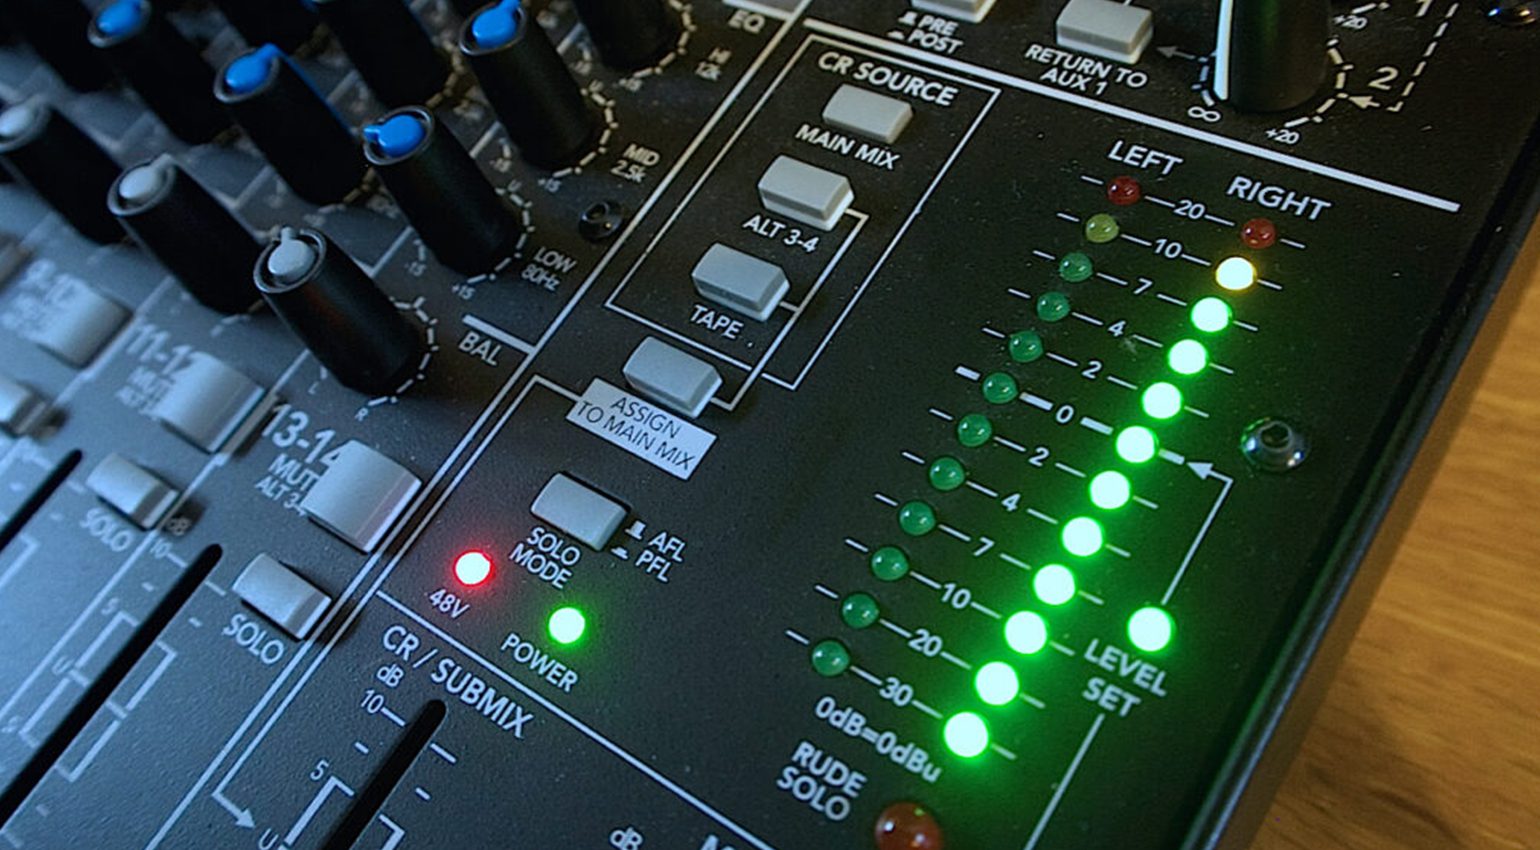
-
- LED level meters of an audio interface · Source: Bonedo
-
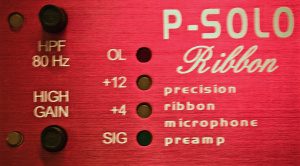
- OL stands for “overload” and must be avoided · Source: Bonedo

How to Set Microphone Gain: Step-by-step guide
Before plugging the mic in: Mute your monitors!
We’ve all experienced the earth-shattering bang that can occur when you plug in a microphone or when you turn phantom power on or off without muting the speakers first. It doesn’t take a scientist to figure out that this should be avoided at all costs – your speakers and your ears will thank you for it.
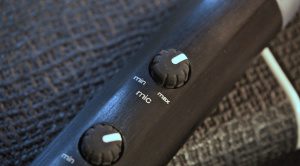
If you use a mixer, press the PFL button
Most smaller mixers do not have level meters in each channel due to space constraints (and to save costs). By pressing the PFL (“Pre Fader Listening”) button, you can route the signal to a separate bus without affecting the main mix. This allows you to bypass the channel fader and use the desk’s main level meter to observe the input level and adjust the gain.
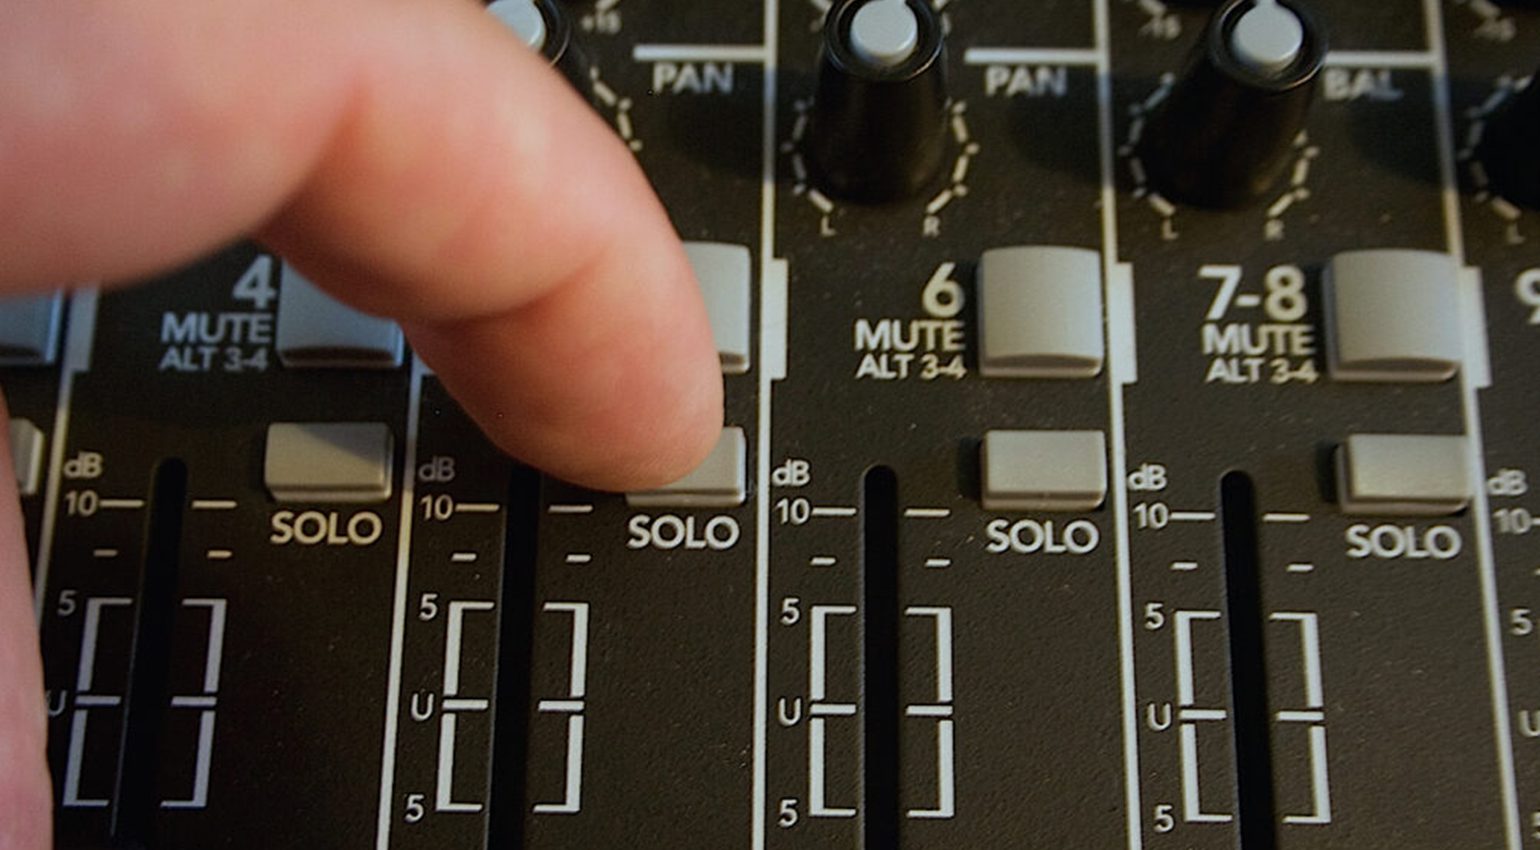
Solo buttons of a small mixer · Source: Bonedo
External preamps and channel strips
If an external microphone preamp or channel strip is involved, its output should be connected to a line input of your audio interface or mixer (not the mic input!). Your preamp doesn’t have a meter? Simply use the next available one in the audio chain.
If you use an external channel strip, make sure to deactivate the EQ, compressor, de-esser, and anything else that could affect the level (except the preamp of course). Some devices have switches for inserting the meter at various positions in the signal chain. If this is the case, set it to reflect the input level.
Remember to use your ears
While level meters are extremely helpful for setting microphone gain, they cannot replace your ears. By listening closely, you can track down potential problems directly. But beware of feedback, which can occur if your recording gear is located in the same room as the microphone and your speakers are turned up.
Use your ears while adjusting the gain! · Source: Bonedo
Play or sing as if you were recording
After you’ve made all the right connections, you can begin to adjust the gain. And this is the part that most singers and musicians despise. To get a realistic signal, the person at the microphone or instrument must be asked to play or sing at the same volume as if they were recording – potentially for an extended period of time. Think sound check on stage, but in the studio. It is also important to use the entire range of the voice or instrument, because a lot of the sonic energy is in the low notes. With instruments such as electric guitars, make an effort to check all sounds that are going to be used during recording. Your ears can trick you into believing that a thick distortion sound is louder than a clean sound, while in reality, the opposite may be the case.
Once you’ve got a realistic signal going on, it’s time to slowly turn up the gain while keeping an eye on the meter and listening for distortion and other artifacts.
How to set microphone gain: Which level should you aim for?
Unfortunately, there’s no general rule that specifies which “number” the signal should be amplified to. What works best ultimately depends on the equipment used (analog or digital), and of course on the signal itself. But here’s a rule of thumb for LED meters that’ll provide a good starting point:
- Green is always ok.
- Yellow can occasionally light up during signal peaks.
- Red generally should not light up.
- Clip (or the highest of the red LEDs) must not light up under any circumstances.
Caution: No signal is the same!
Adjusting the gain is a piece of cake if your signal is a constant note from a synthesizer or organ. However, most audio signals are much more varied than that, which must be taken into account during leveling. For example, you need to be extra careful with audio signals that contain many fast transients (attacks) – especially if you’re using an analog VU meter. It is not uncommon for such signals to contain much higher peaks than the meter can display in real time. A good example of this is a closed hi-hat, which can generate enormous levels (albeit only for extremely short periods of time). Because it happens so quickly, the meter hardly registers a change in level. Even some LED meters have response times that are much slower than the attack times of certain instruments.
How to set microphone gain: the human factor
Even if you ask for maximum level, most singers and players tend to get quieter over time when fatigue begins to set in – especially during a tedious (and boring) sound check procedure. This is natural and not a big deal. However, you should be aware of it and give yourself a bit of room for error.
It’s good practice to add a safety margin in the form of some extra headroom. On stage or in the studio, singers and musicians tend to get louder inadvertently when the dreadful sound check is over and the actual performance begins. Again, this is perfectly natural. By the time you notice that the level is too high, it’s usually too late to save the recording, so it’s best to be prepared and leave a bit of leeway.
With the resolution of today’s digital systems, it’s usually not much of a problem if the level is a bit lower and some headroom is given away. If you record at 24 bits, you can safely dial in a slightly lower level while still remaining within “CD resolution” (16-bit). Clipped signals, on the other hand, are broken and often cannot be rescued even with complex, expensive restoration tools. When in doubt, it’s best to go a bit lower just to be on the safe side.
What seems OK during sound check can be too much when the show begins! · Source: Bonedo
Activate the low-cut filter
Many microphones and preamps offer built-in high-pass or low-cut filters that remove very low frequencies. Unless you’re recording an instrument that actually uses this frequency range (e.g. bass, bass drum), these filters should be activated, as musically unnecessary signal components can also eat up headroom!
What if the gain is set to minimum but the microphone level is still too high?
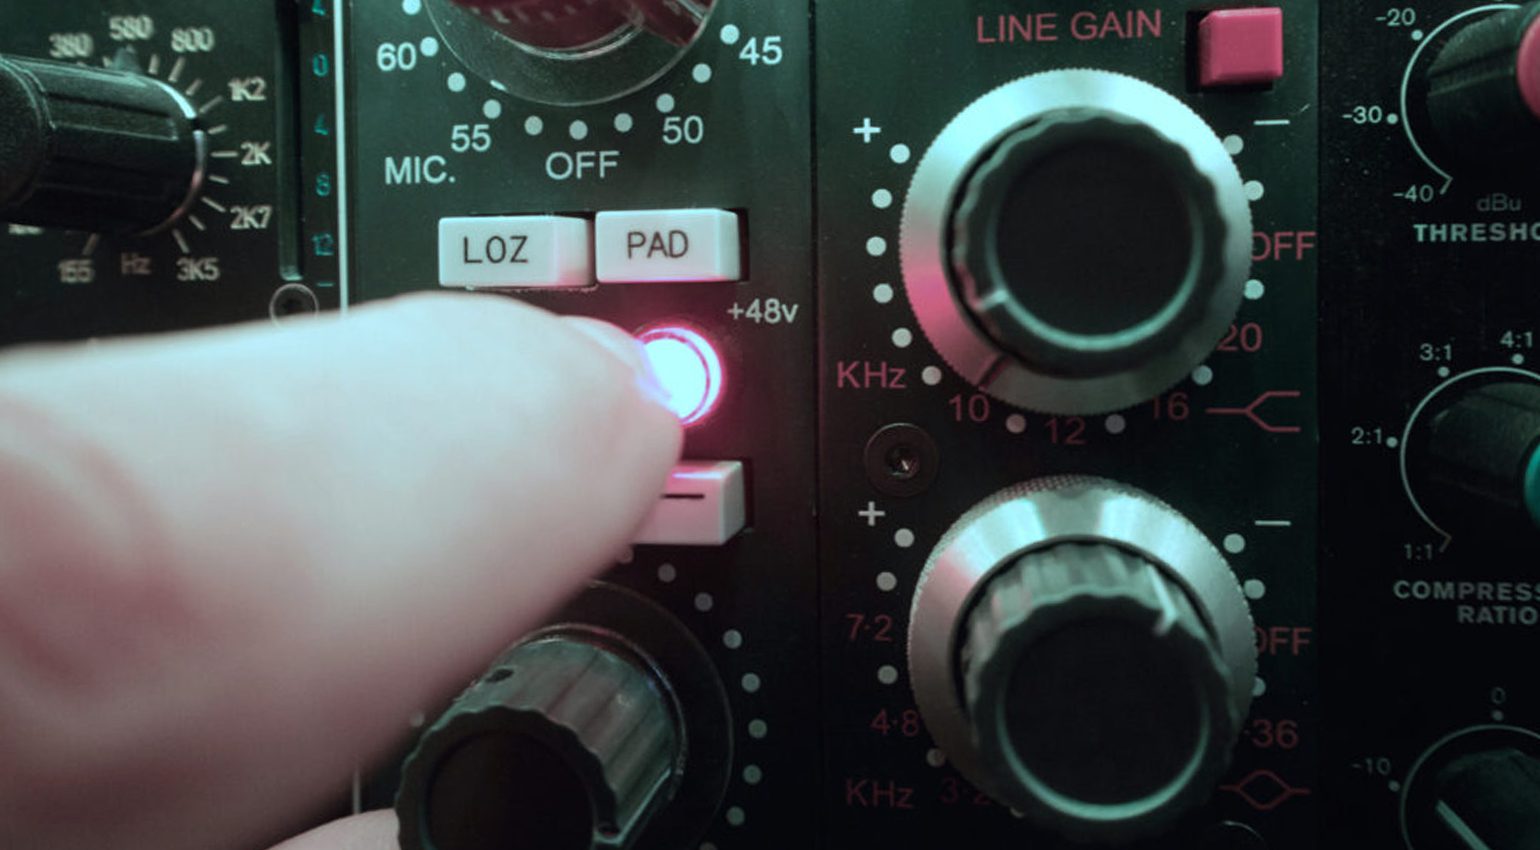
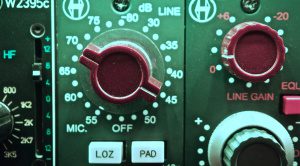
In some cases (e.g. when recording very loud instruments), the preamp may not have to amplify the signal at all. Once in a while, you may even need to attenuate it. For this purpose, some microphones and preamps offer switchable pre-attenuators (“PAD”). If you find that the level coming out of your microphone is too high, activate the PAD. It’s best practice to use the first available PAD in the signal chain.
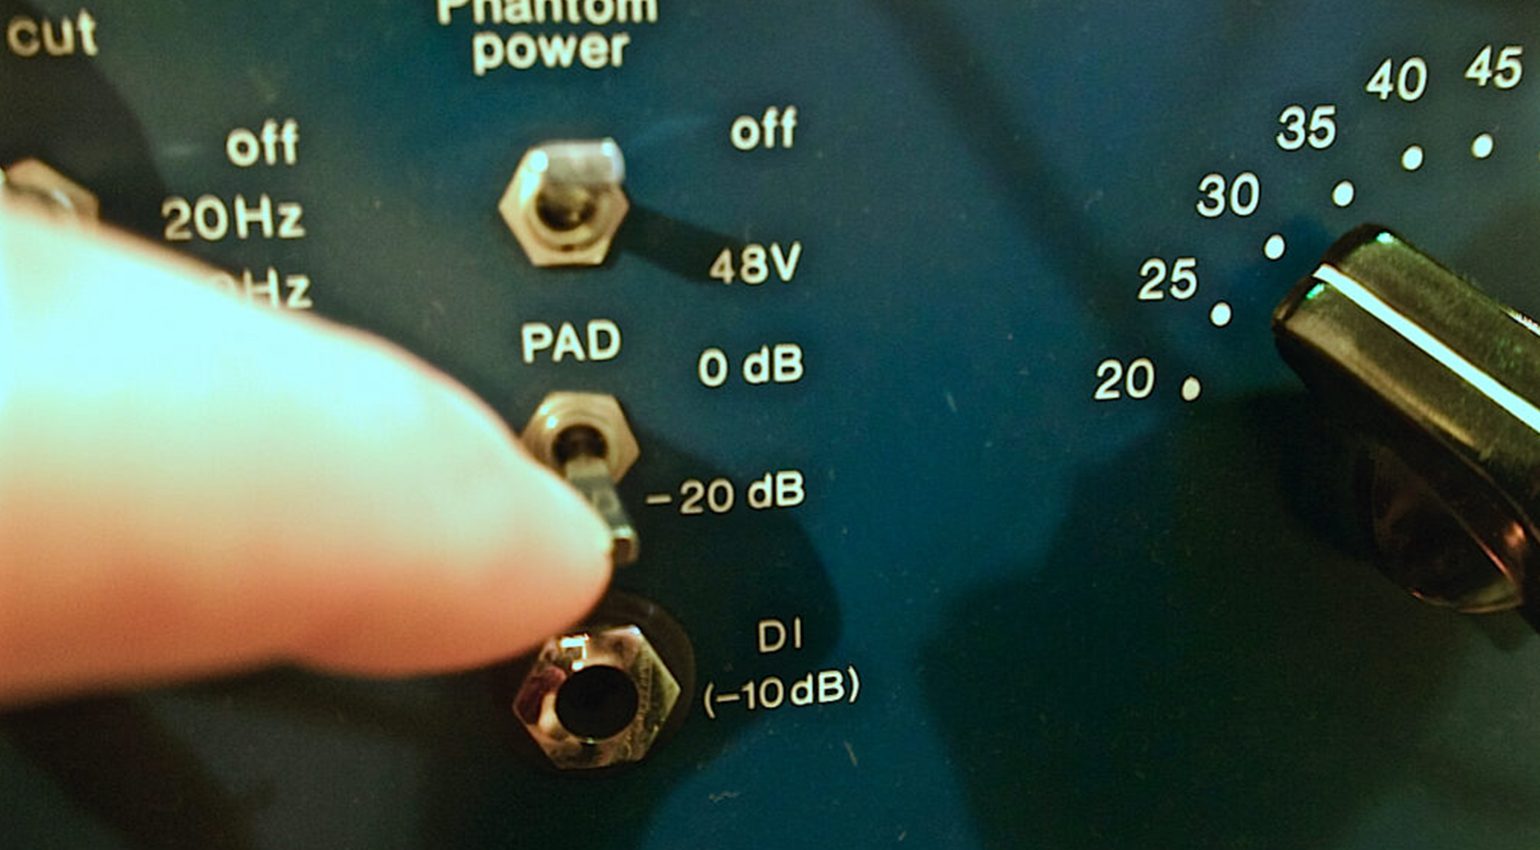
This preamp has a PAD for attenuating the signal by -20 dB. · Source: Bonedo
Special case: Shaping the sound with the gain knob
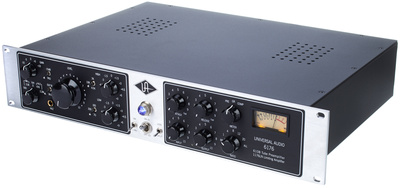
A large amount of preamplification isn’t always bad. Certain analog preamps saturate and distort the signal gradually as you increase the gain – and this distortion can sound quite pleasant! Preamps like the Neve 1073, Universal Audio 610, and others are cherished for their thick and rich sound at higher gain settings – in fact, they’ve become studio standards precisely for this reason. A slightly distorted sound can be just right for rock vocals, strummed guitars, or thick bass drums. To bring the output level down again to avoid overloading the next device in the signal chain, many external preamps have a dedicated output level control. Experiment with the gain setting in combination with various microphones and signals – you may just find a hidden sweet spot!


More about microphones and preamps
- Studio Standards: Classic Mic Preamps that Made Recording History
- Studio Standards: The Best Vocal Microphones of all Time
- The Most Expensive Microphones used on Famous Recordings
- Which are the Best Mic Preamps for Home Recording?
Note: This article was originally published in German on bonedo.de.


This might also interest you