Reference Track: How to Fix Loudness, Balance, and Energy in Your Mix with This Trick
Here’s How to Finally Compare Loudness, Balance, and Energy in Your Mix in a Meaningful Way
 4,5 / 5,0 |
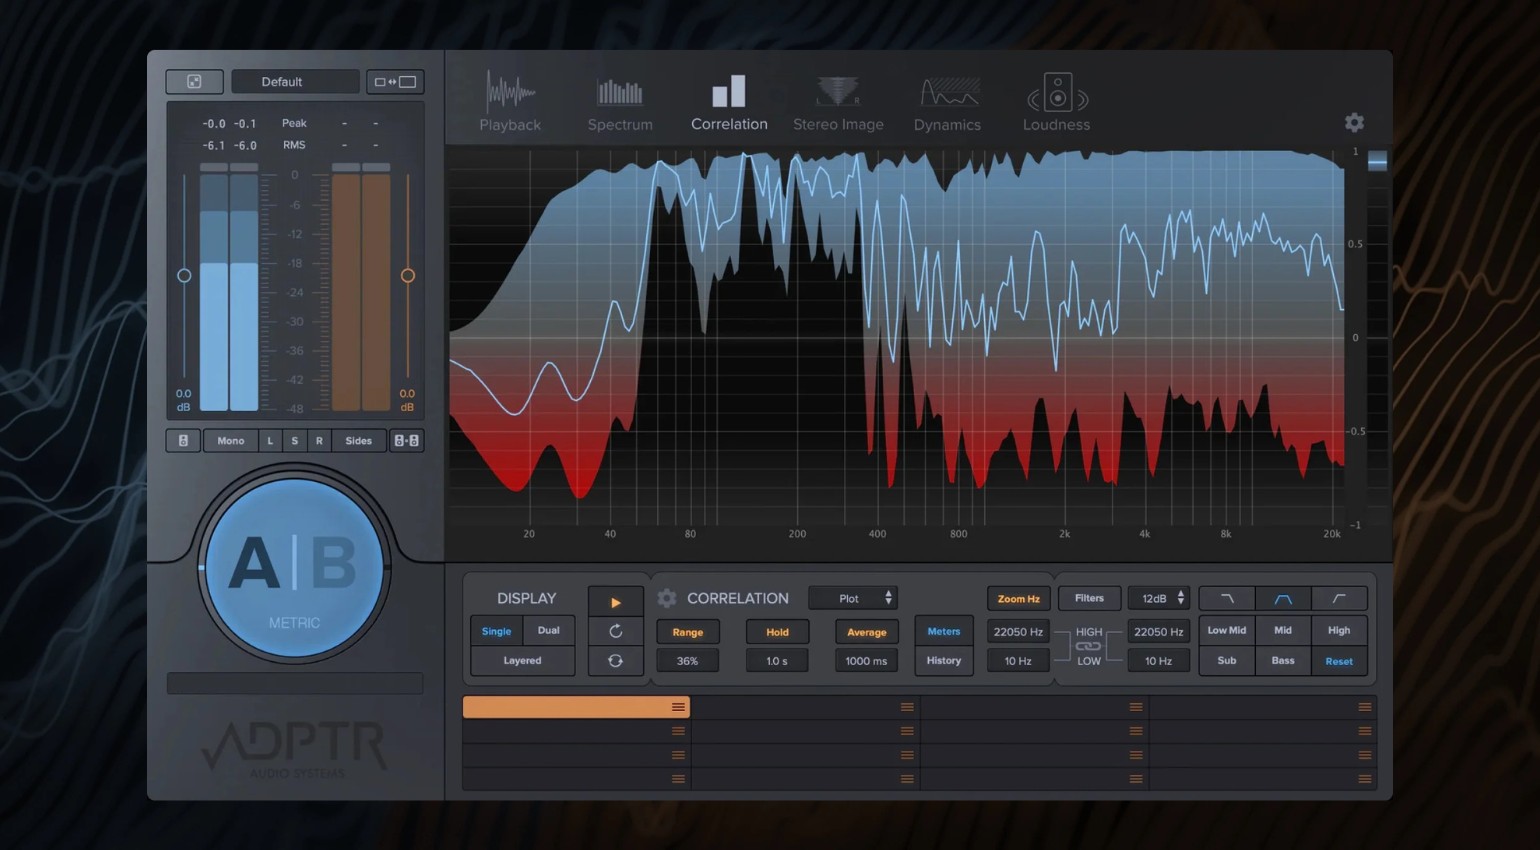
How to Use a Reference Track Effectively: Why Your Mix Will Never Sound Like a Release Otherwise · Source: Plugin Alliance

You’ve probably been there: Your track sounds great in the studio, but when you compare it to actual releases, it suddenly lacks punch, clarity, width, or just that special something. This is exactly where the reference track comes in. But what matters isn’t just switching back and forth. It’s how you compare, what you focus on, and what conclusions you draw. Only then does someone else’s track become a tool that truly elevates your own mix.
Key Facts: Using Reference Tracks Correctly
- A reference track helps you objectively compare your mix to professional productions
- What matters isn’t the track itself, but how consciously you analyze it
- Matching loudness is essential. Otherwise, you are comparing volume instead of sound
- Pay attention to the balance between the low end, mids, highs, and stereo image
- Work with short sections like the drop or break instead of the full track
- Always focus on one aspect per pass to make clear decisions
- The goal is not to copy, but to understand why a mix works
How to Work Effectively with a Reference Track in the Studio
Why a Reference Track Is More Than Just a Quick Comparison
A reference track is not a standard in the sense of this is how it has to sound. It is a point of orientation. It shows you how a finished mix actually works within your genre.
At its core, it is about the interaction between frequency balance, energy flow, and dynamics. If you focus only on individual elements, you quickly lose sight of the bigger picture. A solid reference workflow always considers the track as a whole and not just a collection of sounds.
Choosing the Right Track
Not every track works as a reference. The key is that it truly fits your own production.
Genre, tempo, instrumentation, and energy should be comparable. A peak time techno track will not help much if you are working on a melodic progressive house track. The structure should also be at least roughly similar so that the comparison remains meaningful.
Less is more here. Two to three well chosen references are more than enough. Over time, it is worth building your own small collection that you can return to again and again.
The Most Important Step Before Any Comparison: Match the Loudness
This is where most mistakes happen. A louder track almost always sounds better. If you compare your mix directly with a mastered reference track, you automatically lose, regardless of the actual quality.
That is why it is essential to match the loudness before comparing. Either turn down the reference track or bring your mix up to a similar level. The only thing that matters is that both sound equally loud. Otherwise, you are not comparing sound quality, only volume.
How A/B Comparison Really Works in the Studio
A clean comparison depends on how quickly and precisely you can switch between the two signals. The switch needs to happen instantly and at the same loudness level.
Instead of constantly jumping back and forth, focus on short sections. The intro, break, or drop usually reveal the clearest differences. The key question is always the same. What is different here and why.
What You Should Really Listen for in a Reference Track
The real insights come from focused listening. The low end, especially the relationship between kick and bass, is critical. This is where you immediately hear how stable and defined a mix feels.
The mids determine whether elements sit clearly next to each other or overlap. The highs define openness and detail, while the stereo image controls width and focus.
It is important to focus on only one of these areas at a time. That is what makes differences clearly audible.
The Most Common Mistake with a Reference Track
Many people try to recreate a reference track exactly. That does not work and often causes your own track to lose its identity.
Every track is built on different sounds, arrangements, and decisions. The goal is not to sound identical. The goal is to understand why something works. No label will sign you for copying an existing track.
Reference Track in the Studio: A Practical Step by Step Workflow
When working with references, a clear workflow emerges quickly. Import your track and the reference, match the loudness, and focus on a key section, usually the drop.
Then compare both versions in short passes, analyze one aspect such as the low end, and apply what you hear directly to your mix. After that, check the result again.
This cycle of listening, understanding, adjusting, and checking is what builds real confidence in your mix decisions.
How Reference Tracks Influence Your Mixing Workflow
If you use reference tracks regularly, your entire perspective on mixing changes. You develop a sense of how much low end is actually needed, how elements interact, and when a track feels finished.
You are no longer guessing. You are making decisions with intention.
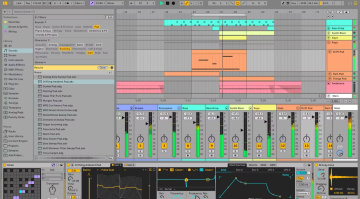
Practical Application: Using a Reference Track in Ableton Live Without Any Plugins
The most effective way to work with reference tracks often happens directly inside Ableton Live. Additional tools are not required. This works just as well with other DAWs, of course.
Place the reference track on its own audio track and make sure you can switch quickly between both signals. Whether you use Solo or Mute with a shortcut does not matter. The important part is that switching feels immediate and does not interrupt your listening.


Equalize the Volume – Nothing Works Without This Step
Without matched volume, any comparison is meaningless. In Ableton Live, a simple utility device on the reference track is enough. Reduce the gain until both tracks feel equally loud. Do not rely only on meters. Trust your ears.
Listen in Sections Instead of the Entire Track
Instead of playing through the entire track, work with loops. Key sections like the drop or break provide the most useful information.
Short listening passes are enough. Listening too long causes your ears to adapt, and differences become harder to notice.
Always Compare One Aspect at a Time
Focus is everything. Never try to analyze everything at once. Concentrate on one area per pass. This makes differences clear and easier to understand.
The Actual Workflow: Listen, Understand, Apply
Over time, this becomes a clear process. You compare, identify differences, adjust your mix, and check again. This is what turns the reference track into a real part of your workflow instead of just a quick check.
How Reference Plugins Really Work
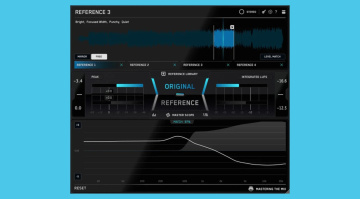
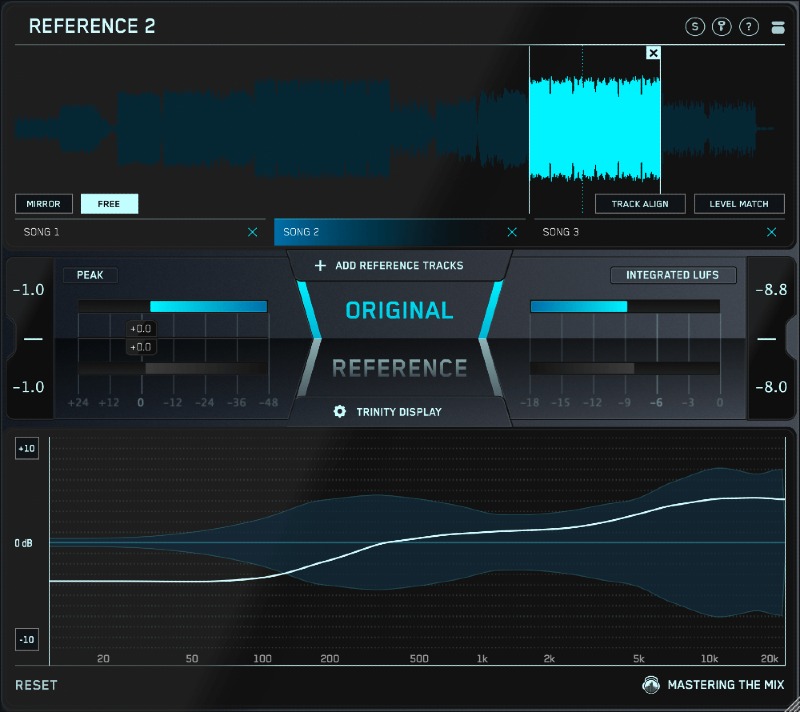
Tools like ADPTR Metric AB or Mastering The Mix REFERENCE 3 mainly simplify the technical side of comparison. You can load references directly into the plugin and switch between them instantly.
They allow fast A B switching, automatic loudness matching, and visual analysis of frequency balance, stereo image, and dynamics. This helps you spot differences faster and more clearly.
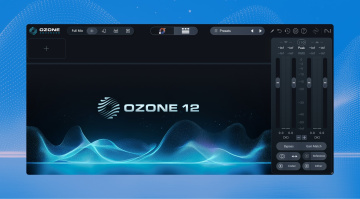
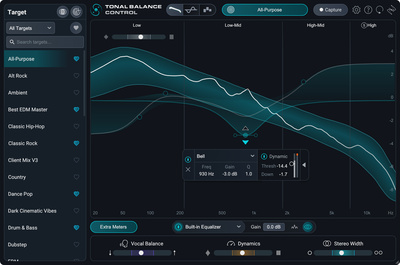
Another useful tool is iZotope Tonal Balance Control 3. It allows you to analyze reference curves and use them as a guide. You can even use its built in EQ to bring your mix closer to the tonal balance of your reference.
Still, your ears remain the most important tool. These plugins show differences, but they do not make creative decisions.


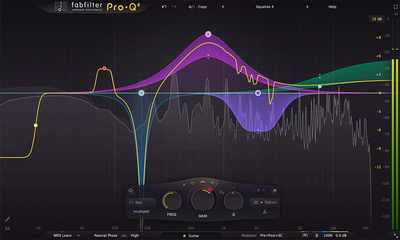
Analyzing with EQ: Useful or Dangerous
Another approach is matching frequency curves using tools like FabFilter Pro Q 4. The idea is to align your mix tonally with a reference track. In practice, this only works well if your mix is already balanced and the reference is truly comparable. Otherwise, the result can sound unnatural. Instead of improving your mix, you risk losing its character.
Used carefully, this method can still help identify problem areas. The key is to make small adjustments and question every change.

Conclusion: A Reference Track Does Not Replace Experience, But It Saves Time
Reference tracks are not a shortcut to a better mix. But they are one of the most effective ways to get there faster. I personally use reference tracks or reference curves regularly in mixing and mastering.
The real difference is not the track you choose. It is how consciously you use it.
FAQ: Using a Reference Track Correctly in the Mix
What is a reference track?
A reference track is a professionally produced song that you use to compare your own mix in terms of balance, loudness, and spatial depth.
How many reference tracks should you use?
Two to three well chosen references are usually enough. Too many comparisons can make decisions less clear.
Does a reference track have to be from the same genre?
Ideally, yes. Genre, tempo, and energy should match your track as closely as possible.
Why is gain matching so important?
Because louder almost always sounds better. Without matching levels, you are not comparing sound quality.
Should you copy a reference track?
No. The goal is to understand why it works, not to recreate it.
More Information
- Kick and Bass Workshop: Building a Solid Low-End Foundation
- iZotope Tonal Balance Control 3: Versatile Pro Track Referencing
- Bus Processing: Mix Cohesion and Control
- Mix Translation: Sound Good On Every Playback System
*Note: This review contains affiliate links that help support our site. The price remains the same for you. If you purchase through these links, we may receive a small commission. Thank you for supporting our work.


This might also interest you