Jef’s Tips for making your Gibson Les Paul play like a dream, Part 2: Truss Rod
How to properly adjust your Gibson Les Paul's truss rod
 3,3 / 5,0 |
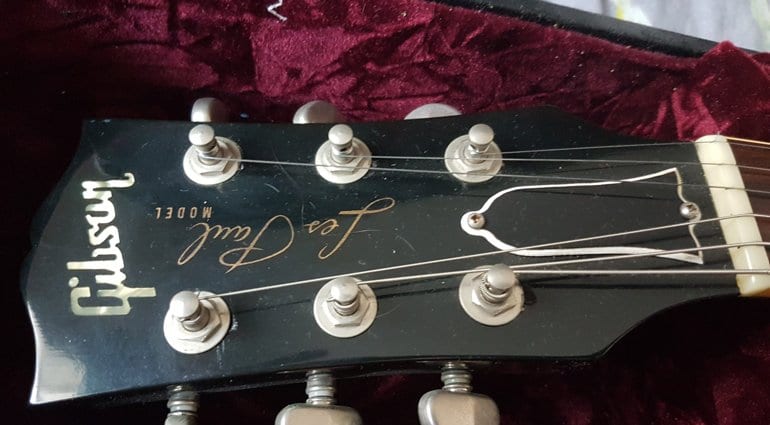
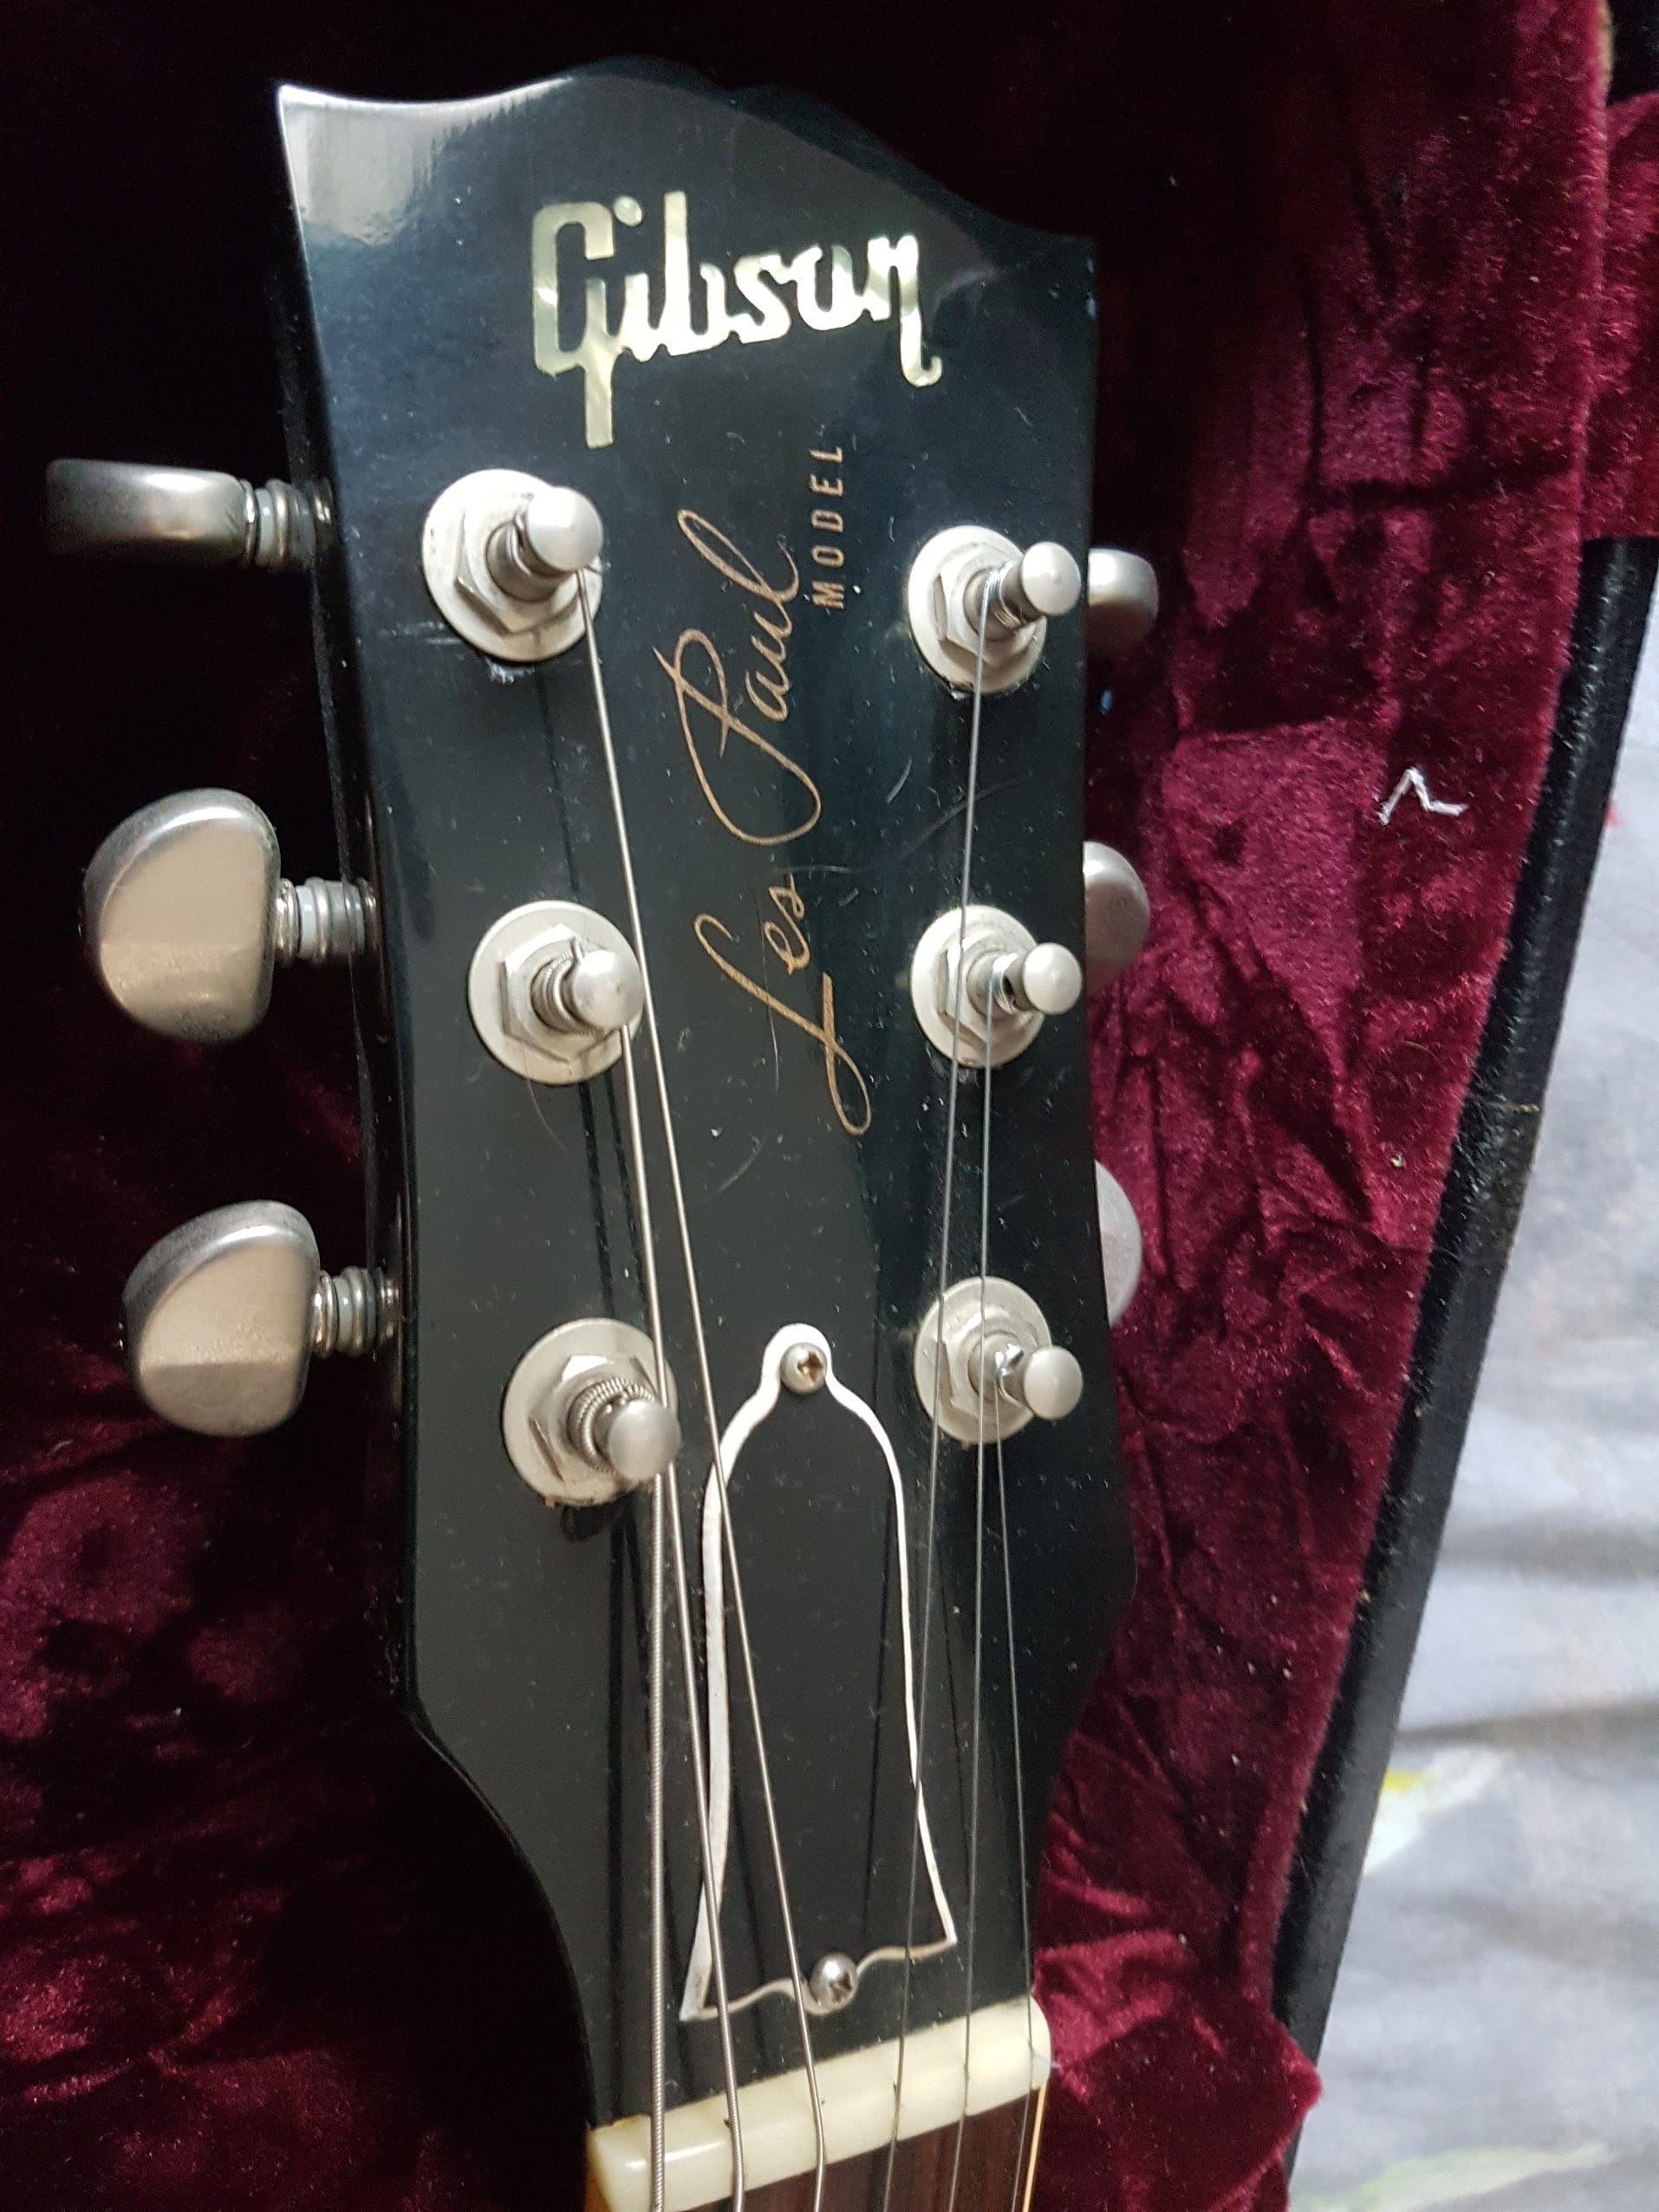
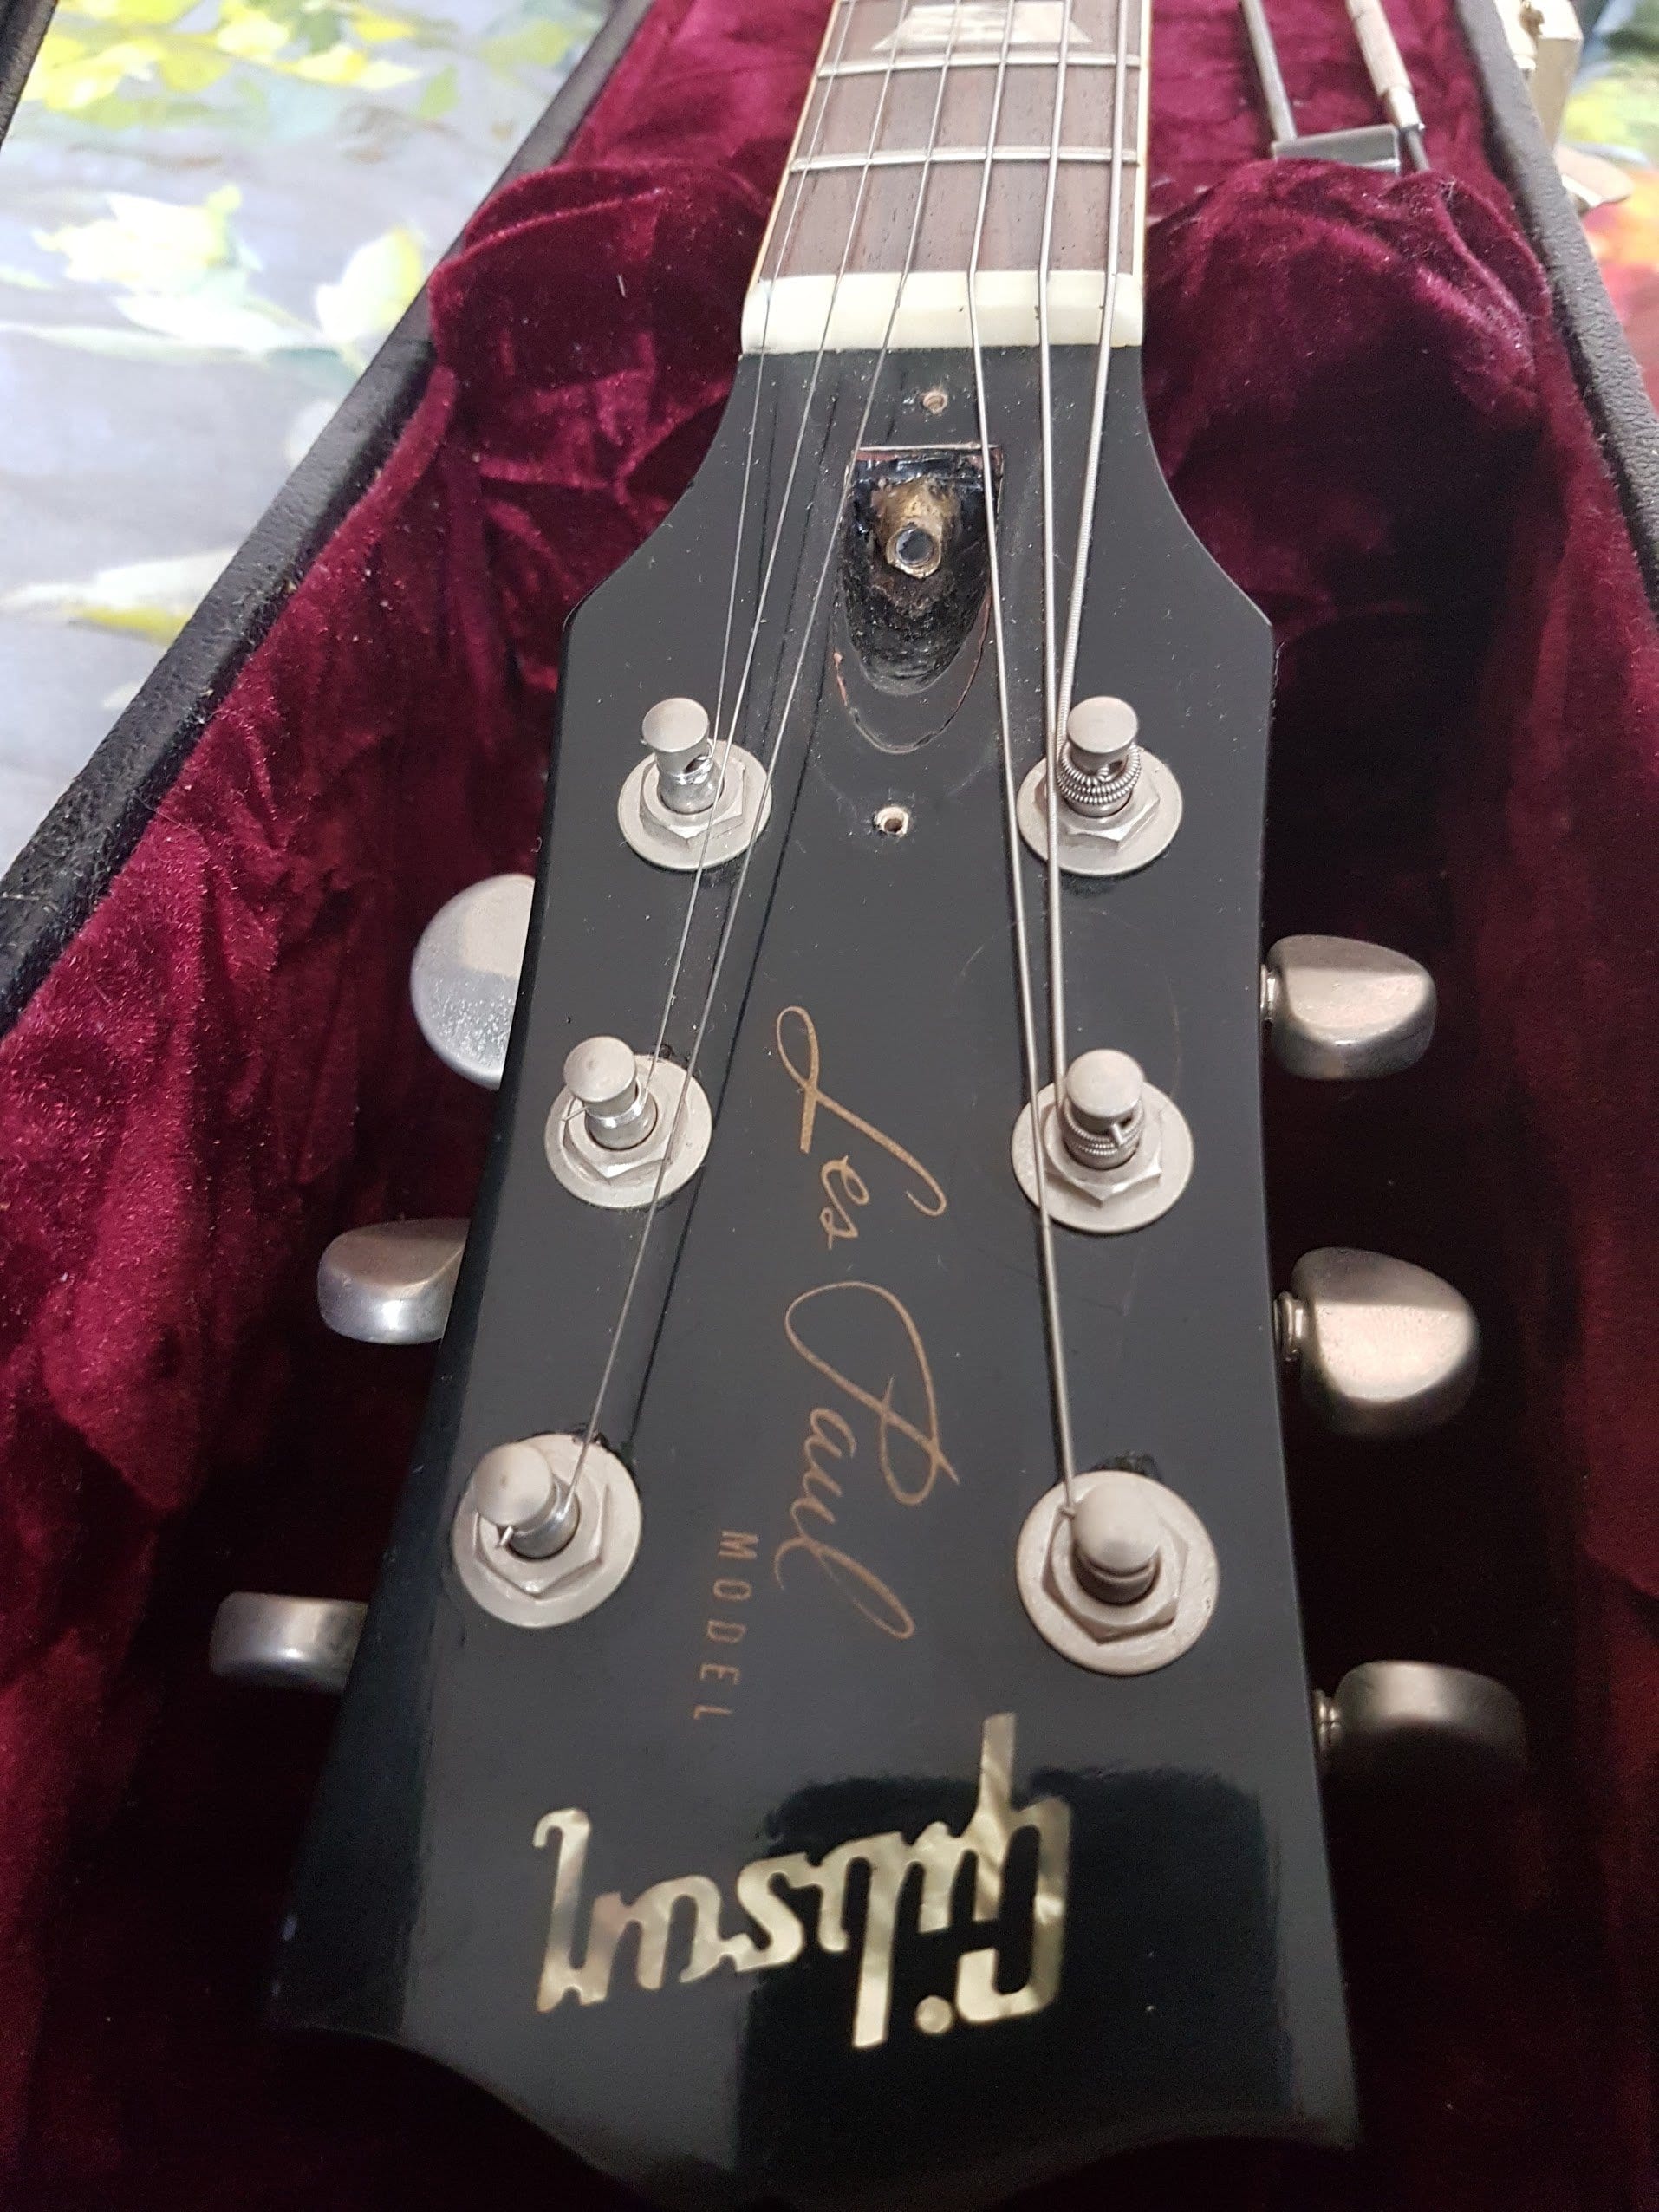
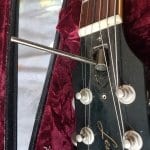
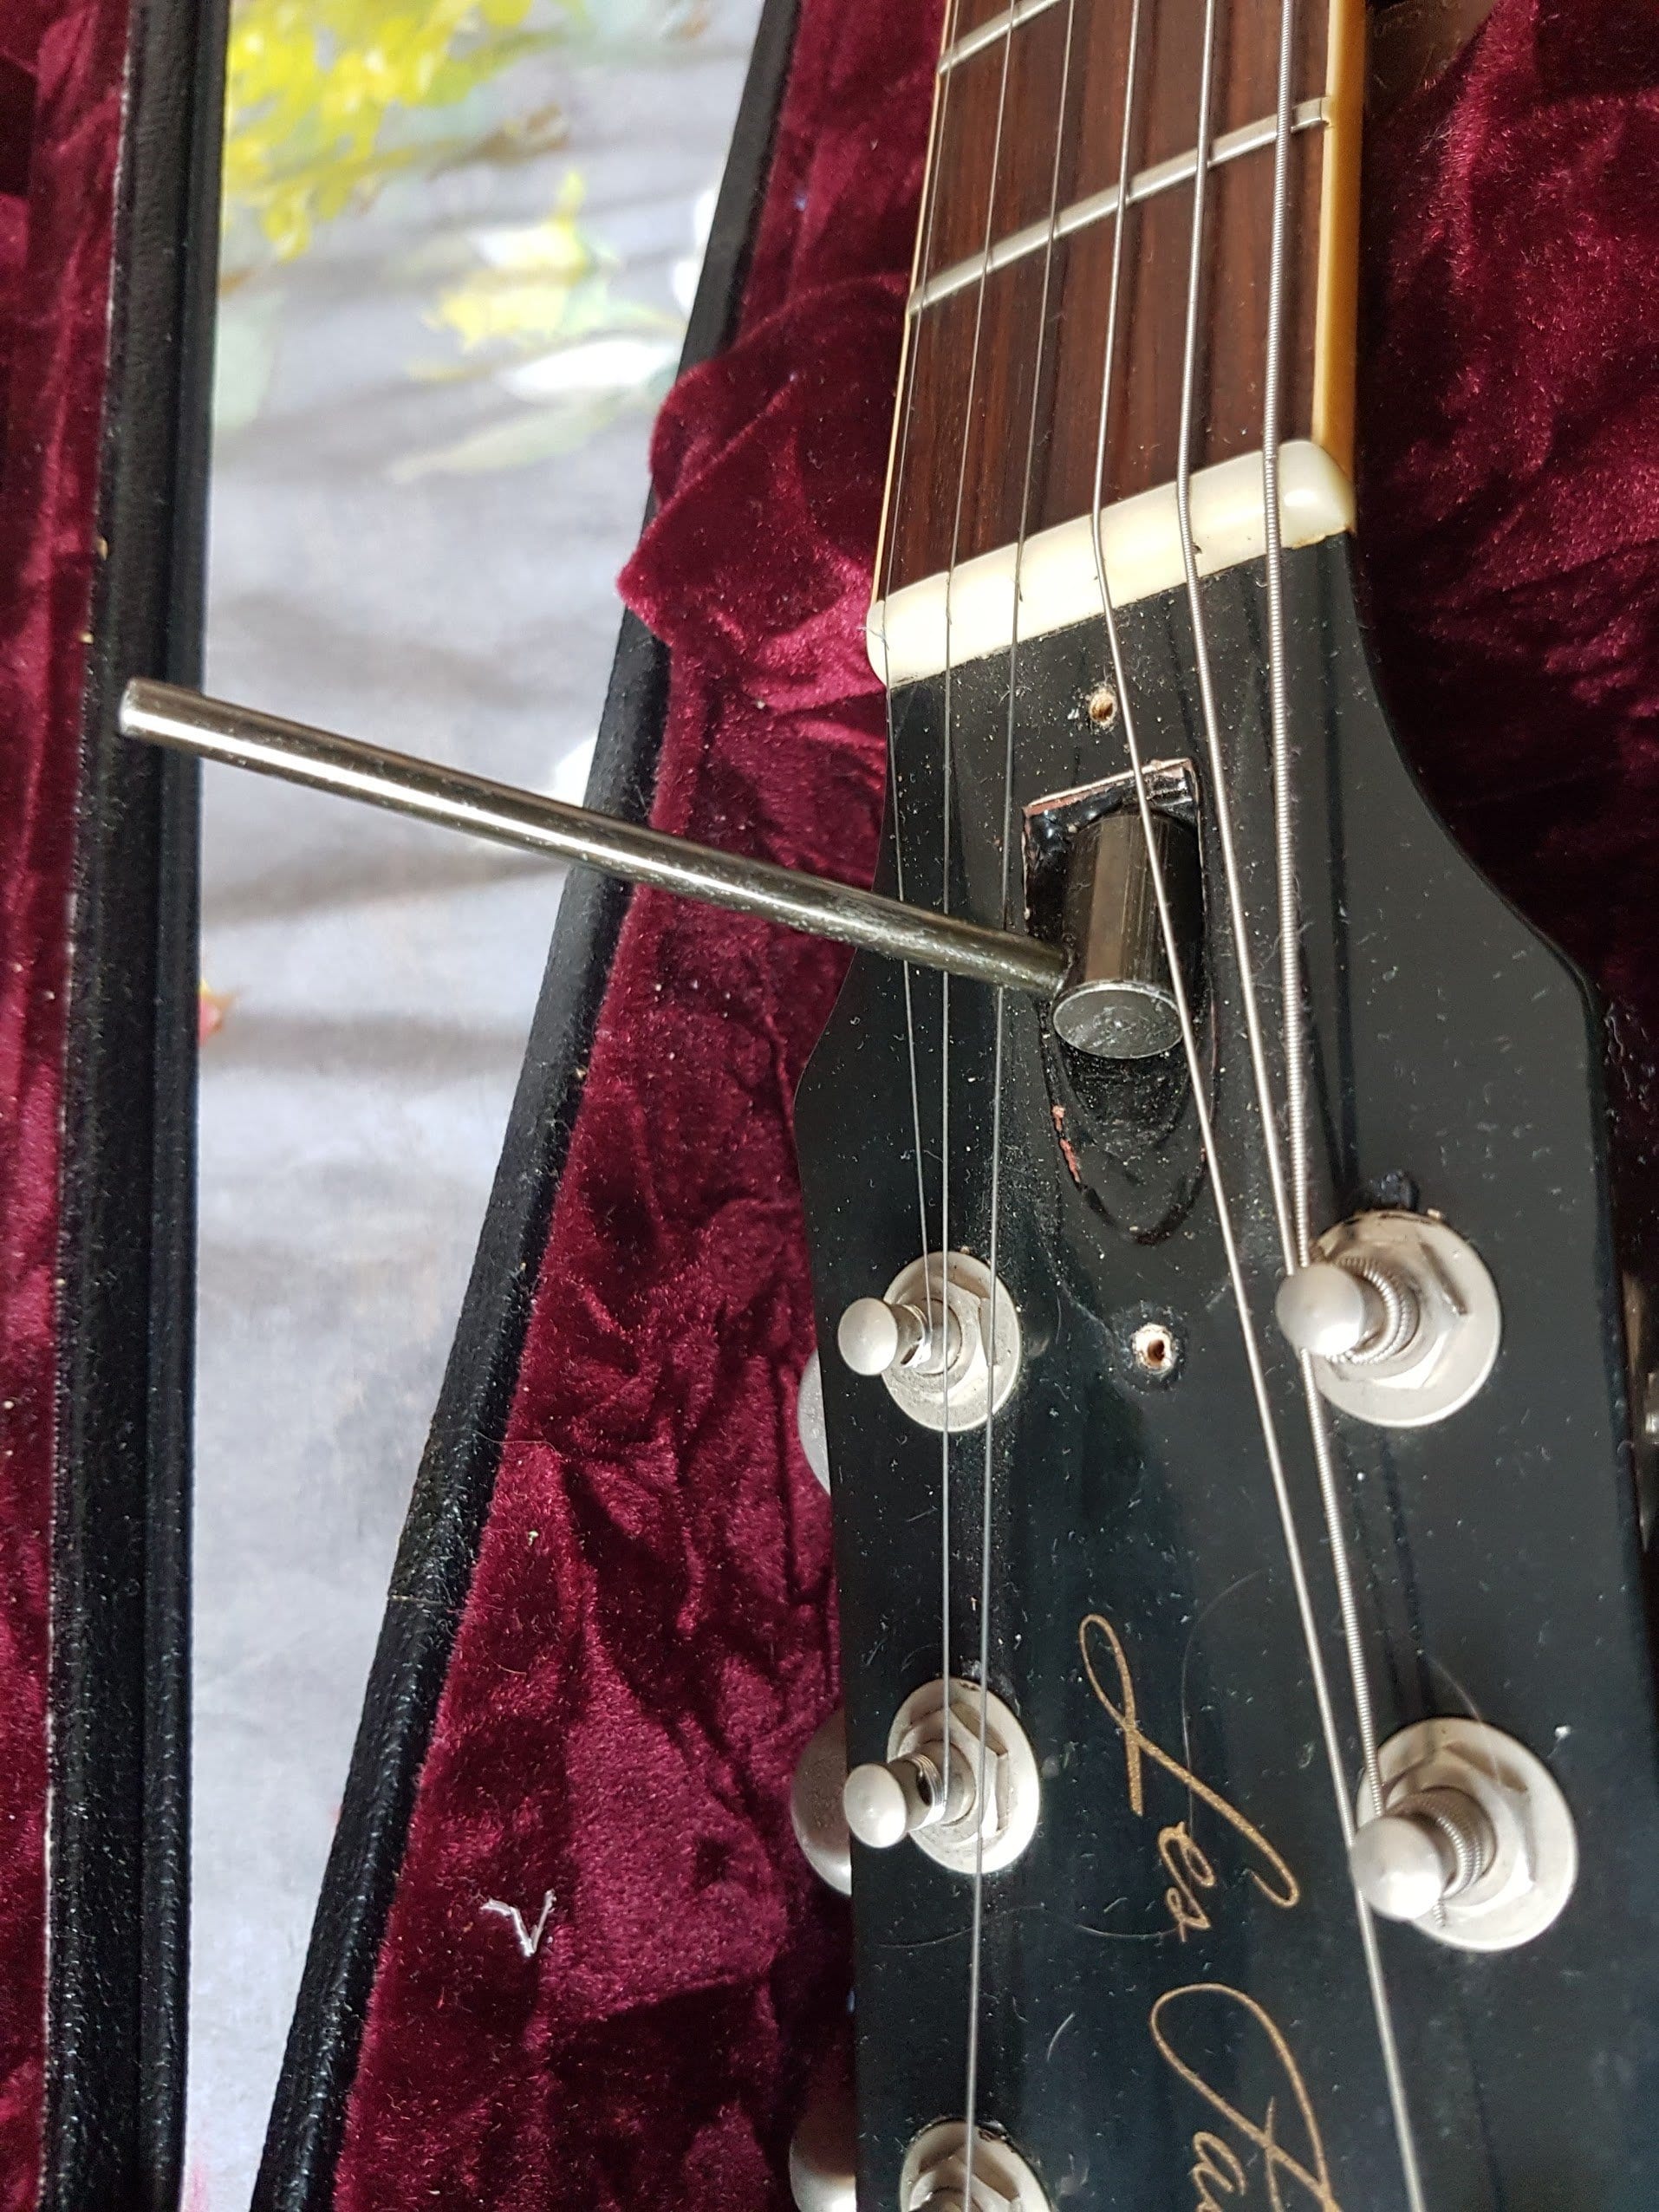
Gibson Les Paul Headstock and how to adjust that truss rod correctly · Source: Jef Stone/Gearnews

Last week, I covered a few of my favourite ways to clean and set up a Gibson Les Paul guitar. This week, we’ll dive a little deeper into the process of setting up your favourite single cut, and tackle the dreaded truss rod adjustment! Many players I know are scared of adjusting the relief on their guitars neck, but it’s a lot easier than it seems…
Adjust to taste
Truss rod adjustment! Why do it? The truss rod is used to set the amount of bend, or relief, of the neck. The bend can be straight, concave (bending ‘backwards’ towards the player) or convex (bending away from the player). This is a matter of personal taste. Some players like a gap of a couple of millimetres between strings and frets at the 12th fret so they can play faster. Others prefer a higher string as it is easier to bend with, for example. Either way, if it is too low or too high you won’t enjoy playing your Les Paul. If the neck is bending the wrong way, for example, you’ll have a lot of fret buzz.
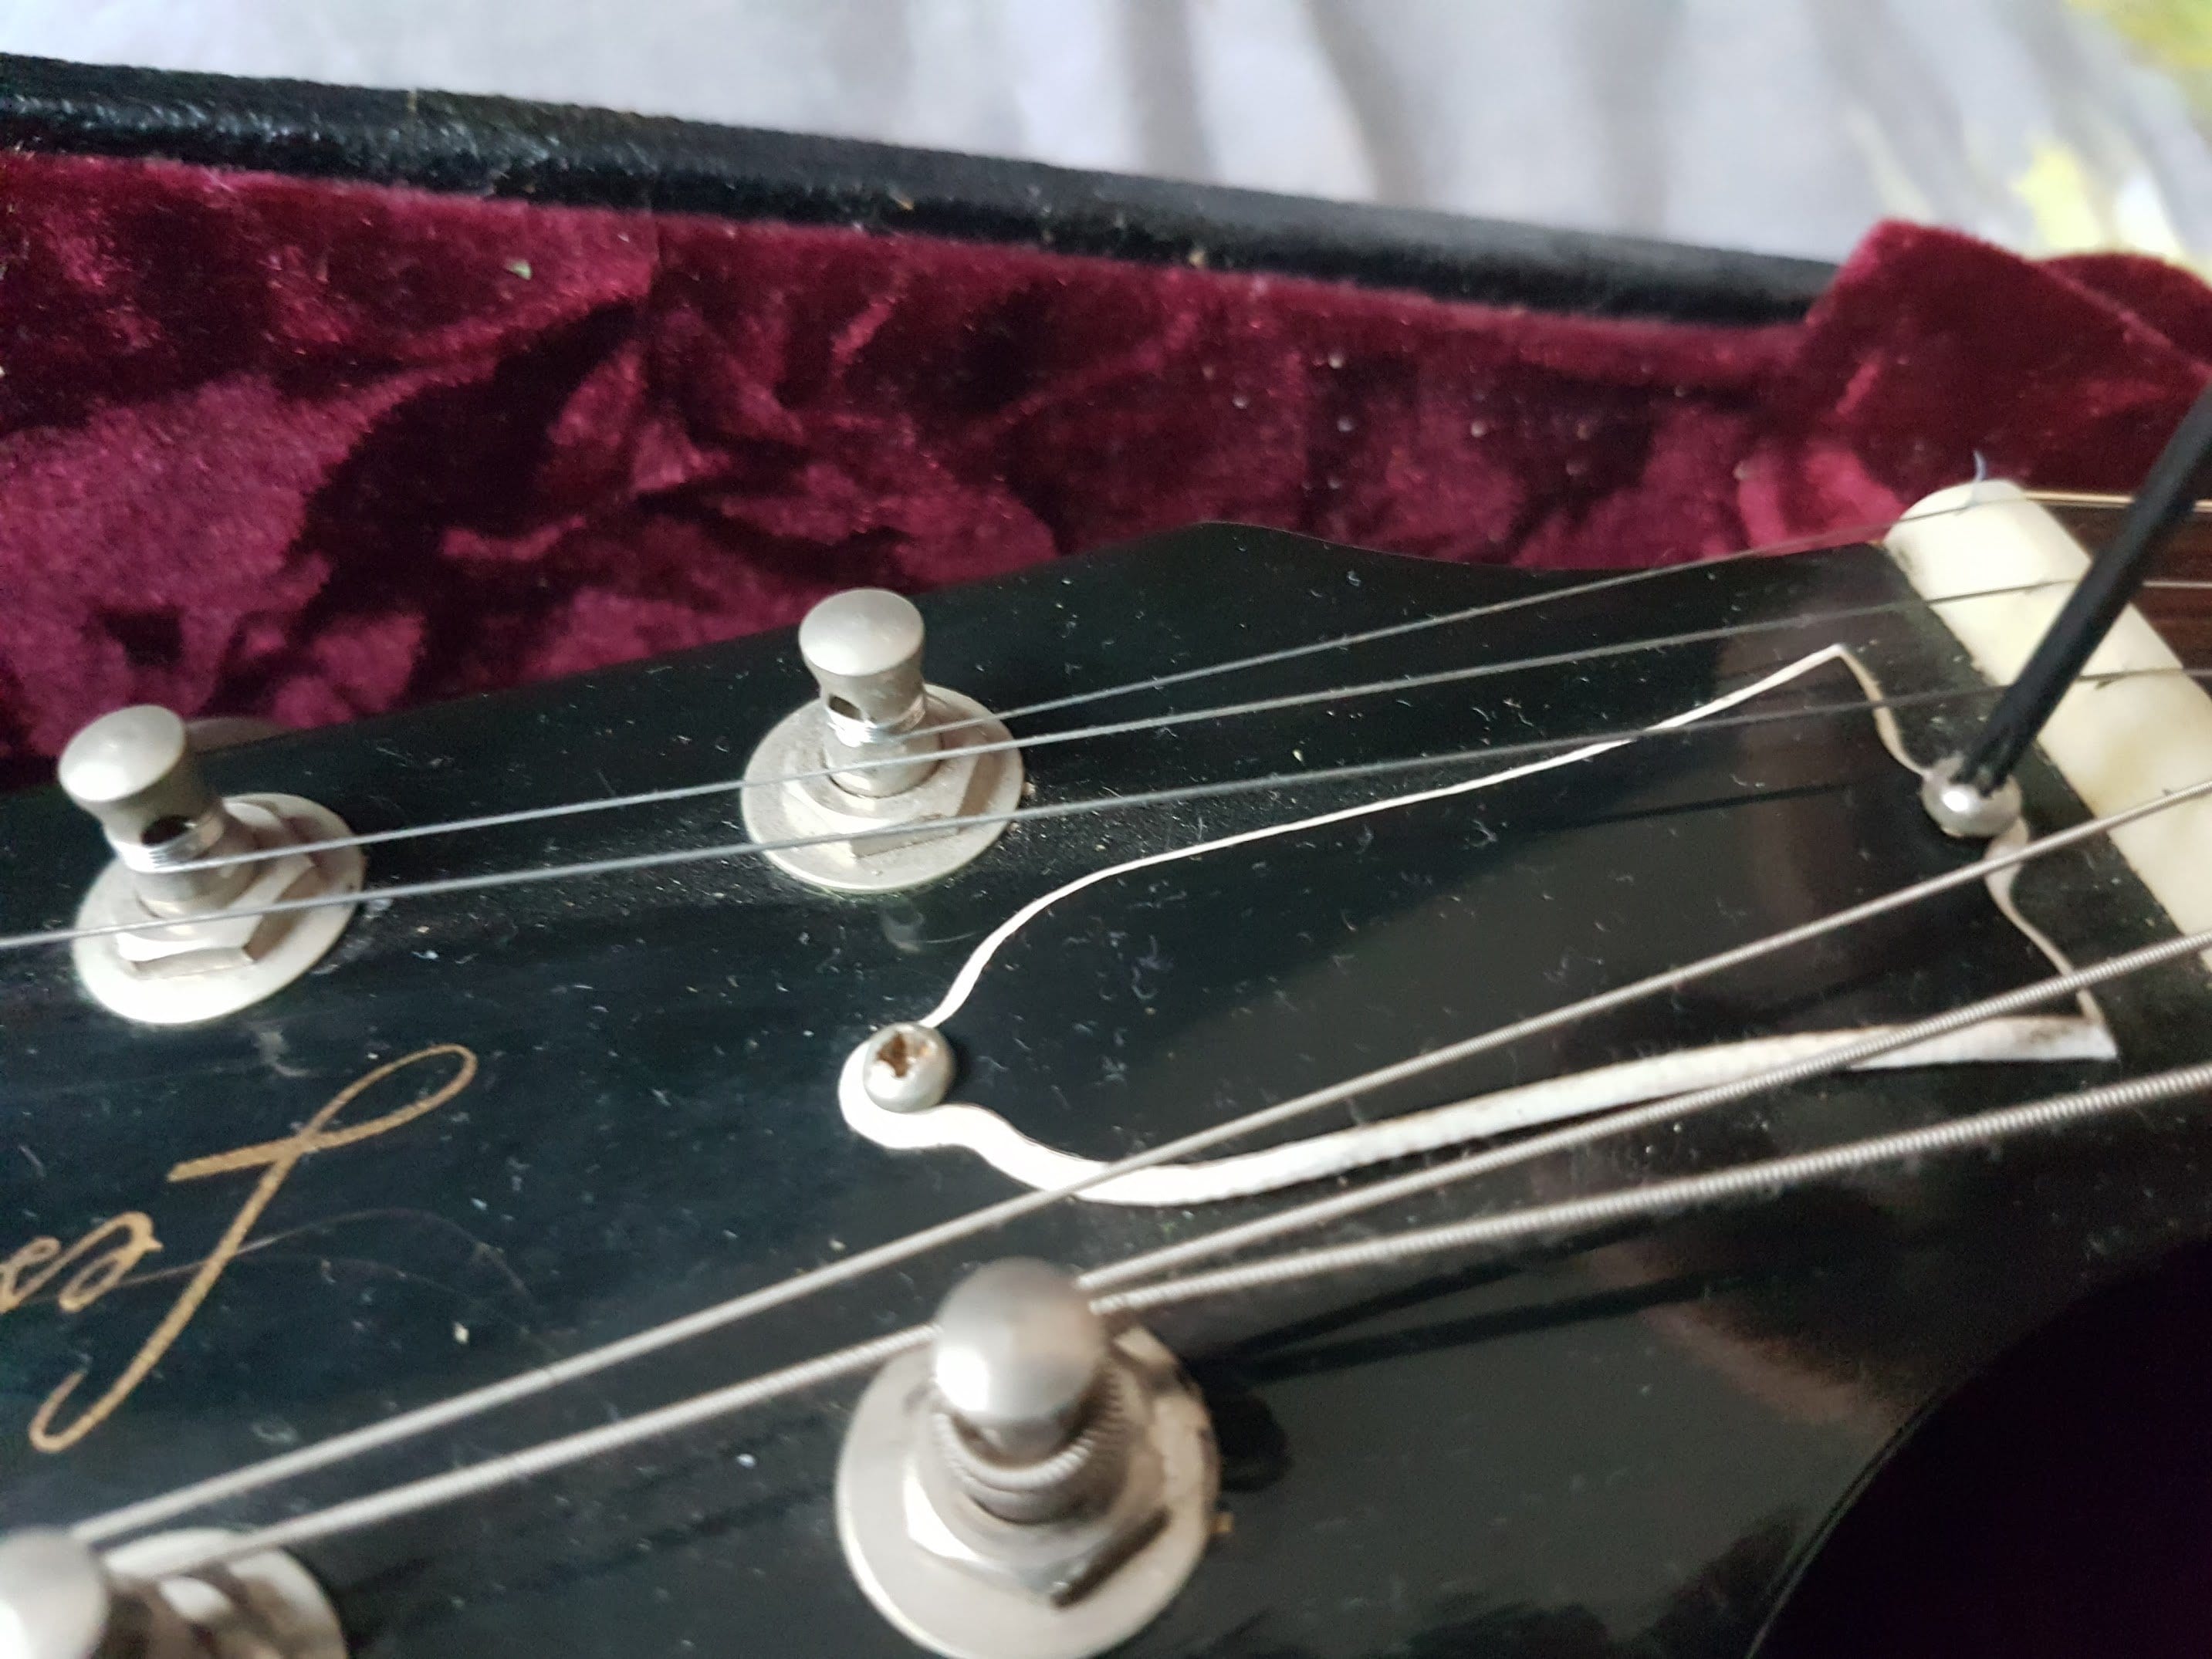
The first thing you need to tackle this is somewhere quiet to work, with plenty of space for your tools, tuner and Les Paul. The truss rod adjustment on a Gibson Les Paul is done using its brass nut at the headstock end of the neck, located under the truss rod cover (funnily enough). Your guitar must be tuned to pitch using your preferred gauge of strings when you do this and under tension, or it simply won’t be correct.
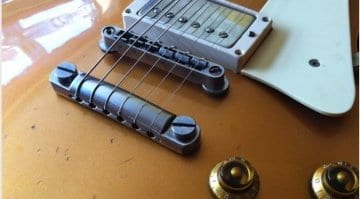
Neck relief is about playability and is not used to set the action of the guitar. What I mean by this is that your basic action should be set by the Les Paul’s Tune-o-matic bridge and that your nut height should be cut correctly first, as no amount of truss rod adjustment can fix your action if these two are poorly set to begin with. So before you begin, set the action on your Les Paul should using the bridge posts. You also need to begin the truss rod process with good intonation, which I covered in last week’s article.
Tools needed
- One truss rod wrench for a Gibson Les Paul like this one
- One small Philips screwdriver for removing truss rod cover
- Electronic tuner to check intonation, tuning
- Capo for holding down strings at the first fret
- Steel rule or set of feeler gauges to measure string height/relief of the strings
Now check the distance between the strings and the frets at the 12th fret, half-way along the neck. The aim here is to give the neck the right amount of bend so that the string height will be the way you need it along the length of the fretboard.
The other more long-winded method is to put a capo on the first fret to hold the strings down. This stops the nut from having any influence, say from being too high/low. Then hold down the low E string on the bridge side of the highest fret. This stops the saddles from having any influence. Using this method, you measure the height between the 8th or 9th fret instead.
The height of a B String?
A good rule of thumb here is to get the low E string height near to the width of your B string. Measure using a bit of an old B string (I always have strings kicking around, so keep the odd cutoffs for this job), between the top of the fret at the 8th fret and the bottom of the low E string.
I find certain guitars play well with a low action whereas others prefer a much higher action to feel right. There is no perfect exact height amount, but getting it ‘as low as you can’ is acceptable for many players. It will also depend on your Les Paul as some guitars with heavier gauge strings and vintage style frets will never go that low, so take this into account when you are adjusting your guitar.
-
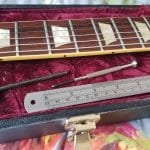
- Correct tools for adjust Gibson Les Paul truss rod · Source: Jef Stone/Gearnews
-
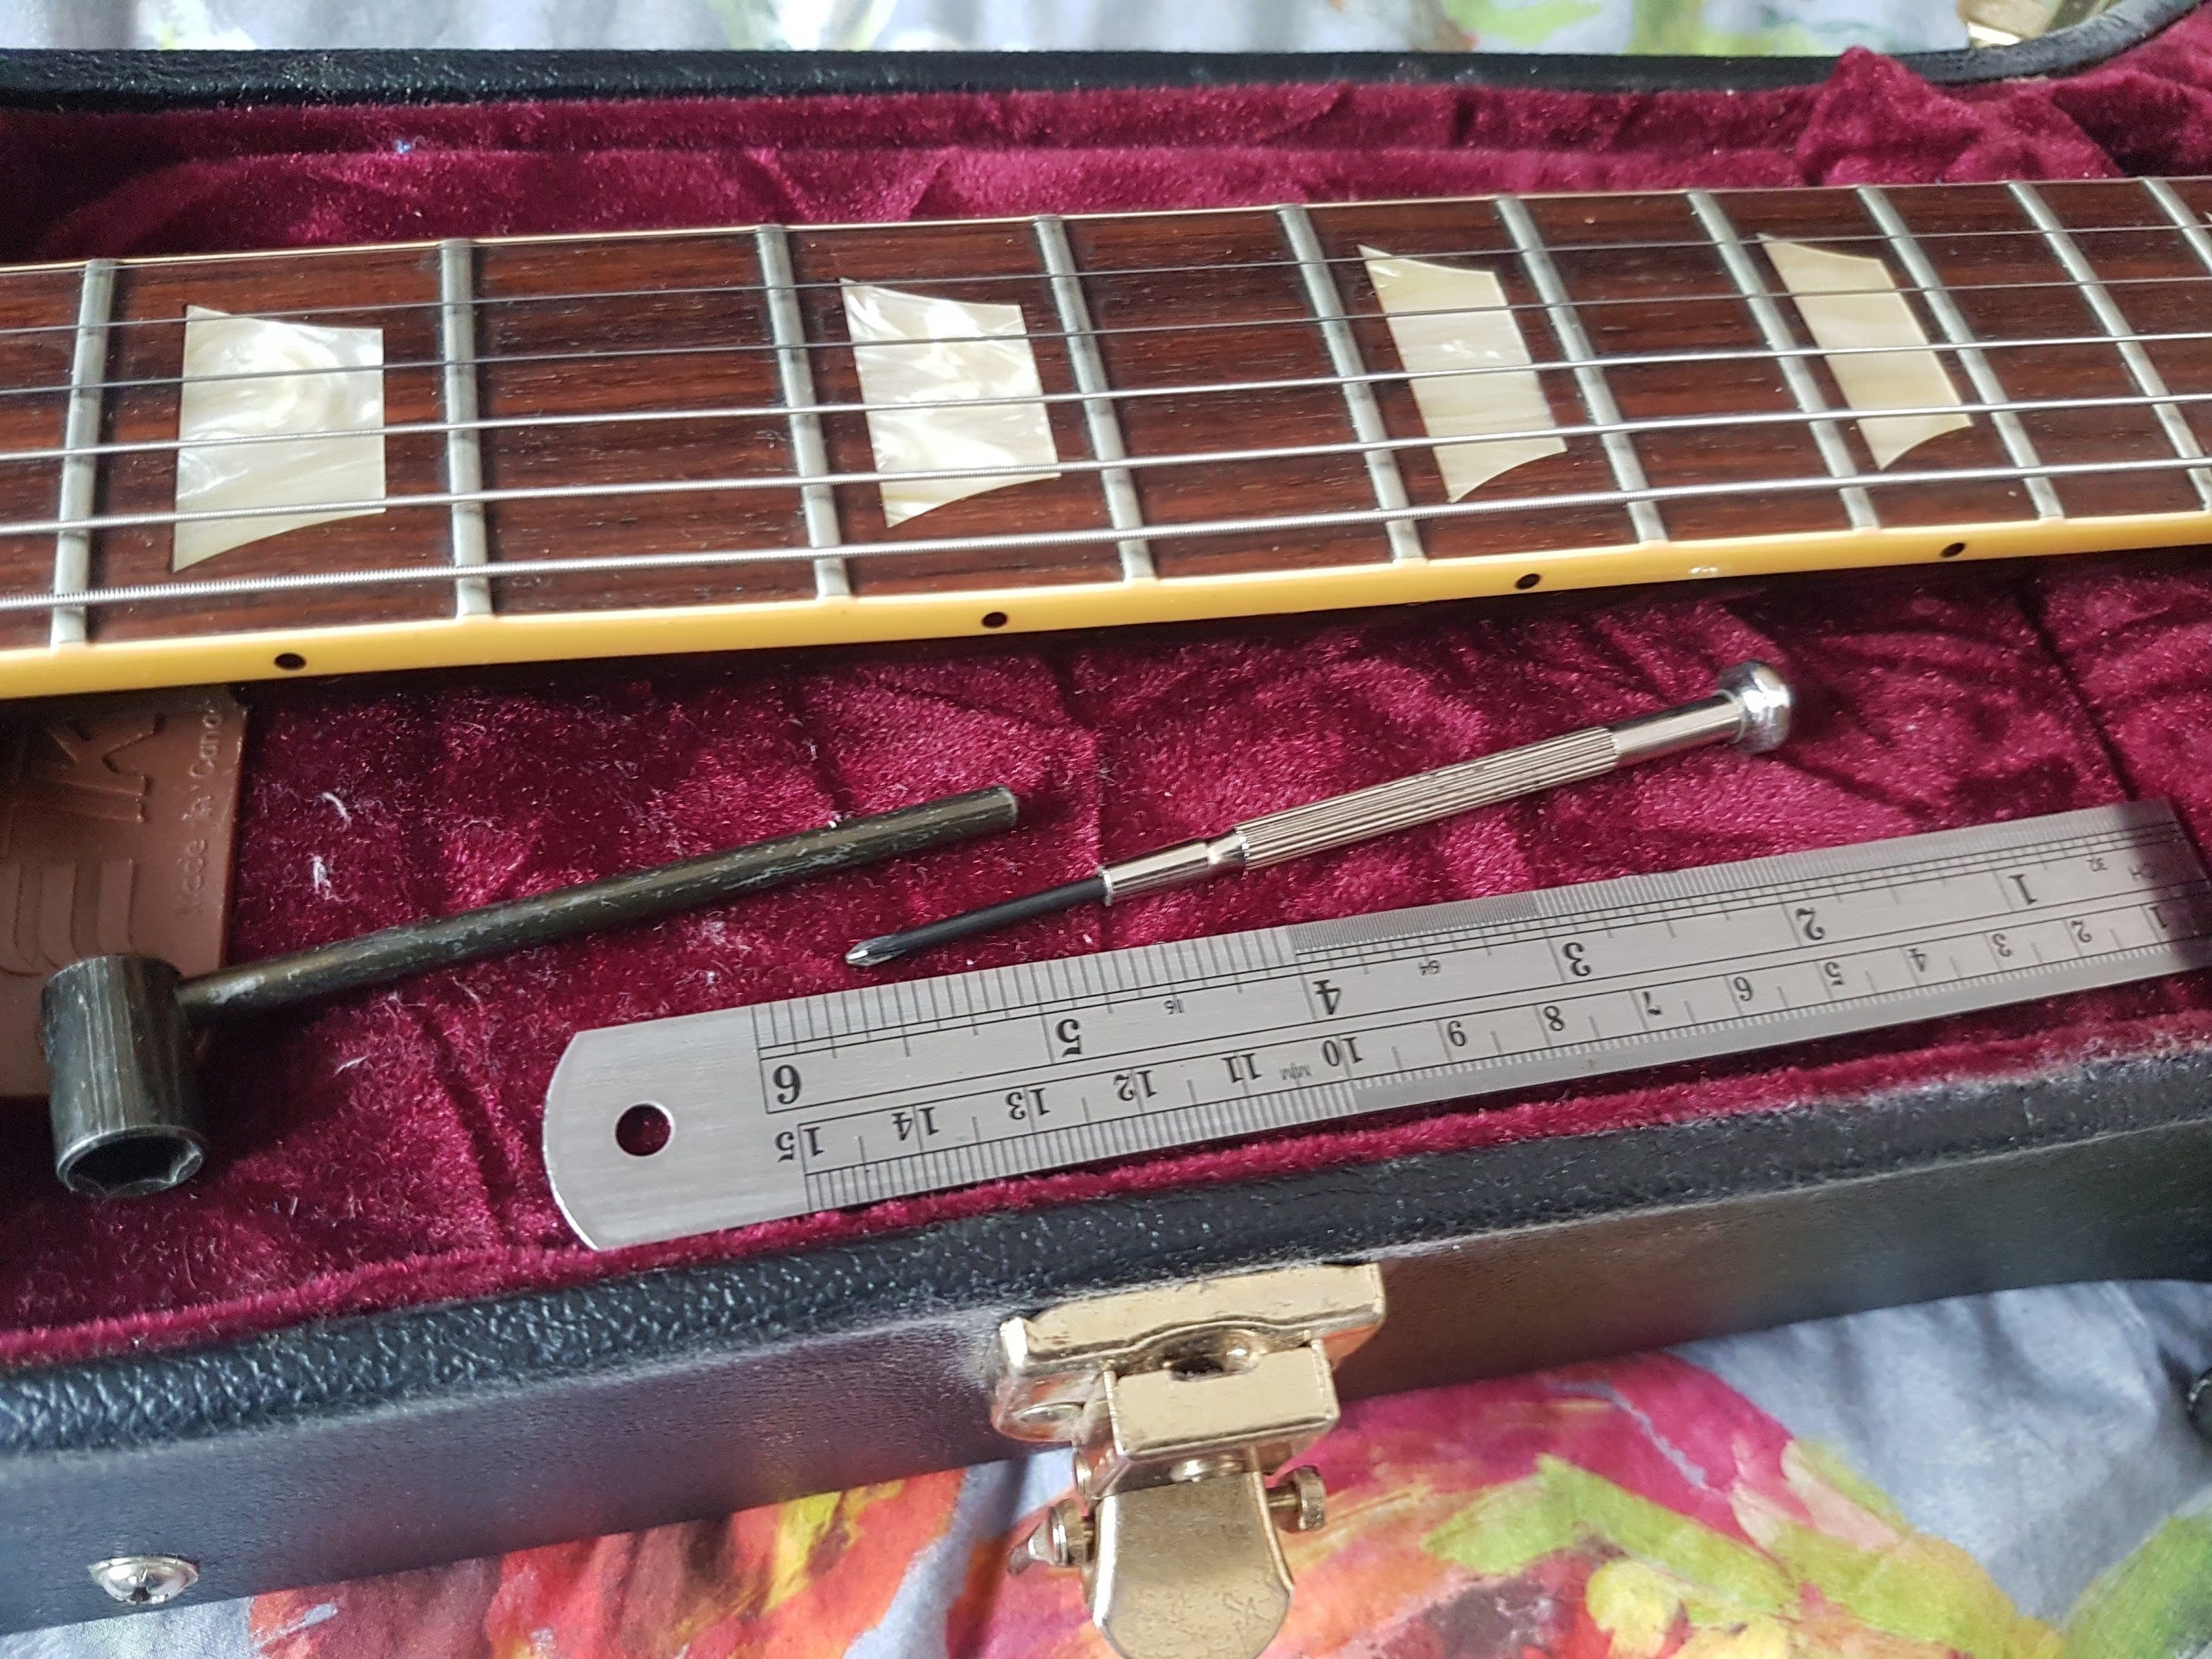
- Gibson Les Paul Headstock · Source: Jef Stone/Gearnews
-
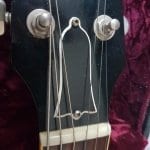
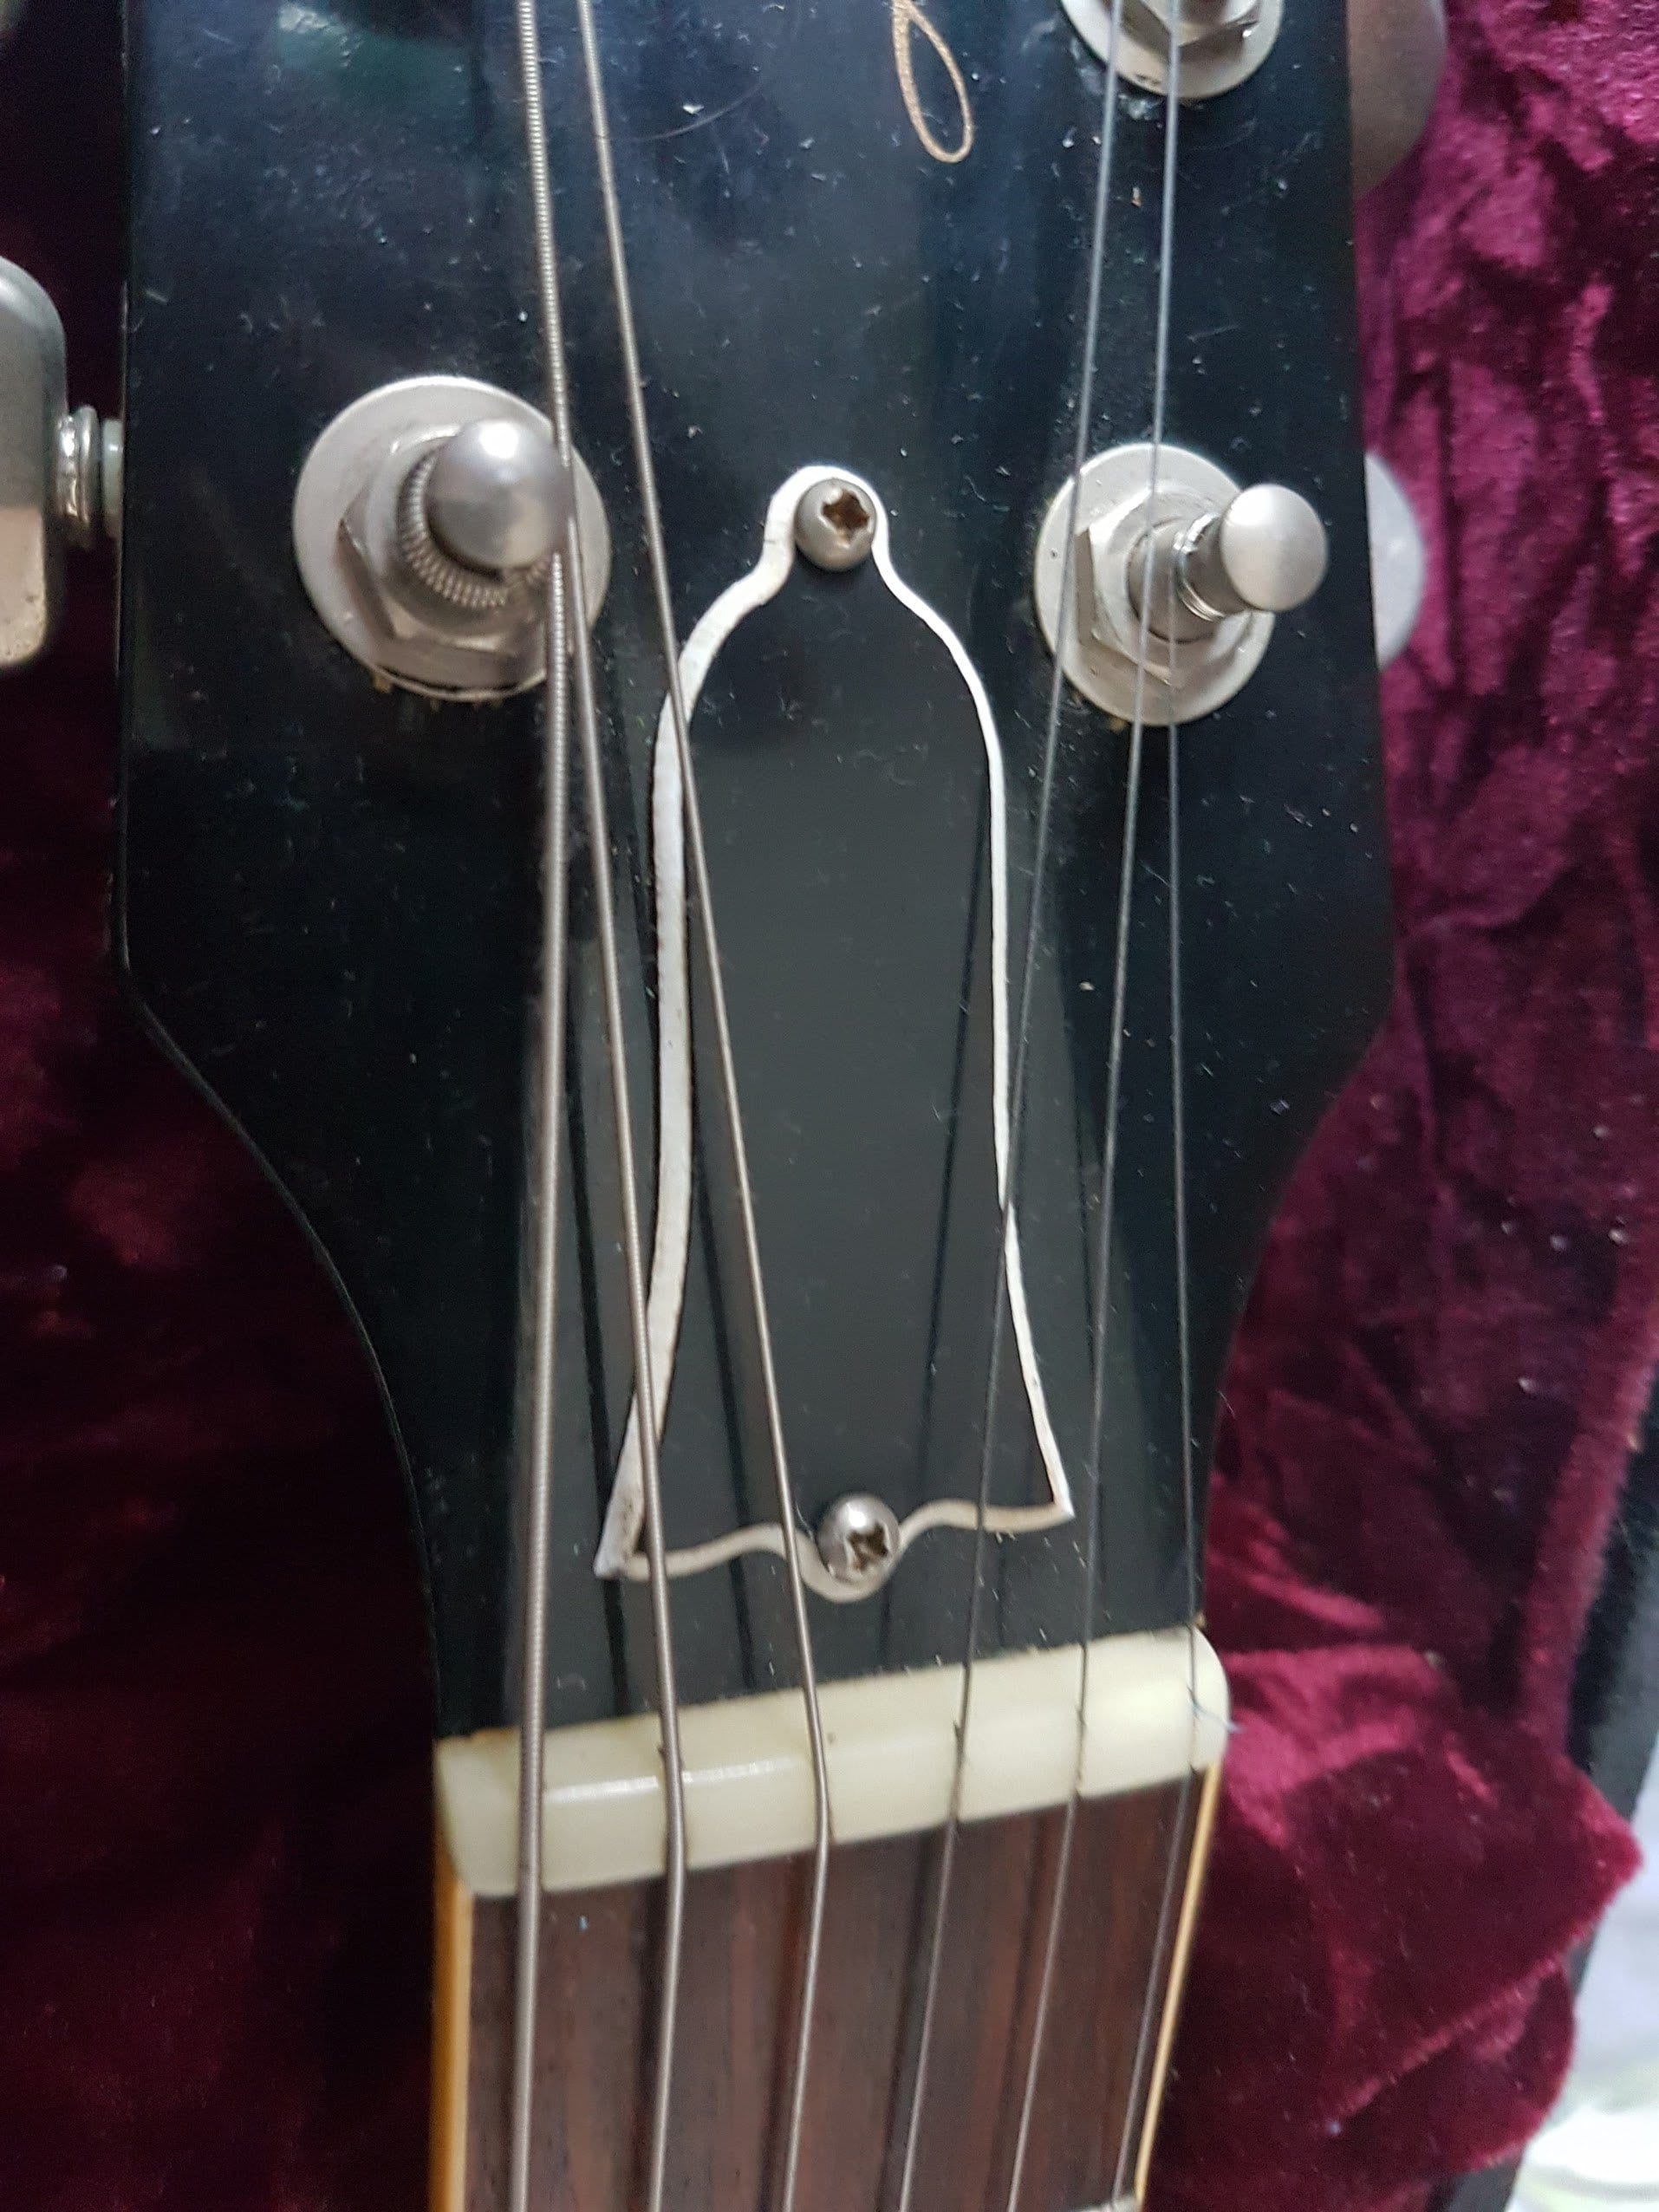
- Truss rod cover · Source: Jef Stone/Gearnews
-
- Removing the truss rod cover · Source: Jef Stone/Gearnews
-
- Les Paul headstock · Source: Jef Stone/Gearnews
-
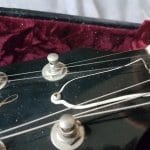
- Gibson truss Rod brass nut · Source: Jef Stone/Gearnews

-
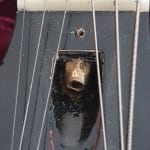
- Brass nut on Gibson Les Paul · Source: Jef Stone/Gearnews
-
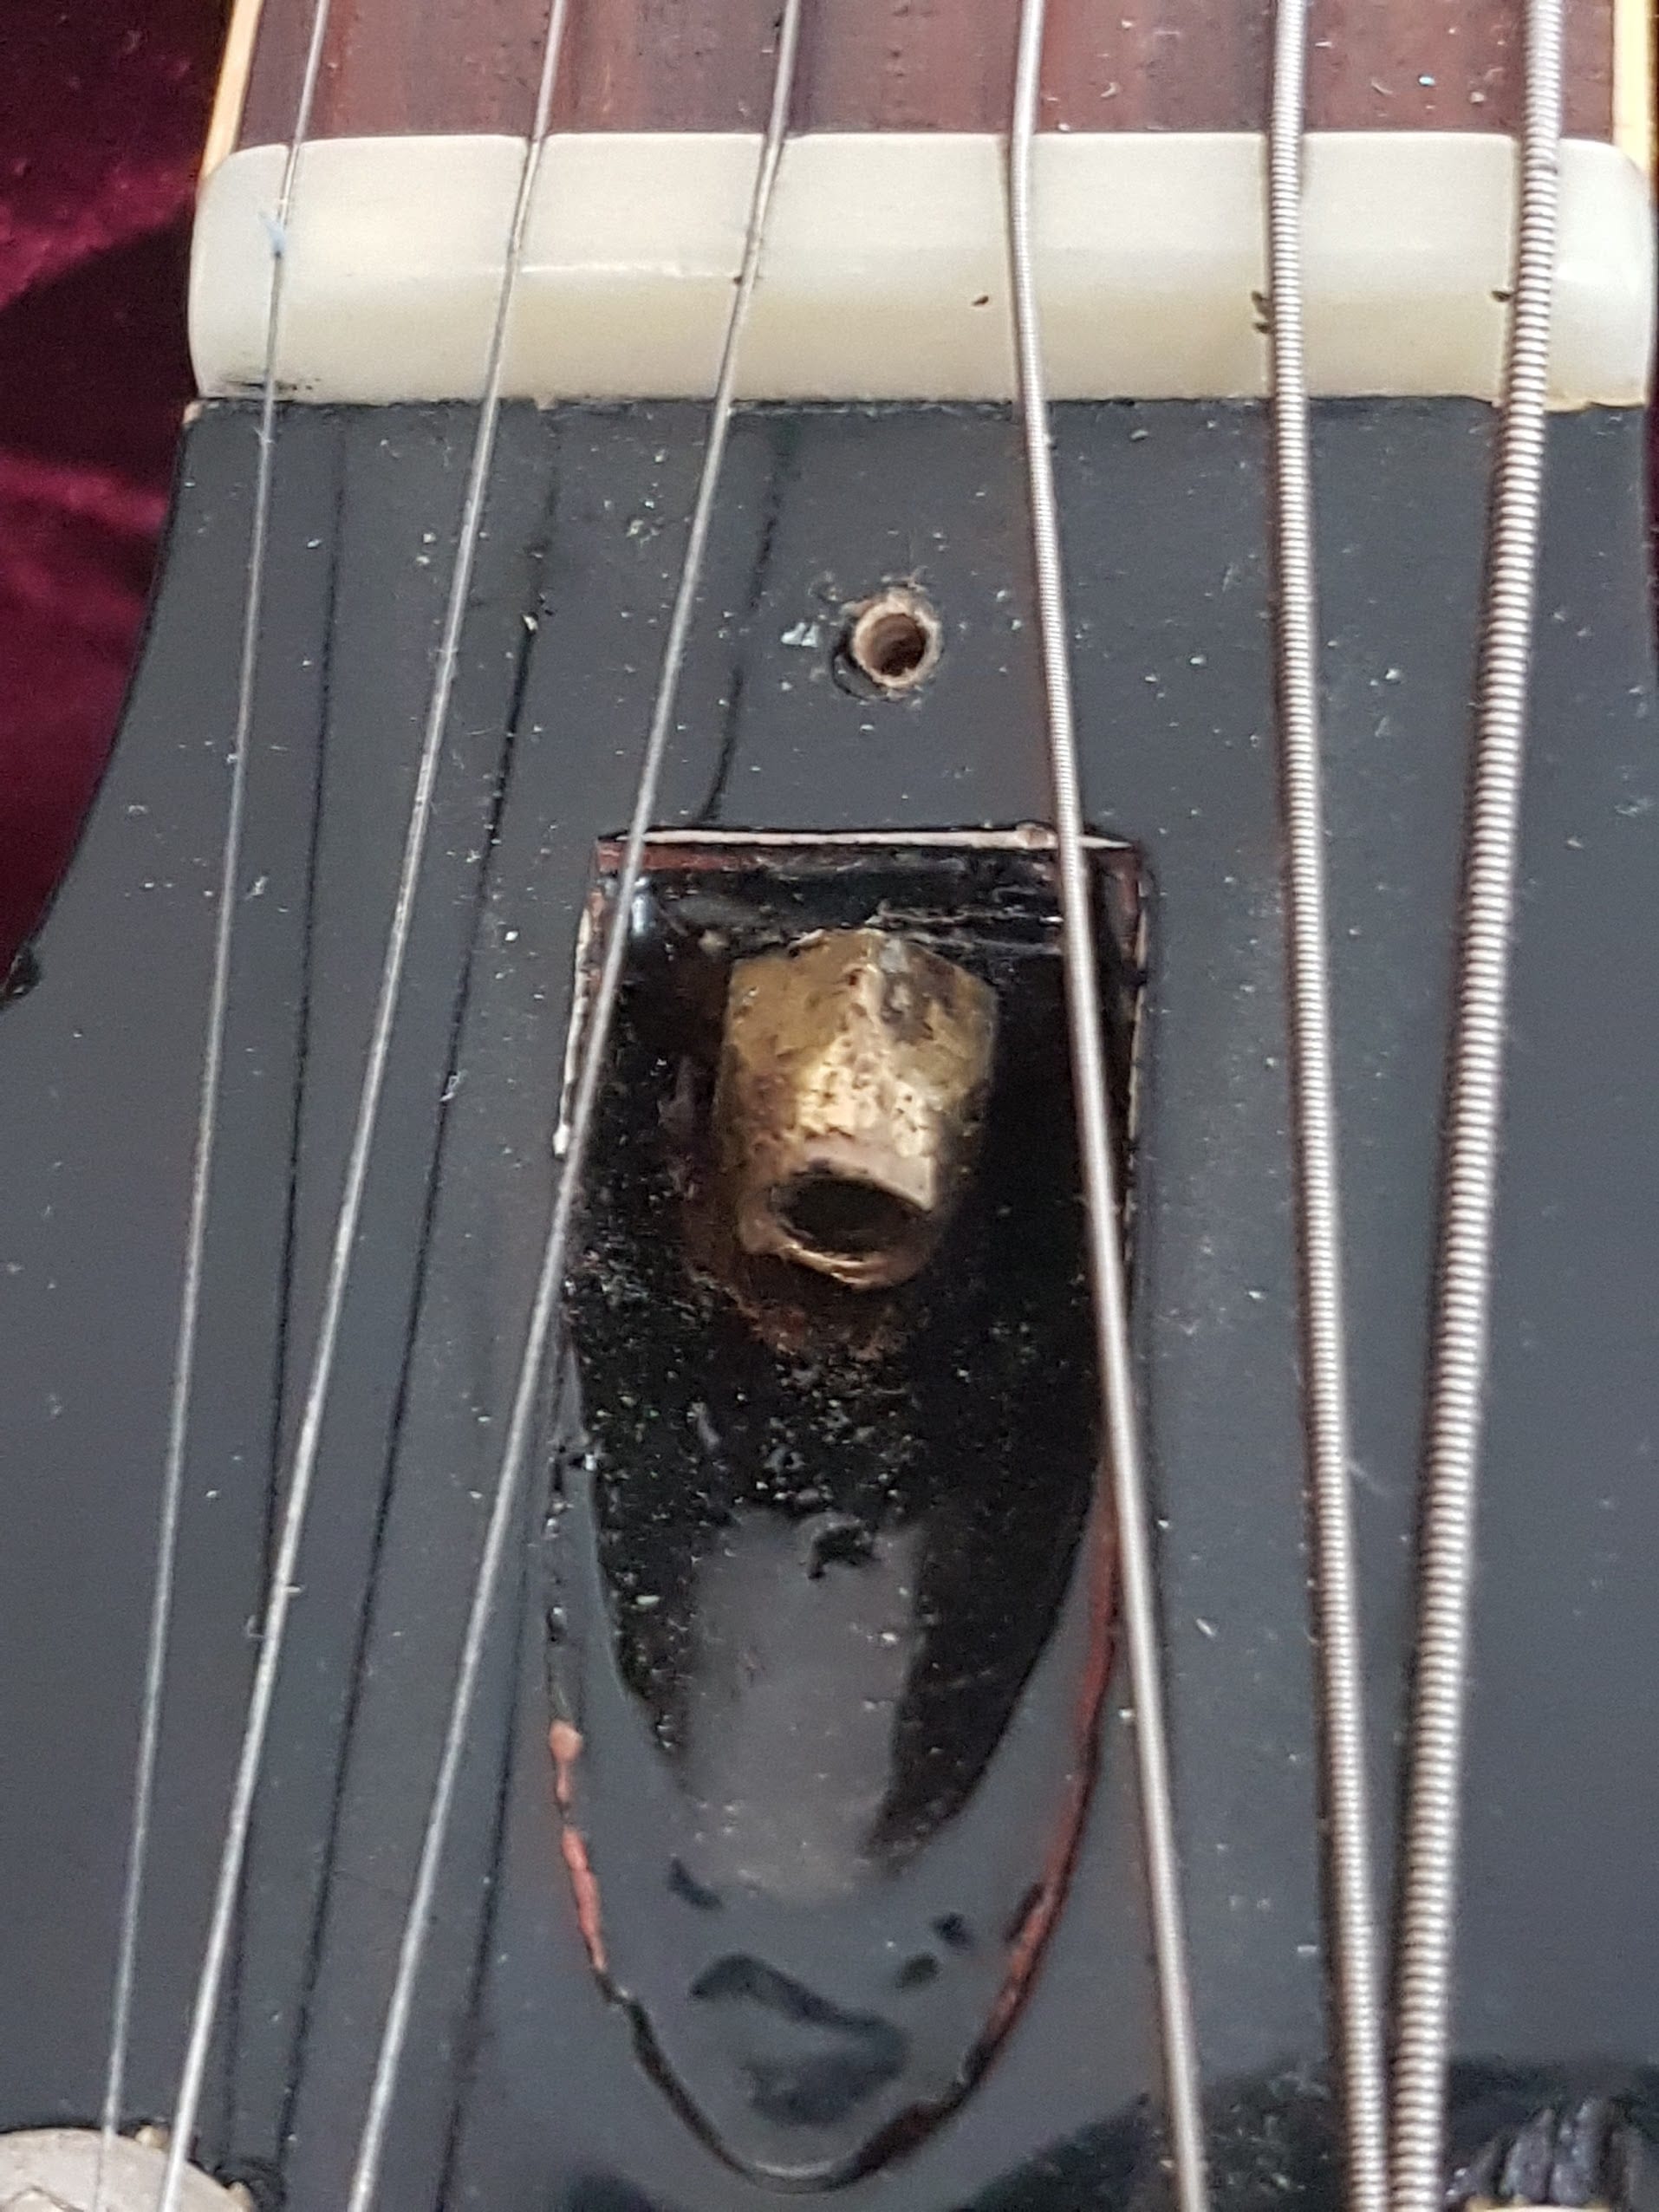
- Adjust nut with correct spanner – Loosen first! · Source: Jef Stone/Gearnews
-
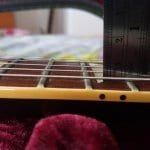
- Check relief at 12th fret using steel rule or feeler gauge · Source: Jef Stone/Gearnews

Always loosen first!
Now you’re ready to start adjusting. Always loosen the truss rod nut first, as if it is stuck and you over-tighten it then you could damage the guitar. Whatever you do, don’t go tightening it straight away or you could get a very expensive bill from your local guitar repair technician. Old Gibson Les Pauls nuts may have gotten stuck over the years, so by loosening them you will avoid damaging them. Be patient, use the right tool for the job and never use excessive force when adjusting a truss rod.
Okay, now that you have loosened the nut you can adjust it to taste, whilst taking measurements at the 12th fret as you adjust. If I am honest I always do it by eye and feel, as I have been doing this for years. However, you should go slow, check your progress frequently to avoid mistakes.
The usual applies: ‘Right to tight‘ and ‘Left to loosen’. Follow these guidelines and you won’t mess it up. I would always suggest you never do more than a quarter turn at a time, and check the relief between each successive turn.
Old and stubborn
Setting a Les Paul relief is not hard, but sometimes old vintage guitars have issues as they get older (sounds a bit like me) and therefore they need a little help to get to where they should be.
I would suggest that if your truss rod nut is stuck and will not loosen, that you should apply a very small amount of oil. WD40 is fine for this, let it penetrate the thread and try again. It should now loosen off. If it does not repeat the process and go slow.
The other issue I see a lot is no matter how much adjustment you make to the truss rod, it will no longer tighten up any further. This means your neck will bow too much and your action be too high at the 12th fret. This is often due to the wood around the area compacting with age and the truss rod cannot pull the neck straight any more.
You can sometimes repair this by using a brass washer between the nut and the end of the truss rod. Of course, you will first need to fully remove the nut and then find an appropriately sized washer to fit over the end of the truss rod, which usually involves some basic metalwork and reshaping of a washer to get the desired shape and size to fit the space.
However, if you have more serious issues with your truss rod then you may need to visit Stew Mac’s online store and listen to someone like Dan Erlewine via his YouTube page, as he manufactures some great tools for more specialist jobs when it comes to repairing your truss rod. I have added a video below of one such handy tool they make, which can re-cut the thread on a damaged truss rod for example.
Recap
- Make sure your Gibson Les Paul is strung up with your correct gauge of strings and tuned to pitch
- Use the correct tools for the job, don’t botch it with dodgy spanners and ill-fitting screwdrivers
- Find space to work that is quiet and use a steel rule or a feeler gauge to measure the action at the 12th fret. Use either method described above to measure your relief and take your time.
- Always Loosen truss rod nut first!
- Go slow and only turn one quarter at a time
- Adjust, check relief, tune and repeat.
If you have any more tips or tricks for setting your Gibson Les Paul up then feel free to share in the comments section below.
I would highly recommend this book by Dan Erlewine as it has many great ways to approach looking after your guitar.
For more Gibson articles click here
Video
You are currently viewing a placeholder content from YouTube. To access the actual content, click the button below. Please note that doing so will share data with third-party providers.


This might also interest you


7 responses to “Jef’s Tips for making your Gibson Les Paul play like a dream, Part 2: Truss Rod”
Good info! Thanks! Typically, I straighten necks, removing most relief if not all of it. Usually, I fret the 6th string at 1st & last fret and tap the string for feel at the 8th or 9th fret. (Fortunately, I have long fingers and can do this task!). Once done, I check the C# on the B string (2nd fret, 2nd string) to be sure it rings clear. Also checked is whole-step bends on the high E string above the 12th fret. For me, the last adjustment is bridge height. Thanks again!
all guitars can be set up to play with a very low action. the compounding difference of height from each fret as you climb up the neck should account for the shape of the vibration of the string. depending on how you play you can get a 2/64th action to work. high radius necks though need specific actions to account for bending of notes if desired. it all just requires at most is a properly leveled fretboard. not all trust rods bend the neck in the same way. so you have to adjust for your own personal neck and where you need to work the frets. you set up the guitar to where it is playable, lower the strings to where desired and see what is wrong with it. if you don’t know how to level a fret board, then take it to a luthier, but expect to pay handsomely. my r9 for the last 10 years wouldn’t play with a low action. i finally sat down with it, and worked the higher frets down. i rarely play up there so they were fresh. now the frets are all the same height and the action is perfect. it lowered to about 2/3 the height it was before.
I will never again use the Phillips Head end of the truss rod adjustment tool supplied by Gibson. It is oversized and stripped out the slots on my truss rod cover screws.
Jef went through all that, and forgot to mention any numbers to check for on truss rod adjustment. Wanted to be sure we have feeler guages or a ruler, and mentions he doesn’t use them, but then just proceeds to tell us after loosening the nut to “adjust to taste”. TOTALLY dropped the ball Jef! I know if anyone else is like me, they are pretty irritated they just wasted the time reading all of this to end up with no better knowledge than we had prior to doing so. Pretty sure we all knew it requires measuring…. What we need to know is what to measure to!! Not a lesson on how to use WD40 sparingly! This was an Epic fail if I ever saw one. And no one’s called him on it yet either. Well, sorry, not sorry… I’m just saying what 98% of you who got this far down the page were thinking!
Factory suggested heights for strings for Gibson can be discussed here https://www.gibson.com/en-US/Support/Virtual-Guitar-Tech So I would follow their guidelines. I do mine to taste, as I like my action higher on some of my Gibson guitars and lower on others, as depends on the guitar for me. My R7 for example is lower than standard factory as had a new nut cut has zero relief, and I swapped out the bridge for a Faber, as it suits that guitar, whereas I have my ’77 Custom a lot higher, as I use it for a lot of rock stuff where I bend strings all the time, so it has more relief as I like a good grip and a higher action so that the rings out for more sustain.
You are adjusting truss rod for neck relief, not strings action/height and so it is about how straight you want the neck, or whether you require more relief. So you could go out and buy a professional neck relief gauge, but I have never needed one https://www.stewmac.com/luthier-tools-and-supplies/tools-by-job/tools-for-necks-and-fingerboards/neck-relief-gauge/
Are you in England as I have had my les Paul custom seen by 2 different people and it doesn’t feel the same the first one changed the bridge but was too high and did not feel the same the second one sorted the intonation as I tried in vain to lower the action myself as I have done in the past successfully but still doesn’t feel or play the same. The first one did not put a tune o matic bridge on so should I have the bridge replaced again. Thanks, Eddie.
Perhaps I’m misunderstanding.
Are you recommending adjusting action via the bridge and adjusting nut height BEFORE truss rod adjustment?
And adjusting intimation prior to truss adjustment, also?
Hopefully you are not recommending this. This goes against the setup process recommended by Gibson, Fender, PTS, etc.
Intonation, bridge height, and nut height have zero bearing on truss adjustments. Intonation would immediately be off if the truss rod is adjusted in any way. The length of the string is changed by truss adjustment. This is what intonation changes.
Looks like this was a few years ago so hopefully you have learned the proper procedures.
Anyone following these instructions is not going to have the best setup out there.
You are currently viewing a placeholder content from Facebook. To access the actual content, click the button below. Please note that doing so will share data with third-party providers.
More InformationYou are currently viewing a placeholder content from Instagram. To access the actual content, click the button below. Please note that doing so will share data with third-party providers.
More InformationYou are currently viewing a placeholder content from X. To access the actual content, click the button below. Please note that doing so will share data with third-party providers.
More Information