Pedalboard Accessories: The Best Cases, Power Supplies and more
 3,9 / 5,0 |

StanA pedalboard is a great way to organize and carry your effects pedals – if you have the right accessories! Check out our buyer’s guide to pedalboard accessories to find the best pedalboard cases, pedal mounts, cables, power supplies, and more.
While refrigerator-sized racks and 19″ rackmount gear ruled in the 80s and 90s, small, colorful effects pedals in a stompbox format gradually came back into the spotlight just before the turn of the millennium. Effects pedals are now more popular than ever and the selection has never been greater. This brings about some important questions about pedalboards and the required accessories, from the power supply to patch cables to Velcro strips.
Should build your own pedalboard or buy a pre-made one?
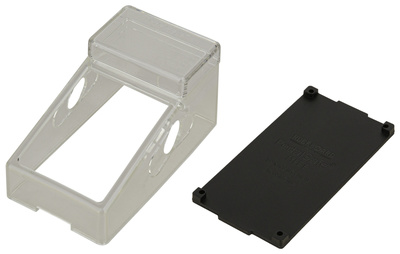
To start with, any pedalboard’s job is to provide a secure base for your pedals. Theoretically, this can be as simple as a piece of plywood from the hardware store, which you can cover with carpet or Velcro tape.
However, if you’re looking for a more professional solution, pedalboards are commercially available in a variety of designs. First of all, you should determine the required size. Take a piece of cardboard, wood, or a large sheet of paper and arrange your pedals on it, preferably with cables connected to ensure correct spacing. Next, take some accurate measurements and don’t forget about the height! If the lid is too high, the pedals can move around; if it’s too low, it’ll exert too much pressure on the knobs, if it closes at all. Ideally, the inner padding should press lightly (!) on the knobs to keep the pedals in position.
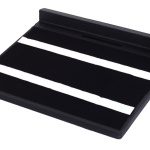
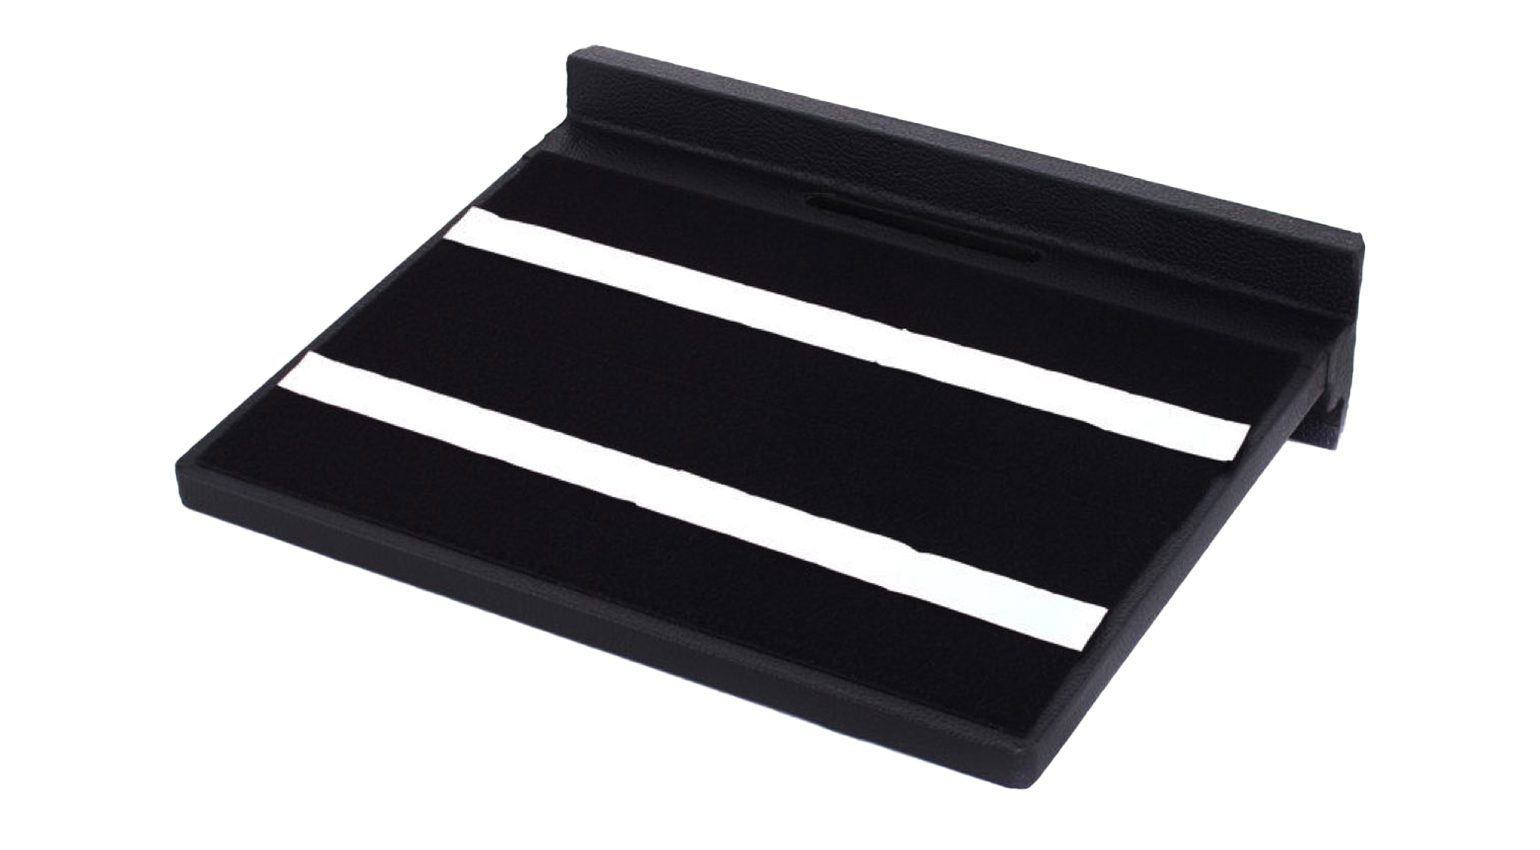
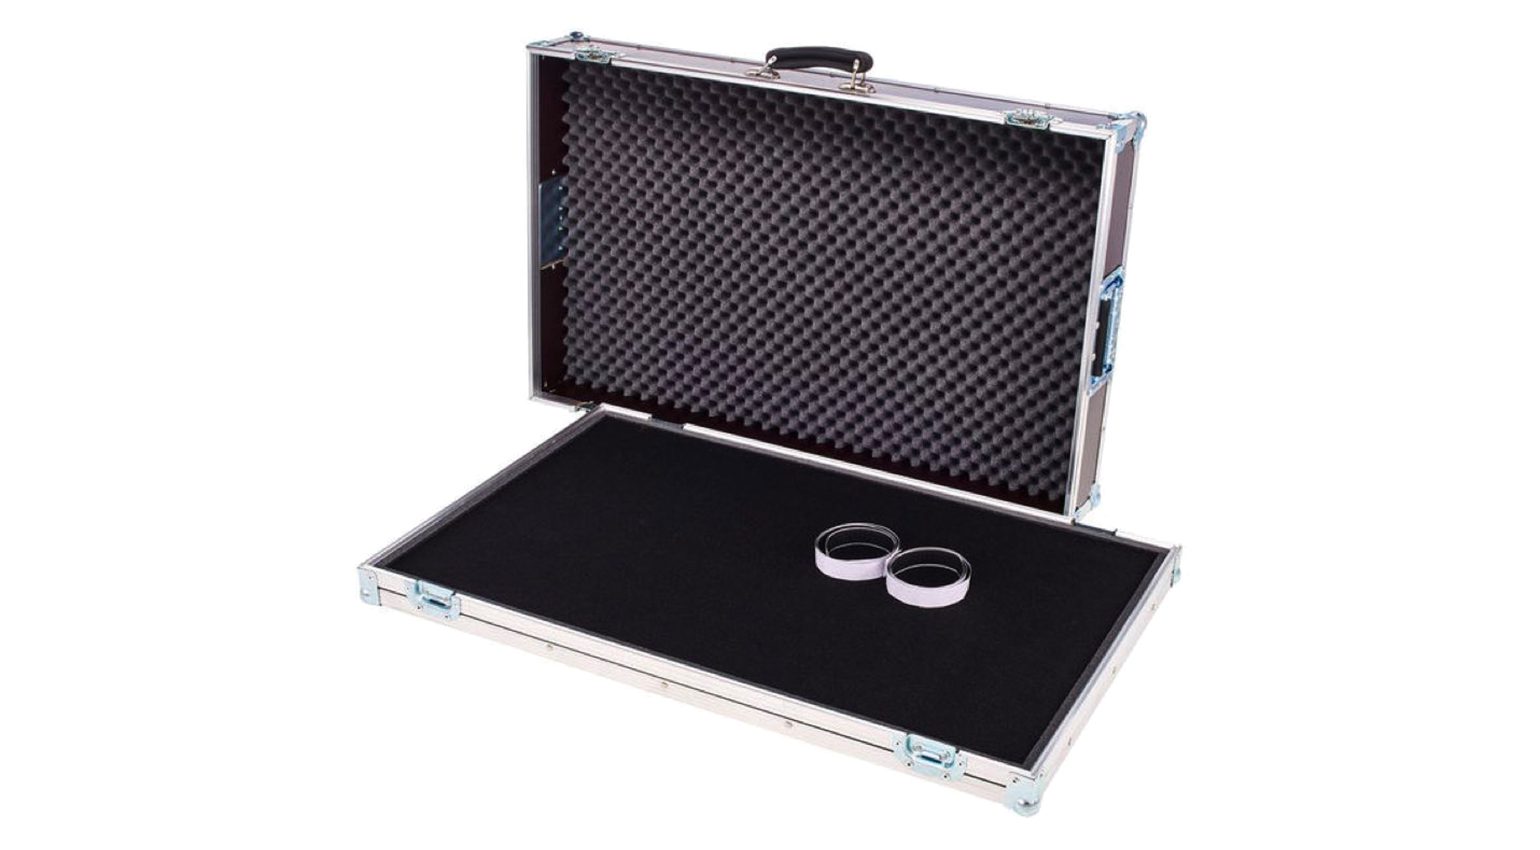
Now you can begin hunting for the right board. Many pedalboards have a flat design, which is usually made of wood:


-
- Gator GPT-Black Pedalboard · Source: Remise 3
-
- Rockcase RC 23010B Effect Pedal Case · Source: Remise 3

-
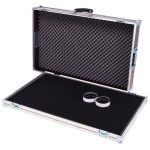
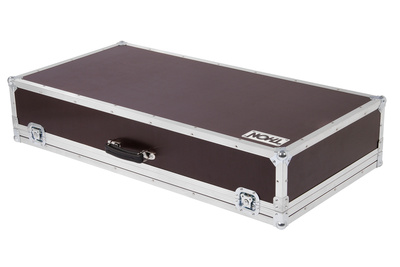
- Thon Effect Pedal Case Small · Source: Remise 3

-
- Thon Effect Pedal Case Medium · Source: Remise 3
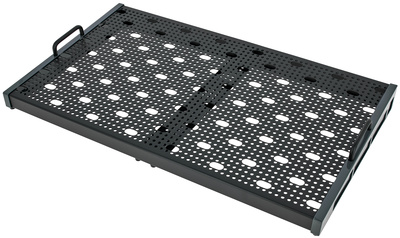
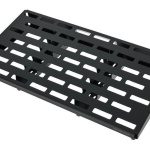
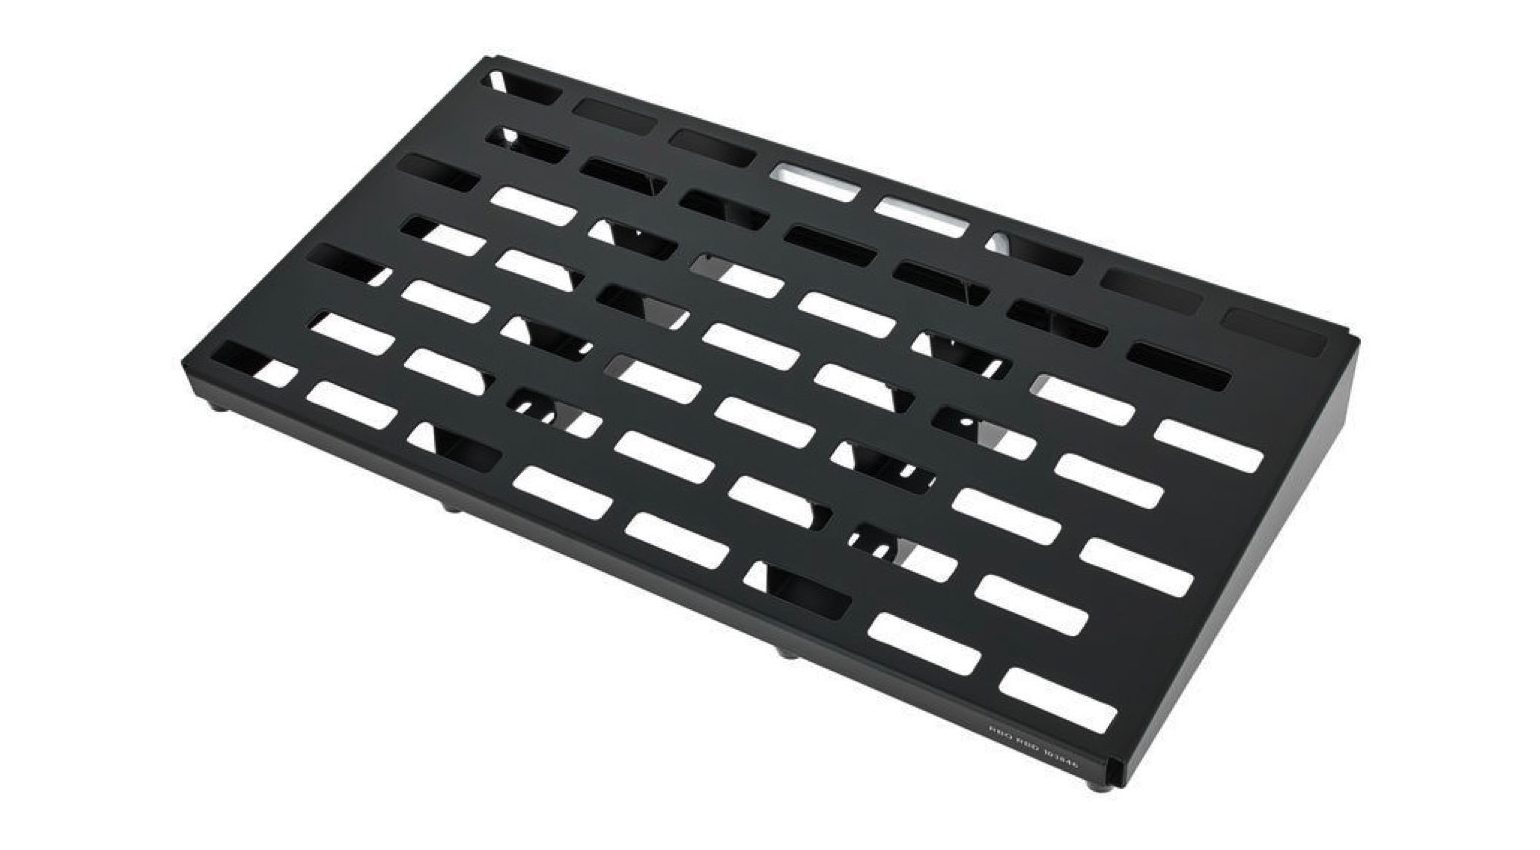
Alternatively, there is the often slightly slanted aluminum design. One advantage of this design is that it offers space between its rails to pass cables through, and the underside usually provides enough space for a power supply, power brick, or power strip:


-
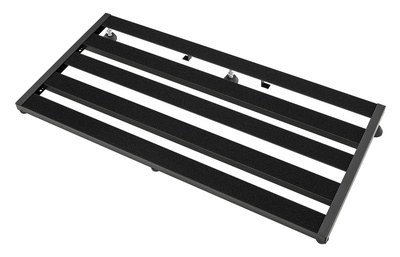
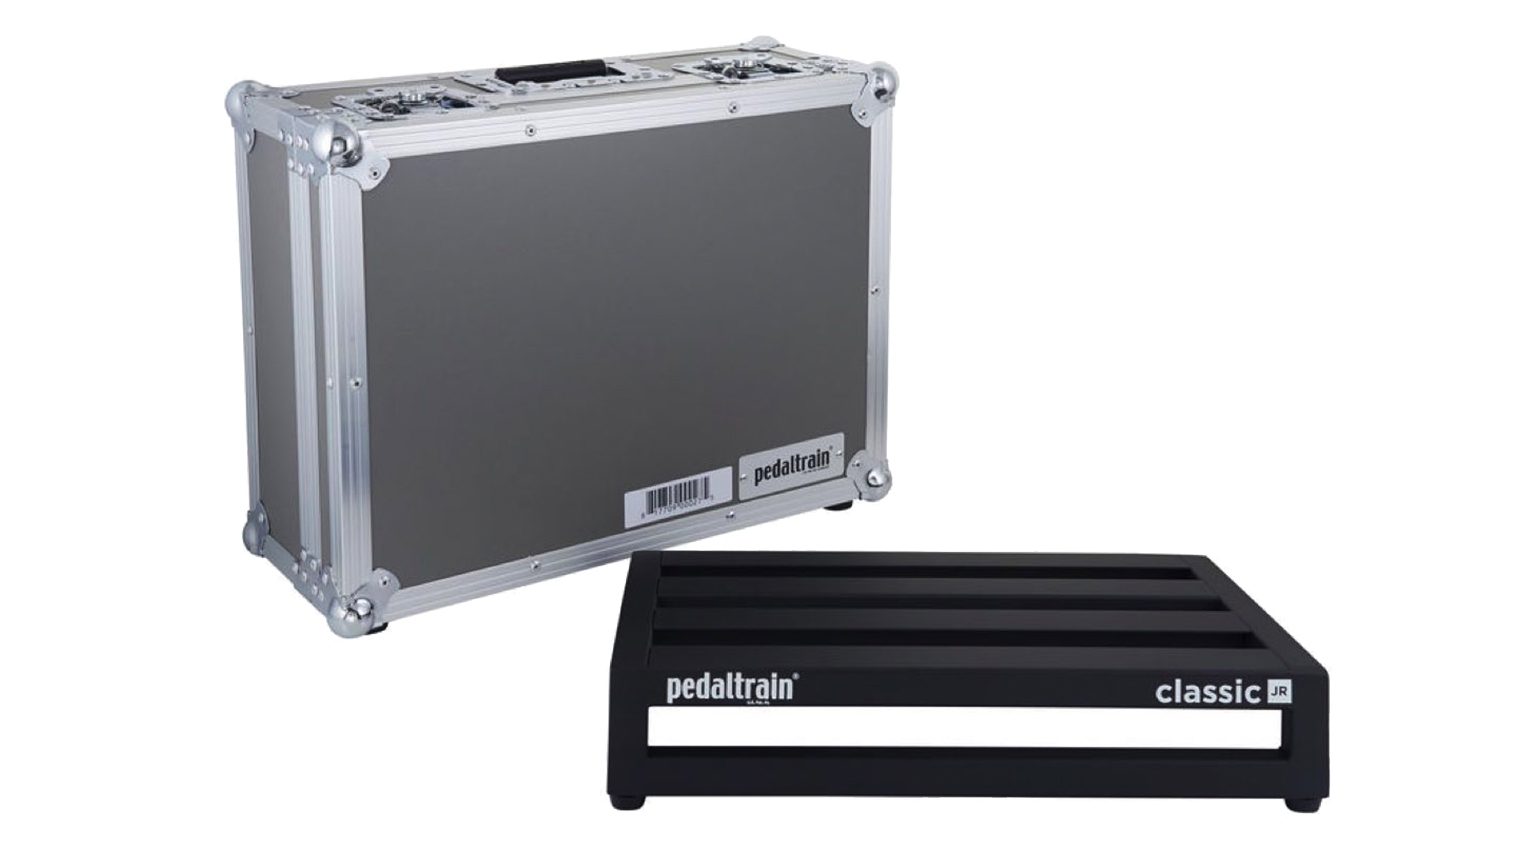
- Pedaltrain Classic Jr Tc · Source: Remise 3
-
- Temple Audio Design Trio 28 GM Pedalboard · Source: Remise 3
-

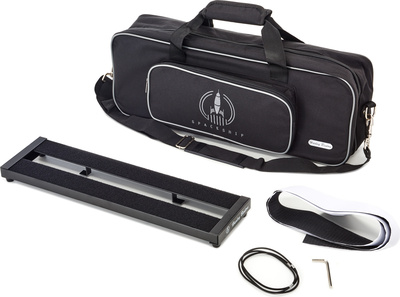
- Harley Benton SpaceShip 50C · Source: Remise 3

-
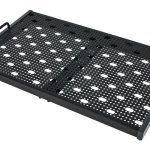
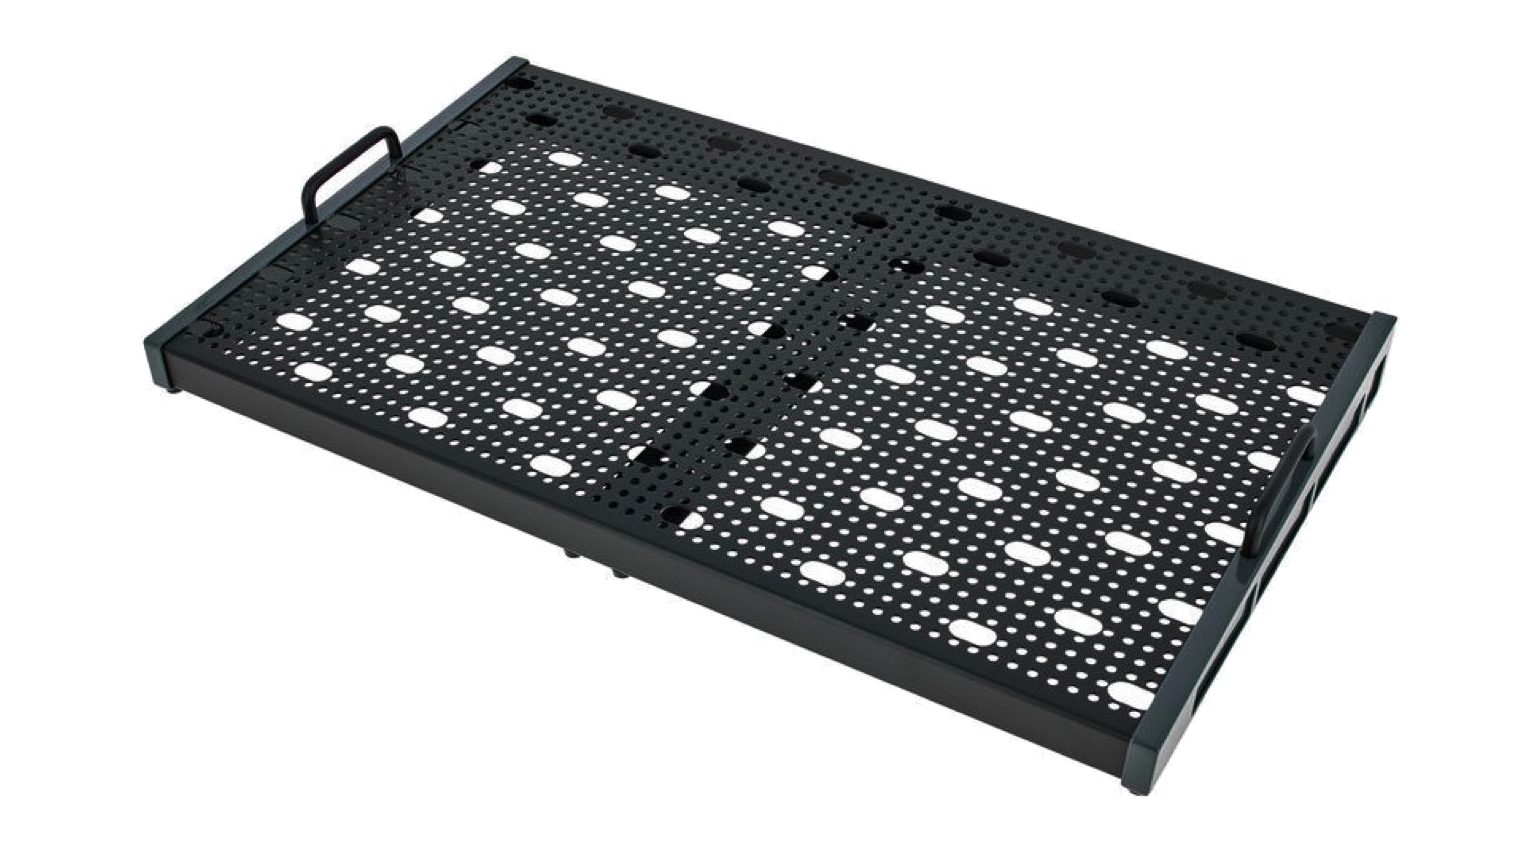
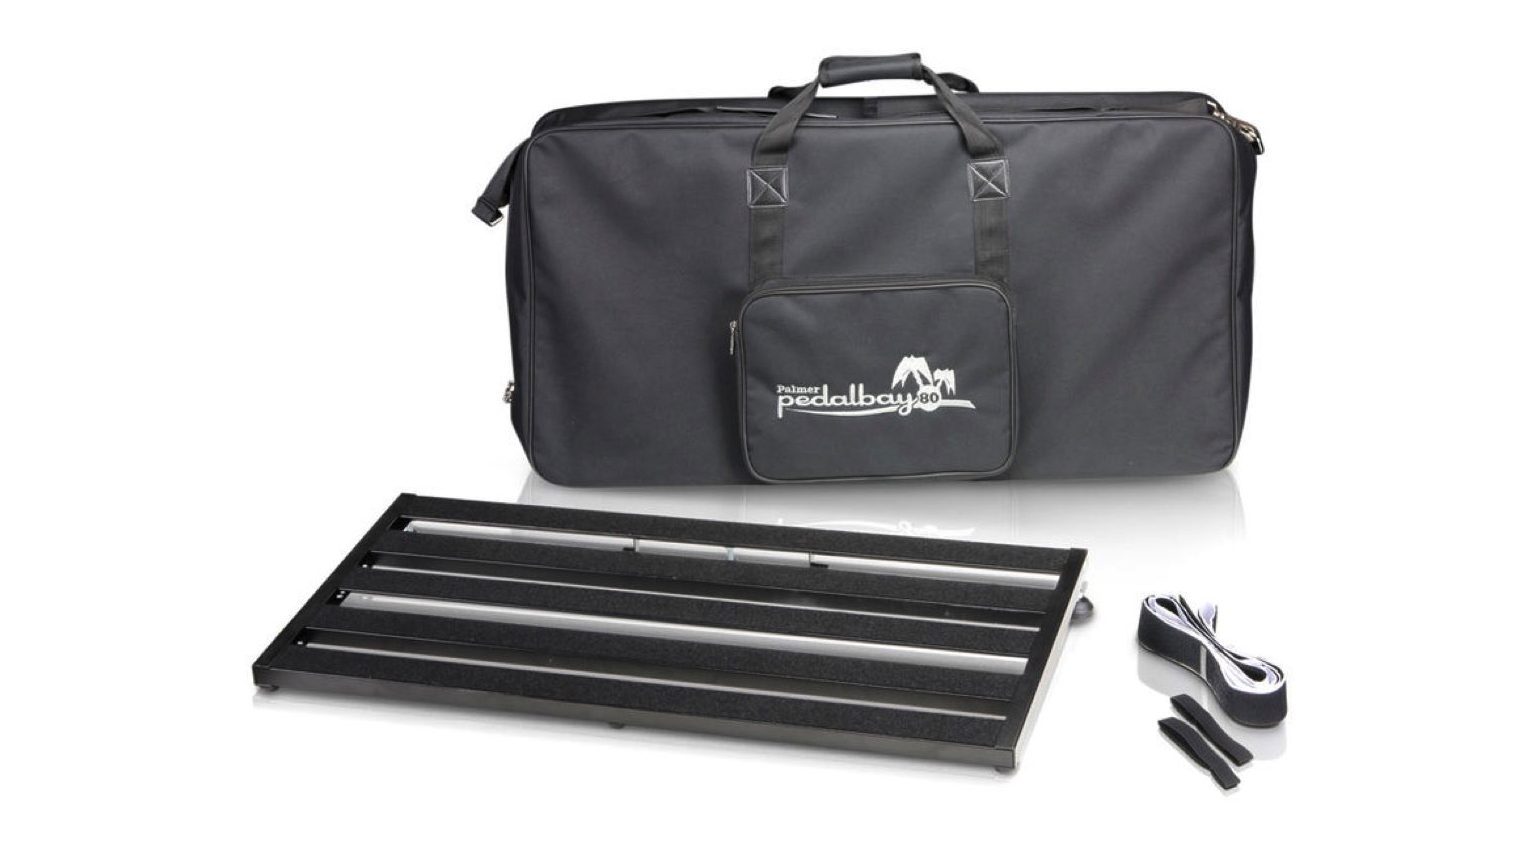
- Palmer MI Pedalbay 80 · Source: Remise 3
-
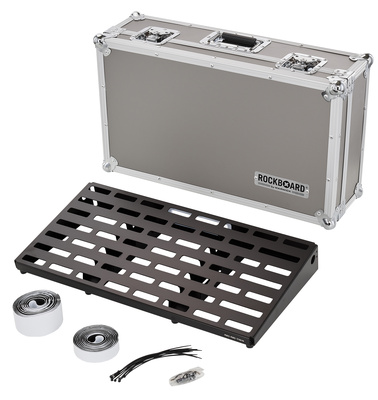
- Rockboard QUAD 4.2 C · Source: Remise 3
Which type you choose is certainly a matter of taste, but both designs have their pros and cons. One advantage of the wooden board design is the ability to screw directly into the wood. Also, the cables are easily accessible in case of problems. In contrast, cables and power supplies are usually hidden out of sight in aluminum designs, so these offer a certain safety factor and are usually more pleasing to the eye.
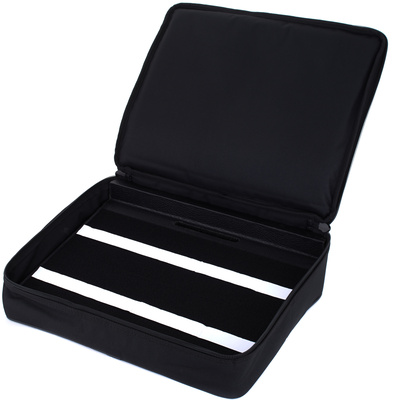
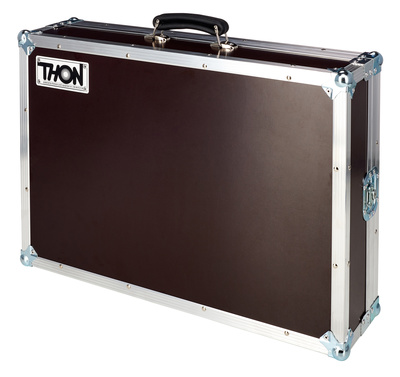
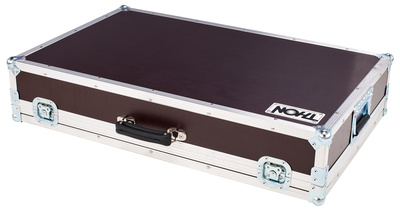
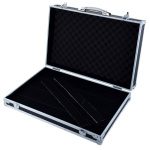
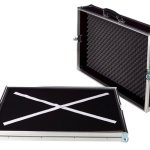
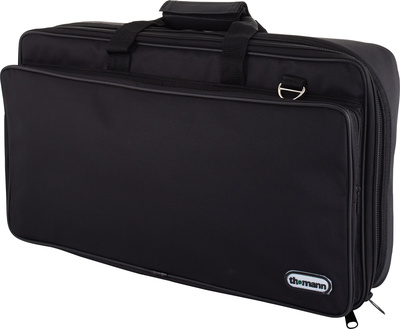
Hard case or soft case – what’s better for your pedalboard?
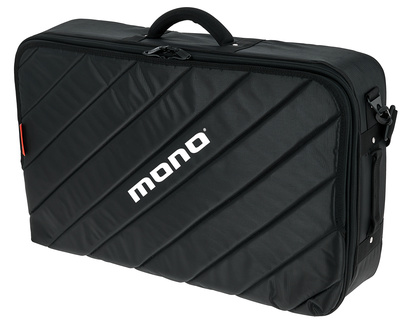
Whether you should choose a hard case or a soft case / gigbag for your pedalboard depends mostly on the size and weight of the board, and, of course, on your traveling habits. If your equipment gets loaded onto the tour bus all the time, where it shares the cargo hold with other gear, you should definitely go for a flight case, which is of course a bit bulkier, heavier, and also more expensive.
If you have a smaller board that you take to occasional rehearsals and gigs, a soft bag is probably sufficient.
You can order a custom-made case for the exact dimensions of your board here:
And here are some soft cases for standard sizes:


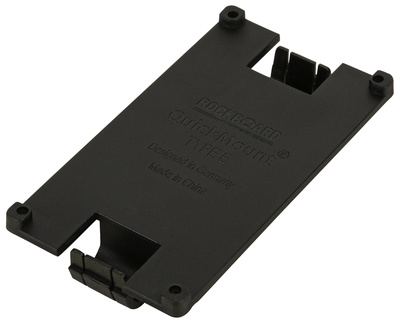
How to mount pedals on a pedalboard
Next, we look at securely mounting the pedals to the base.
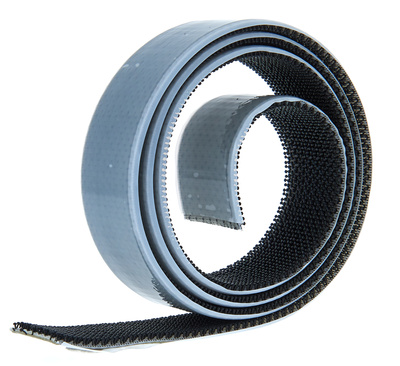
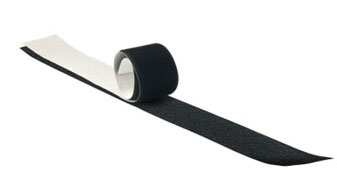
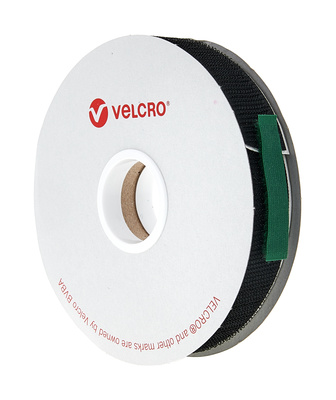
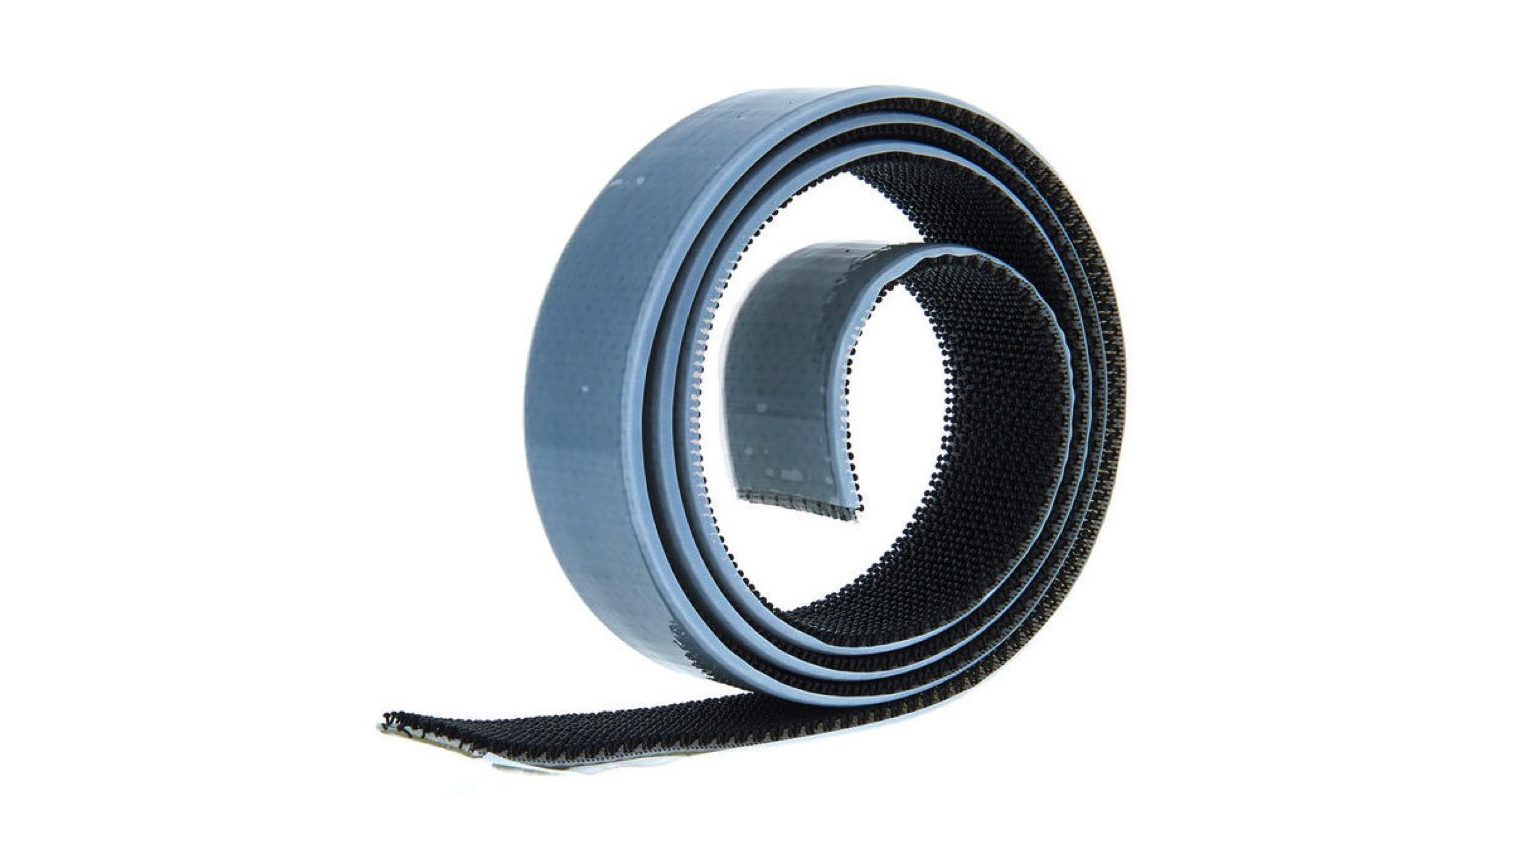
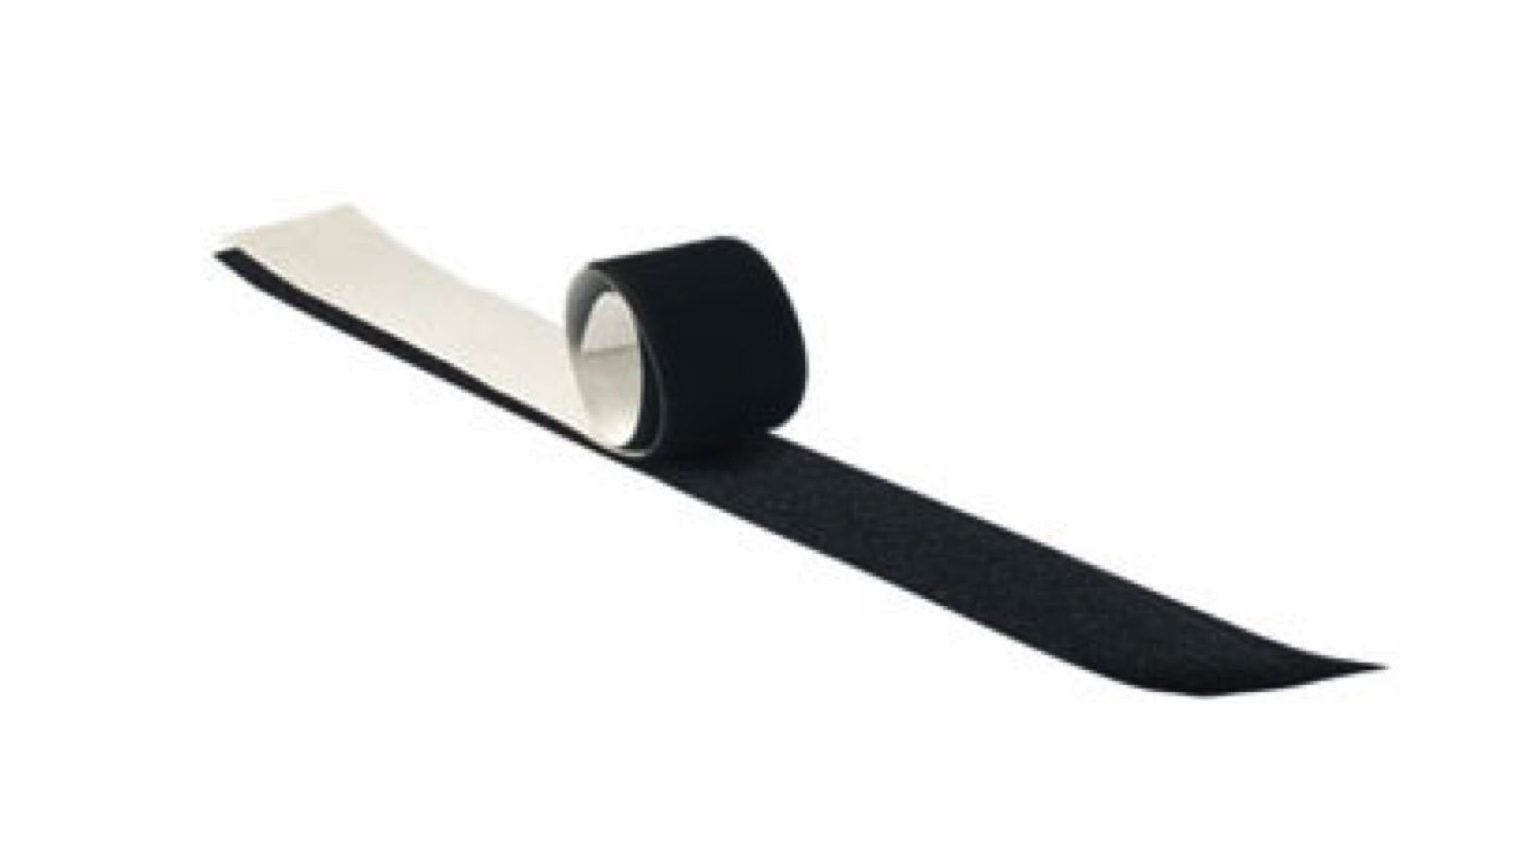
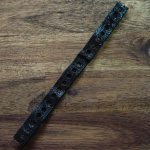
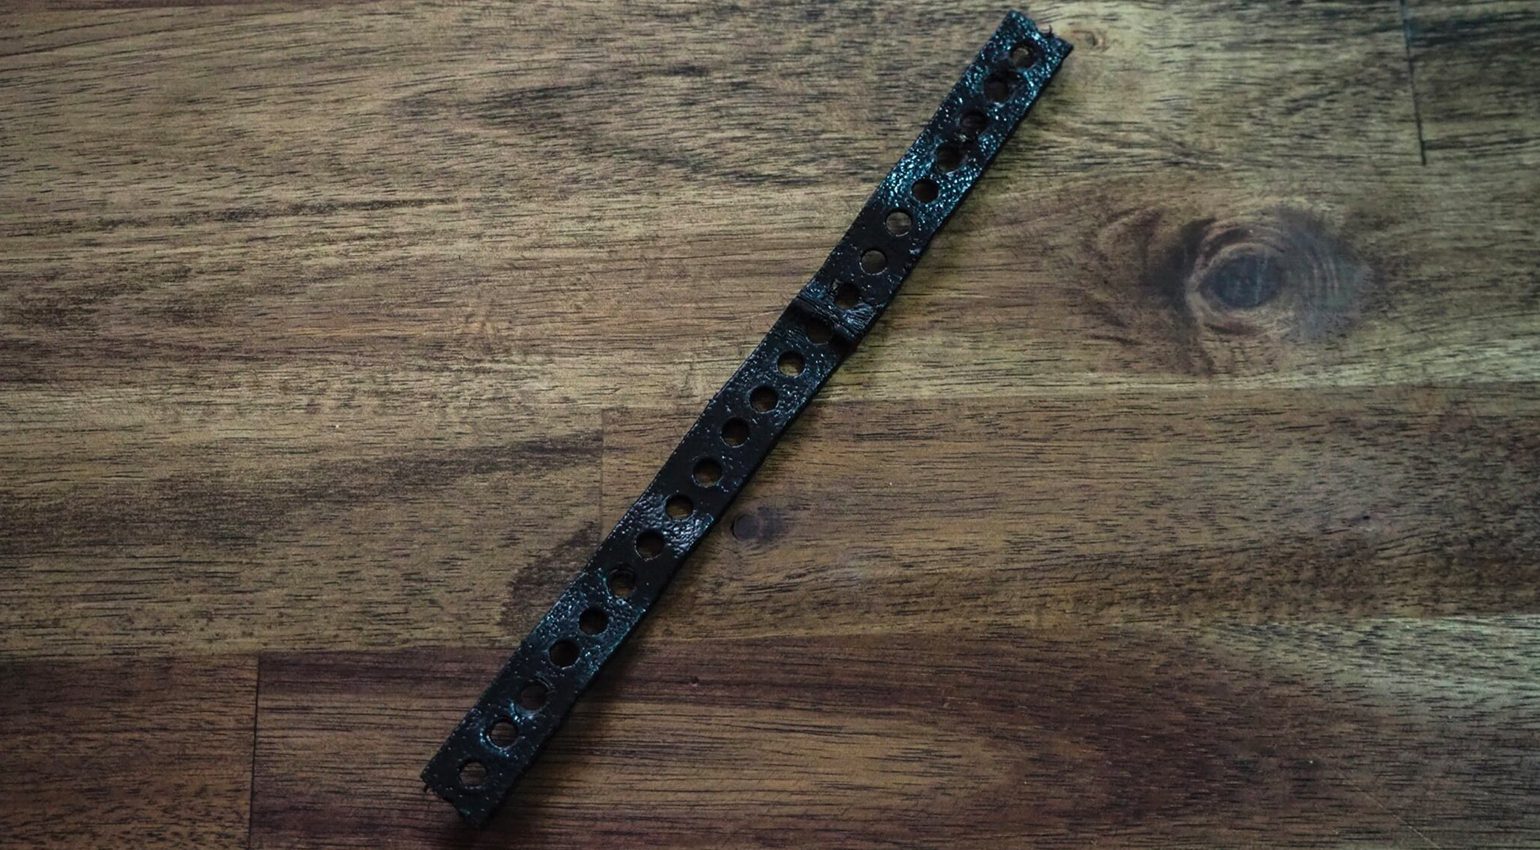
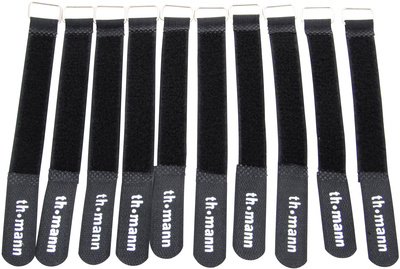
Everyone has their favorite method for this. Some swear by removable fasteners such as hook-and-loop (Velcro) strips, which make changing pedals relatively easy. However, this method doesn’t always ensure the best hold, although modern hook-and-loop products hold surprisingly well.
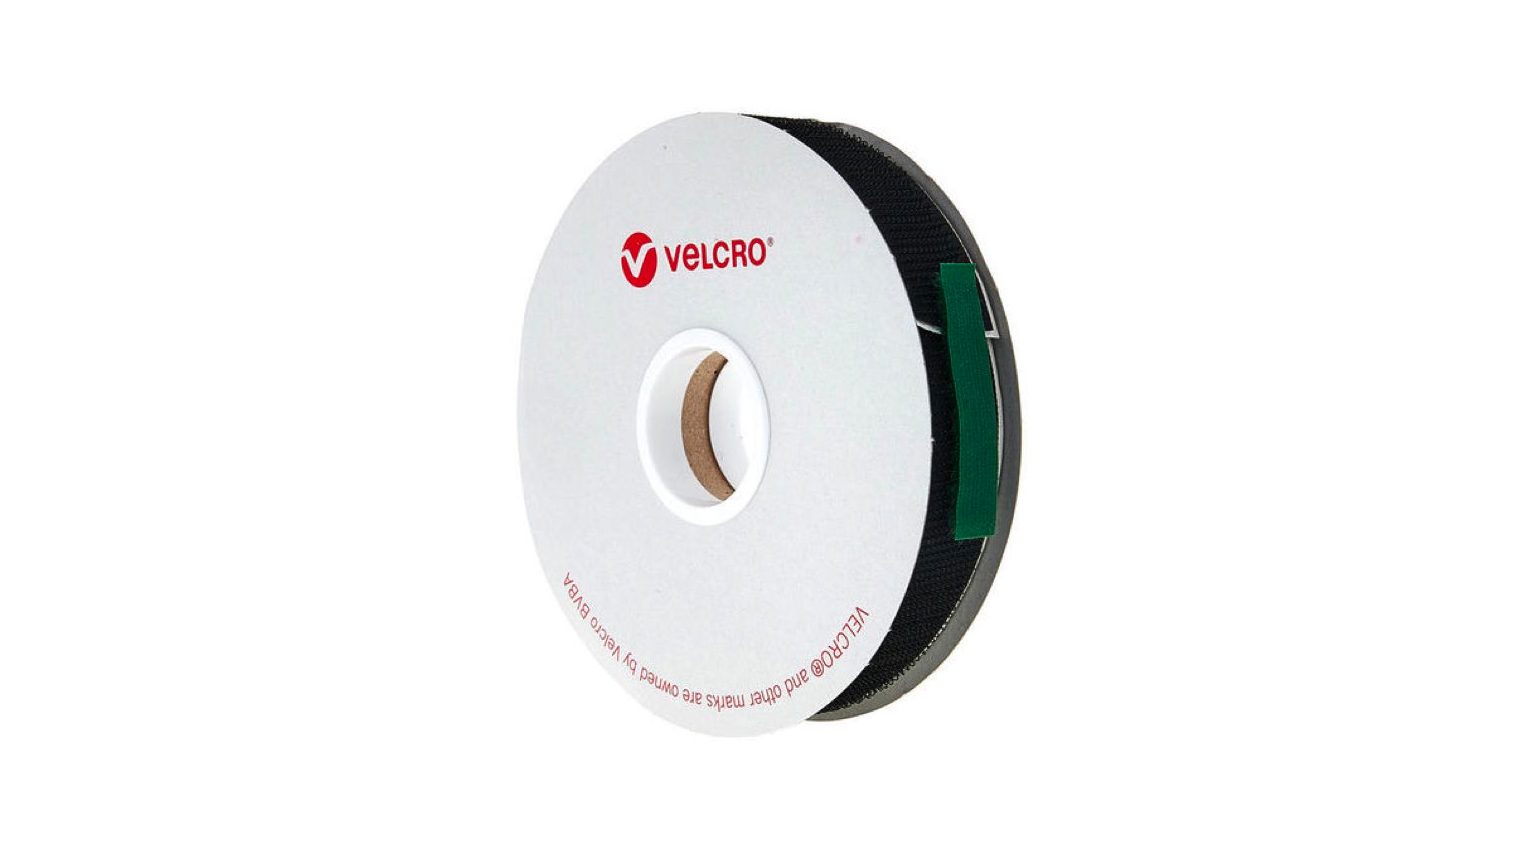
You can find a few adhesive hook-and-loop products here:


-
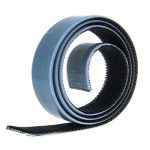
- Thomann Pedal Board Tape · Source: Remise 3
-
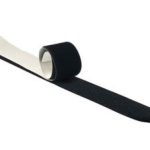
- Rockbag RB23201VM Hook-and-loop tape · Source: Remise 3
-
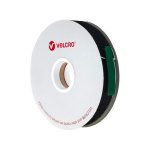
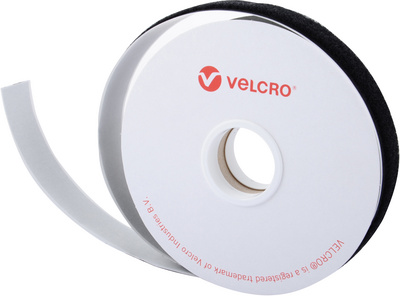
- Velcro Tape (20 mm) · Source: Remise 3
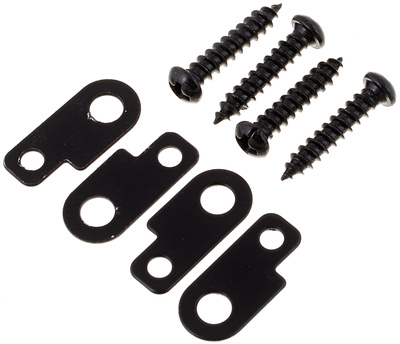
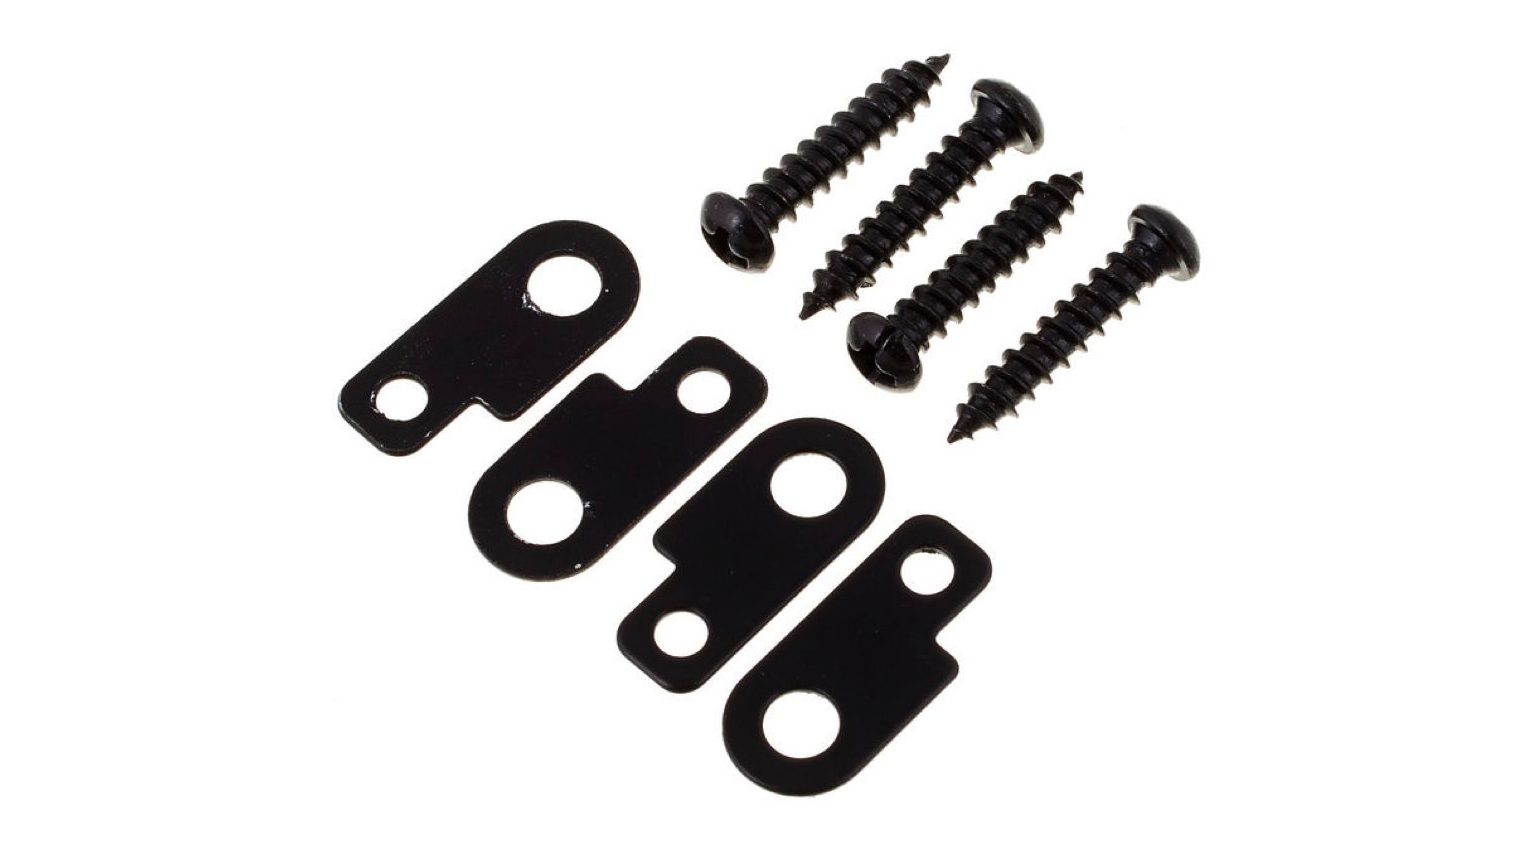
Others prefer to screw the pedals to the board using Mounties, perforated metal strips, segments of bicycle chains, or cable ties. With these methods, you can’t quickly exchange pedals during a gig, and the screw holes in the wooden board can wear out after too many changes. On the other hand, they’re pretty bomb-proof and ensure that your pedals won’t move around on the road.
-
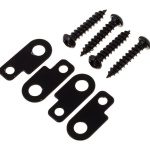
- Harley Benton Mounties · Source: Remise 3
-
- Perforated metal strip, plastic-lined · Source: Remise 3
Another possibility is to use so-called pedal risers, pedal boots, or pedal boosters, which hold your pedals in place and also raise them above the surface of the board. Building a second level on your pedalboard can be quite useful, as it makes the pedals in the back easier to reach without stepping on the first row of pedals.
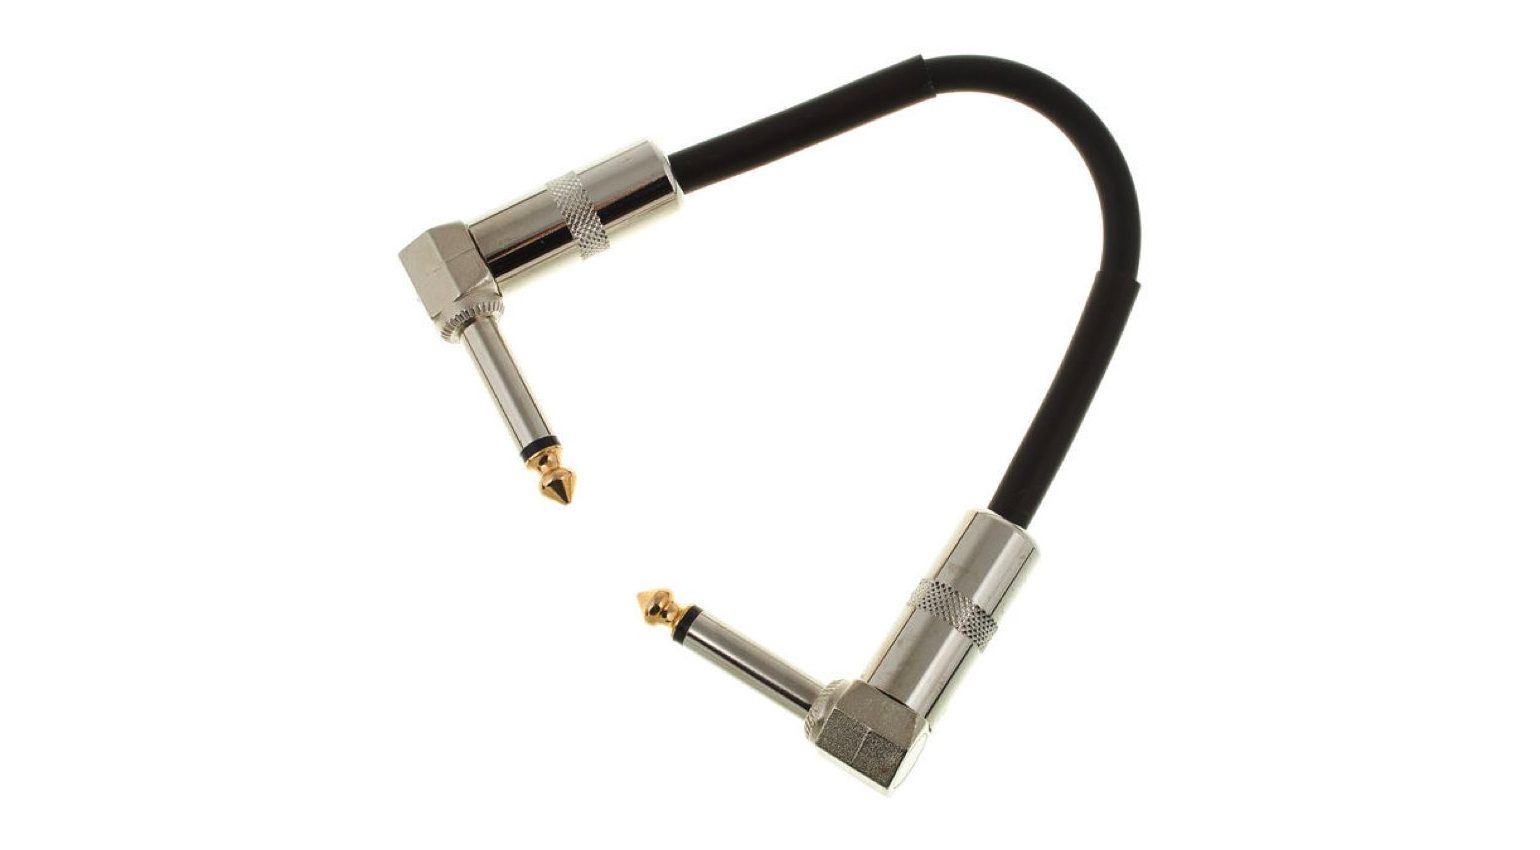
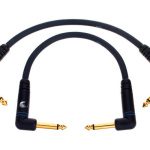
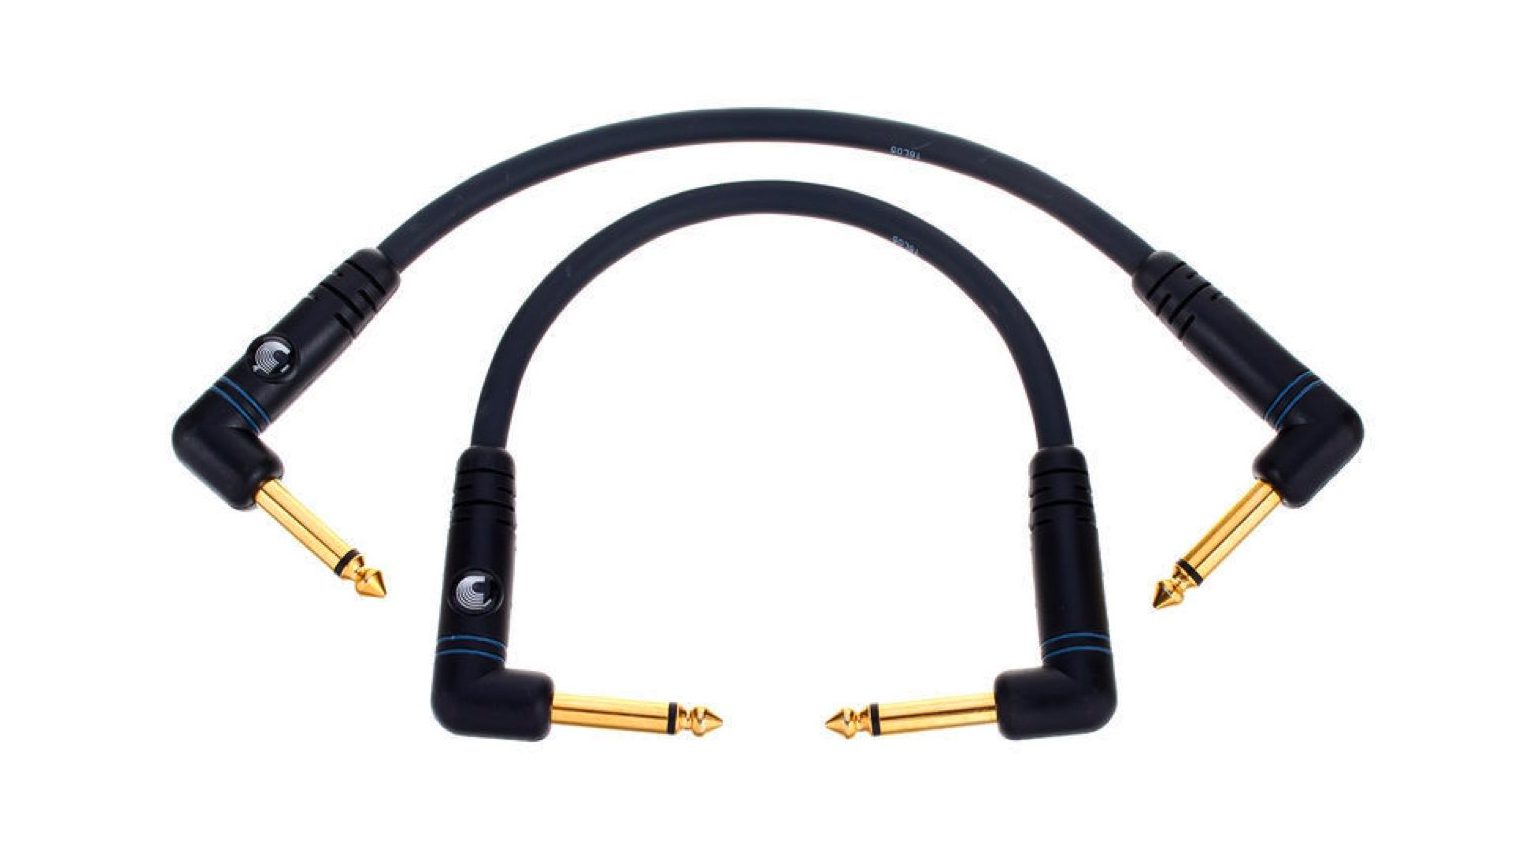
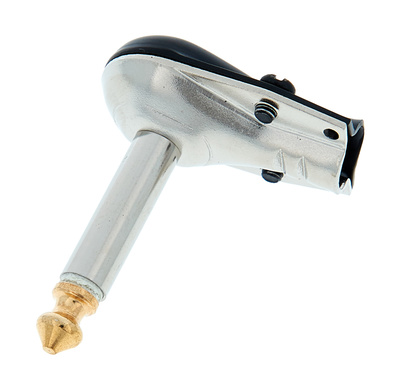
Patch cable 101
Now it’s time to connect the pedals to each other using patch cables or patch cords. Make sure to keep the cables as short as possible, but long enough so that there is no strain on them.
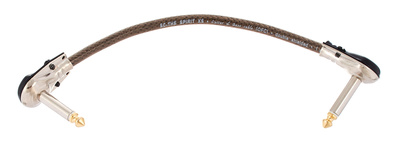
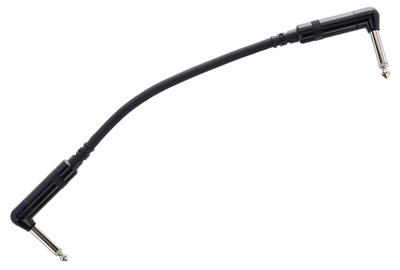
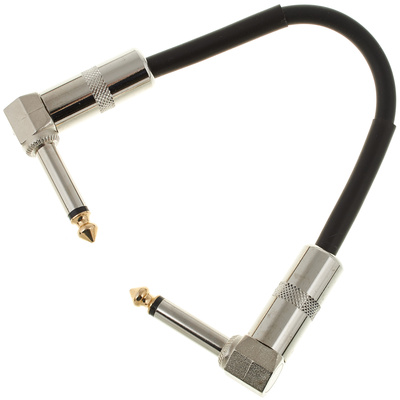
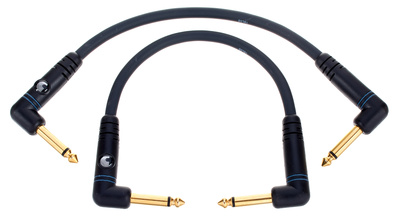
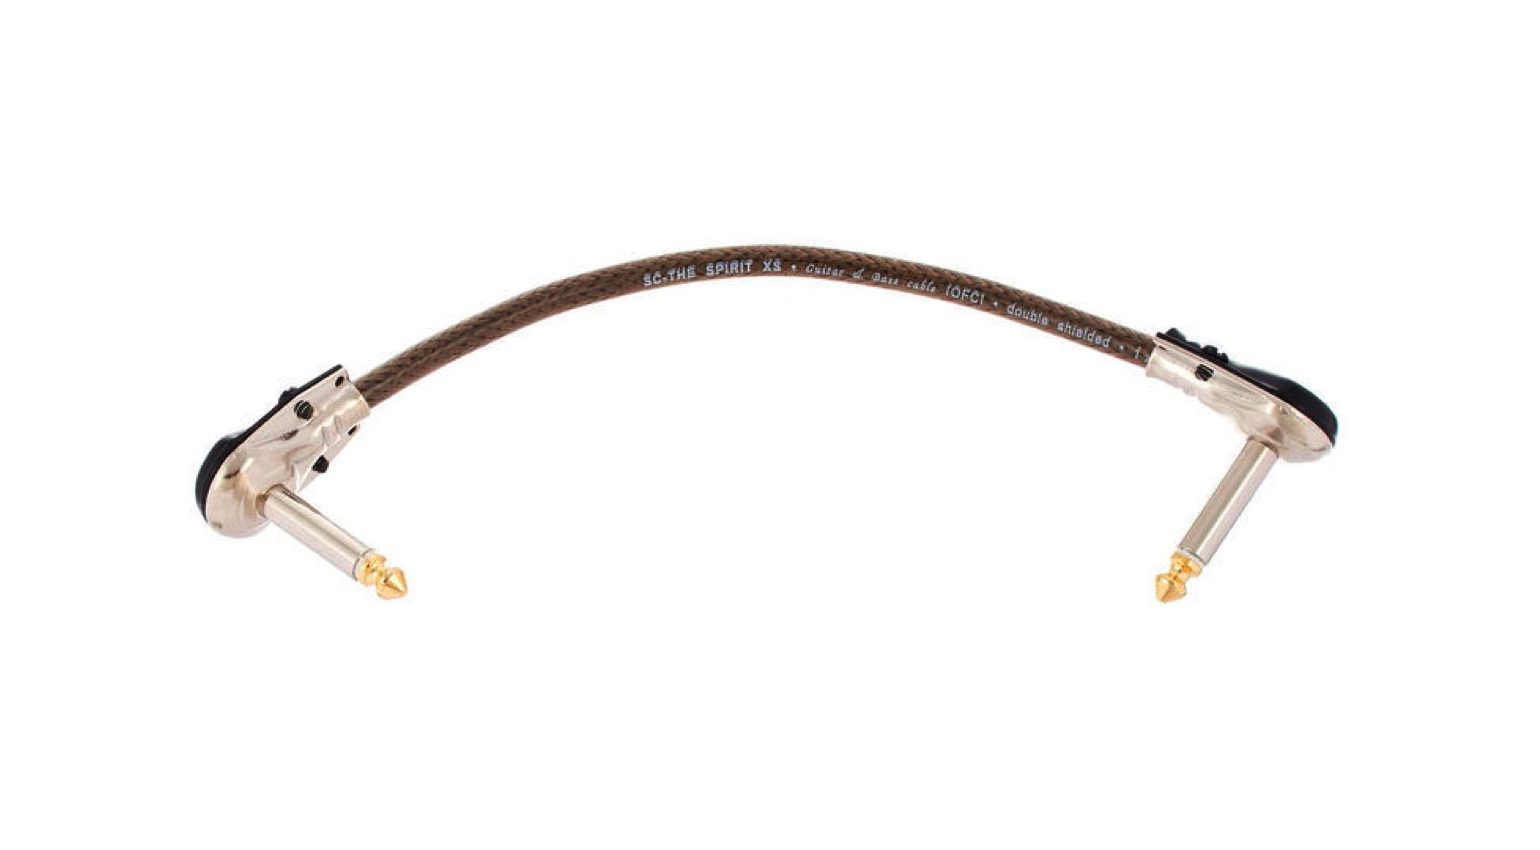
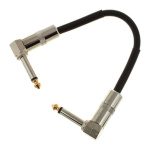
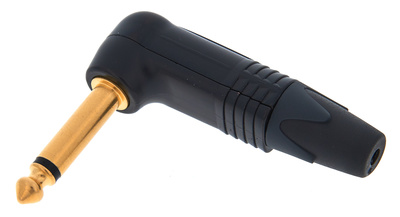
Some manufacturers offer patch cords in various lengths that are specially designed for connecting pedals. Angled plugs can help to save space.


-
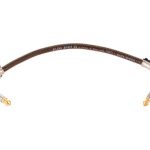
- Sommer Cable Spirit XS Highflex 0,2 · Source: Remise 3
-
- Cordial CFI 0,15 RR · Source: Remise 3

-
- pro snake Patch Cable, 0.15 m · Source: Remise 3
-
- Planet Waves PW-PRA-205 Patch Cables · Source: Remise 3
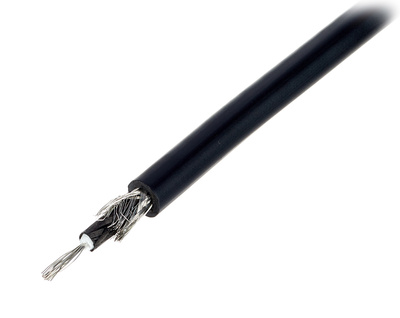
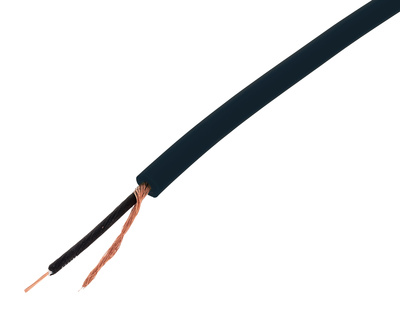
Alternatively, you can custom-make your own cables in exactly the right lengths. If you’re handy with a soldering iron, you can simply order cable by the meter or foot and the required amount of jack connectors.
Good connectors from HiCon or Neutrik:


And cut-to-length materials can be ordered here:
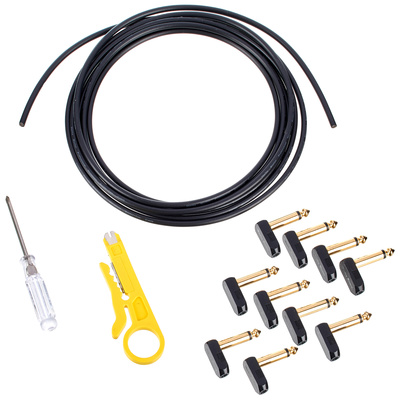
There are also solder-free do-it-yourself cable kits. While these don’t have the best reputation among professionals, many guitarists report that this solution, which allows you to make patch cords of any length in literally seconds, can certainly work.

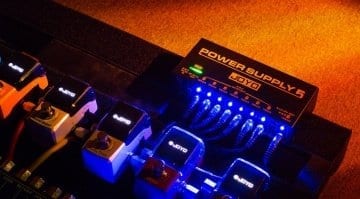
How to choose the right power supply for your pedalboard
Another important thing to consider while planning your pedalboard is the power supply, and again, there are several options.
First, make sure that you can answer the following questions:
- What’s the total number of pedals?
- What’s their total amperage / current draw (in mA – milliamps)?
- Which pedal requires which voltage?
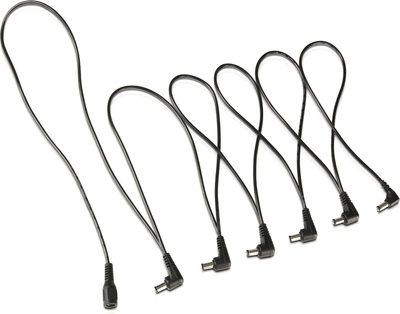
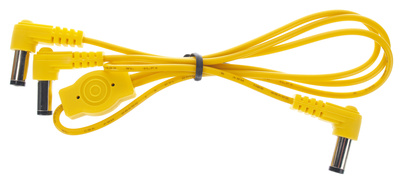
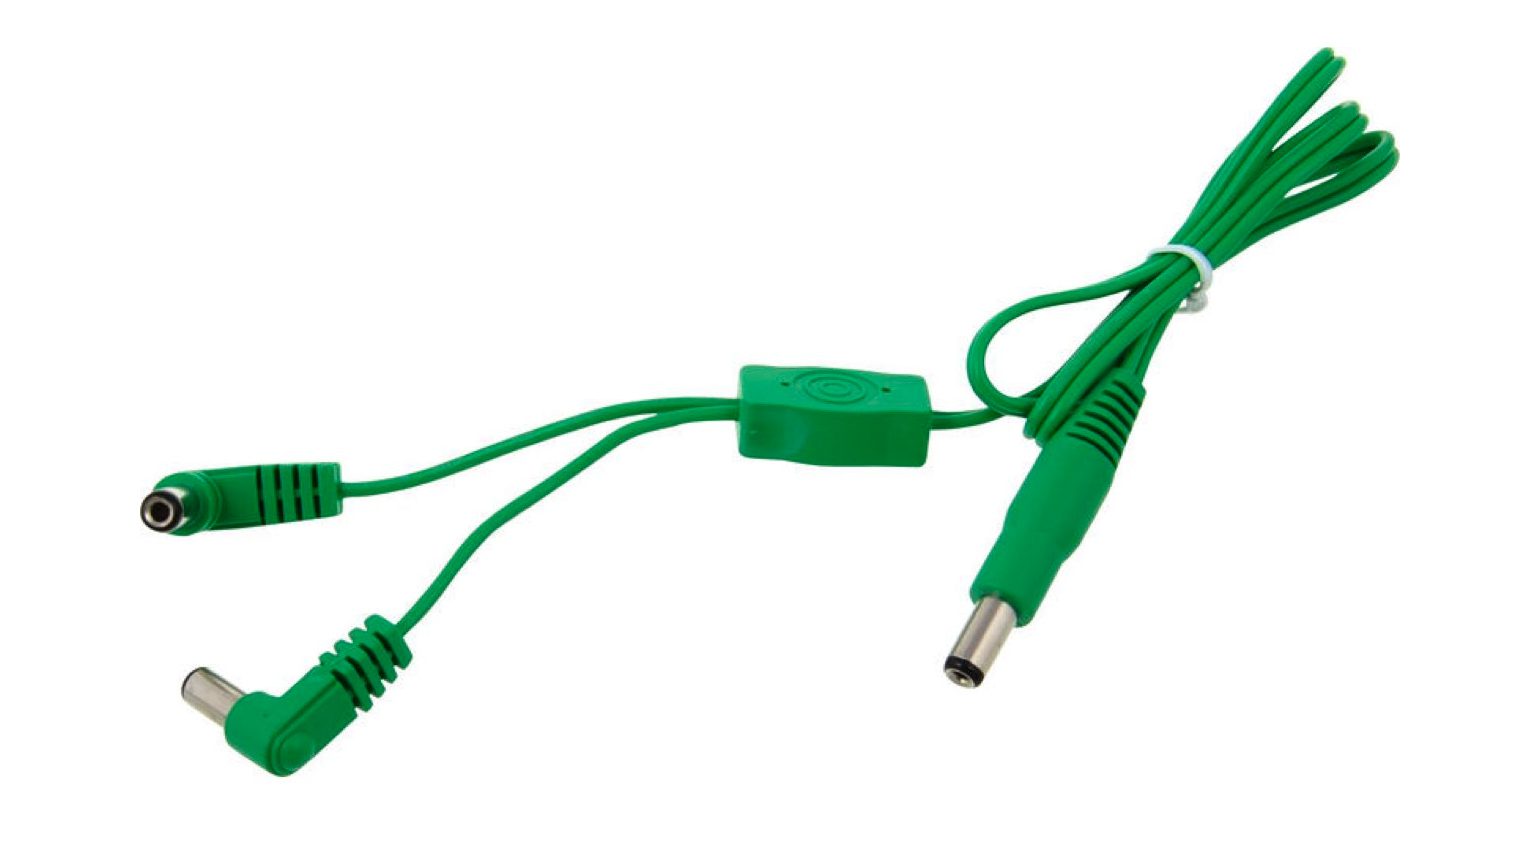
Basically, we have two possibilities: individual power supplies (possibly with daisy chains) or power bricks with multiple outputs.
With a single power supply, you can use a so-called “daisy chain” to distribute the current to several pedals. This only works with pedals that run on the same voltage! The main thing to keep in mind is the total required amperage, i.e. the sum of the mA ratings of all connected pedals. If it’s just three or four distortion pedals or boosters, they usually require very little current. Digital reverbs or delays, on the other hand, are completely different beasts. Be careful not to exceed the total maximum current rating of the power supply. While it’s unlikely that all pedals will be active at the same time and run under full load, your power supply should be able to deliver the current required for this, ideally with a bit of power to spare.

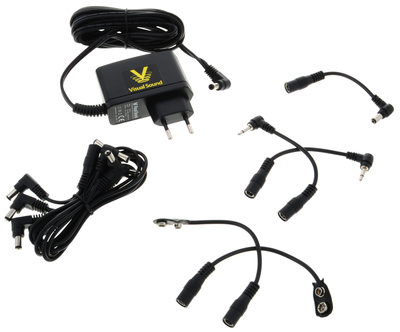
Daisy Chains are available in different sizes and lengths:

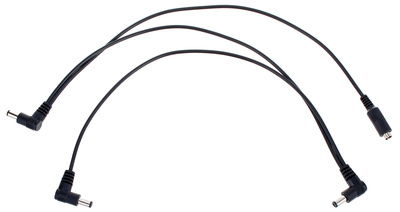
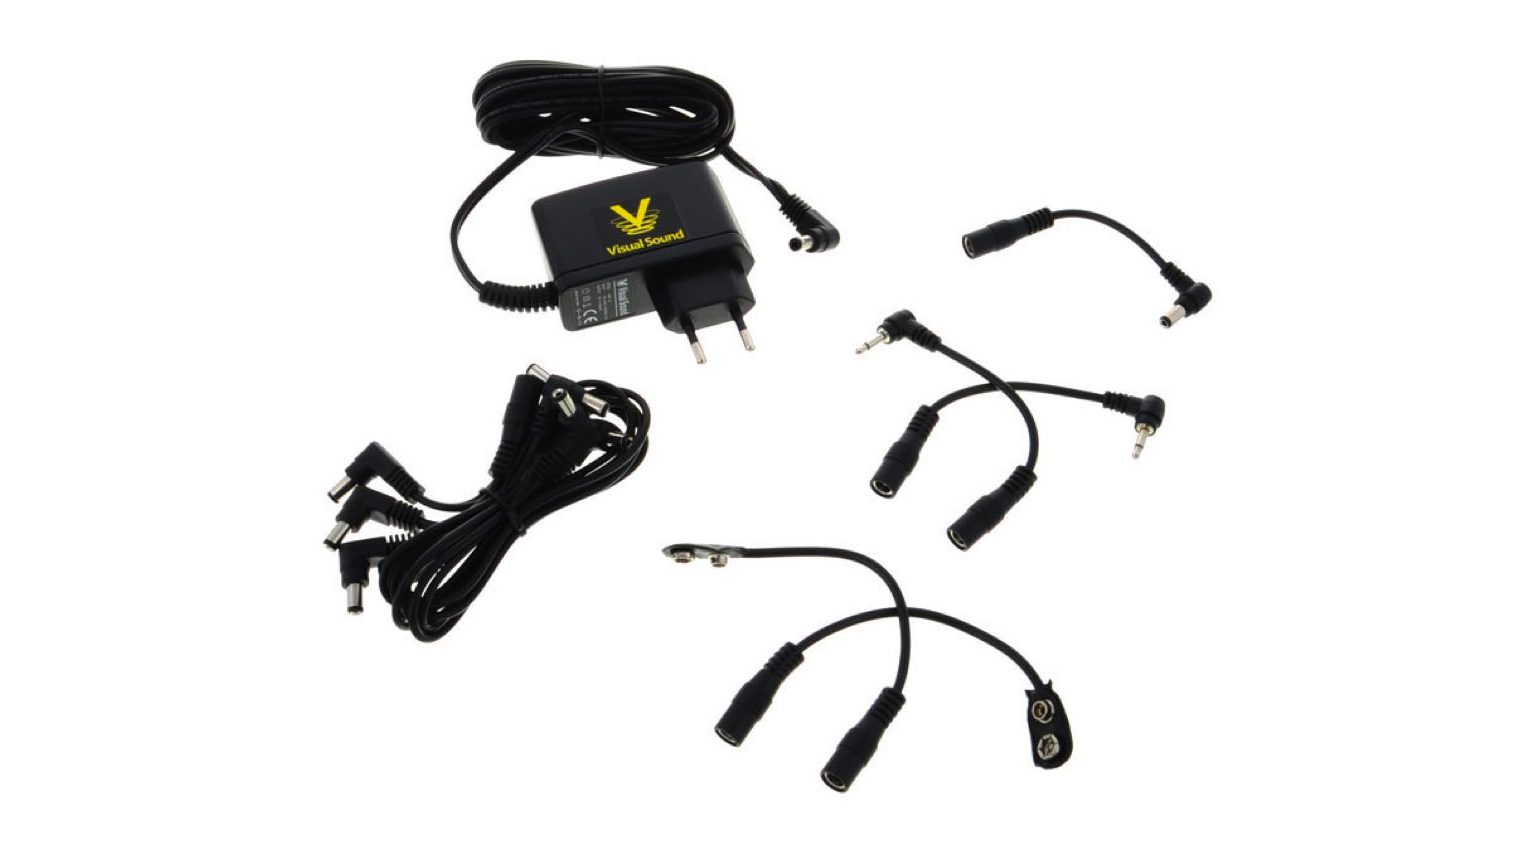
Truetone VS 1 Spot Combo Pack · Source: Remise 3
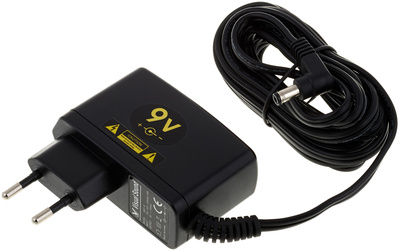
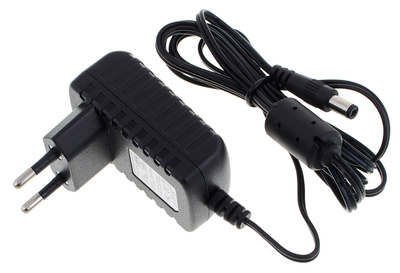
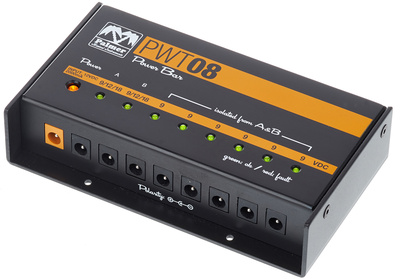
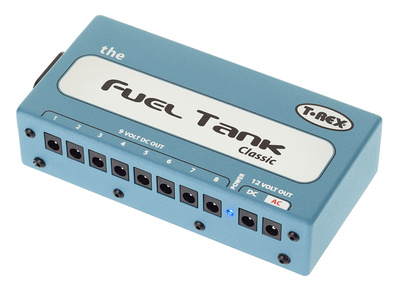
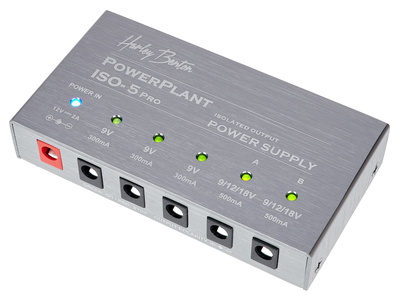
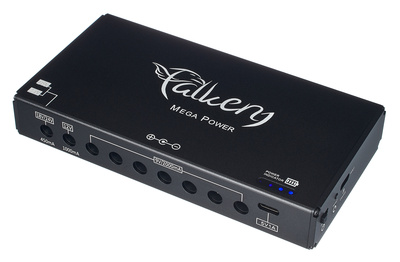
Power bricks
An alternative to a single power supply and a daisy chain is to use a power supply with multiple outputs, i.e. a power brick. Many of these can also supply different voltages to different pedals. Most of the time, 9 volts will be enough, but some pedals need significantly more or sound better when 12 or 18 volts are applied. For example, distortion pedals offer less compression and more headroom at higher voltages. Of course, the specified voltage rating of any pedal should always be adhered to. Plugging 18 volts into a pedal designed for 9 volts might result in its demise.
If you want to save yourself the hassle of hum and noise, the higher price of a high-quality power supply is certainly worth it. The outputs should be electrically isolated from each other; otherwise, interference could ruin your sound.
Finally, there’s no reason why you couldn’t use a combination of a power brick and daisy chains, for example by hooking up all of your distortion pedals to one output and feeding power-hungry pedals separately.
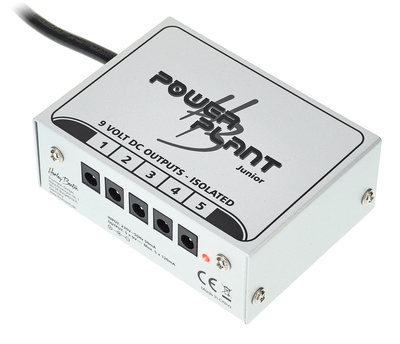

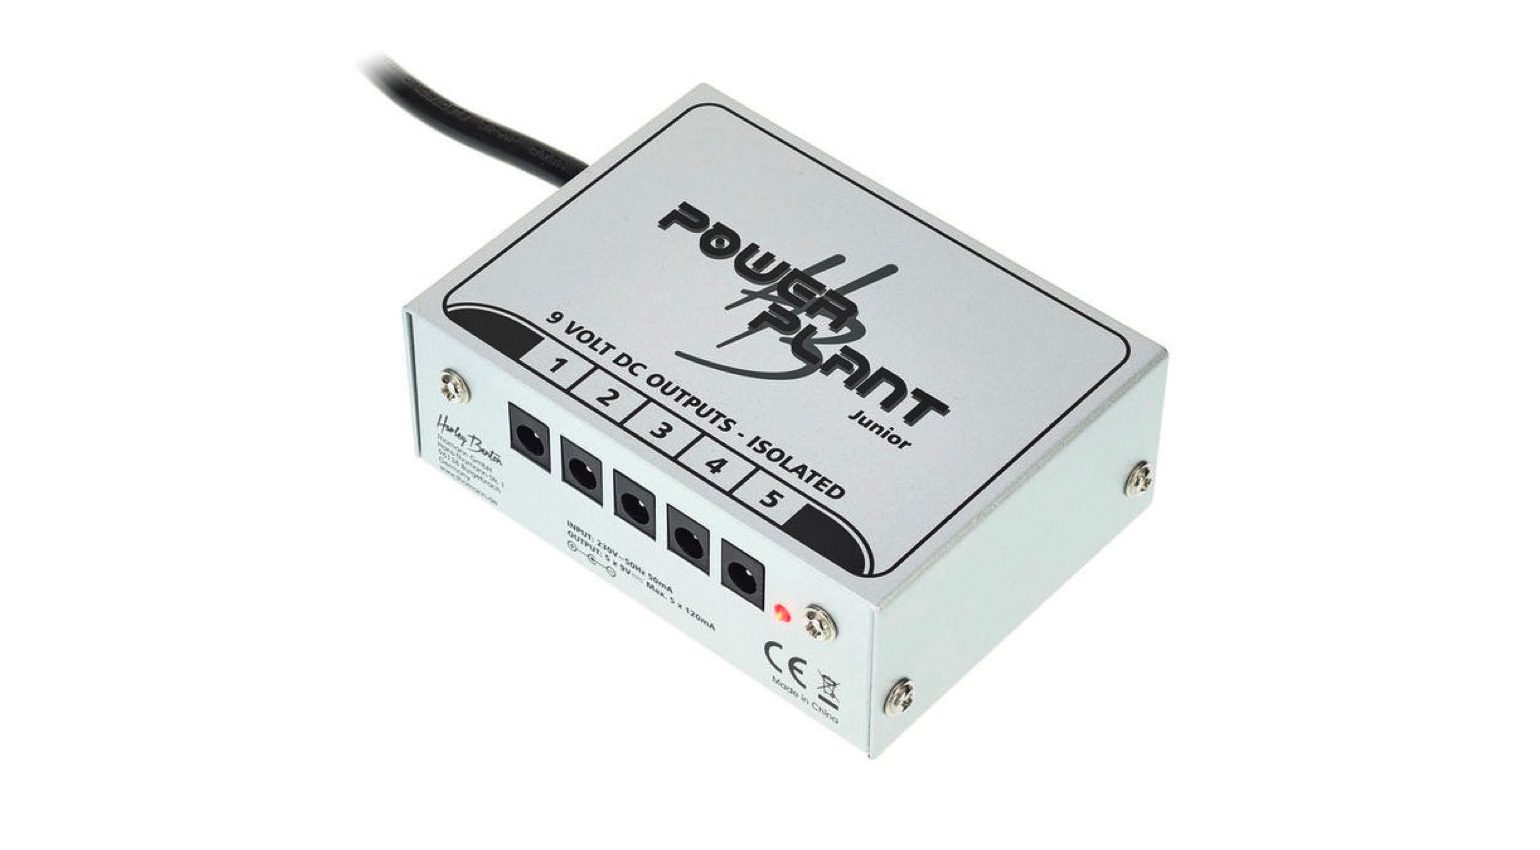
Harley Benton PowerPlant Junior · Source: Remise 3
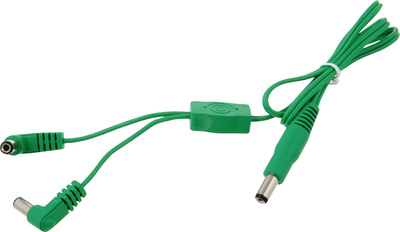
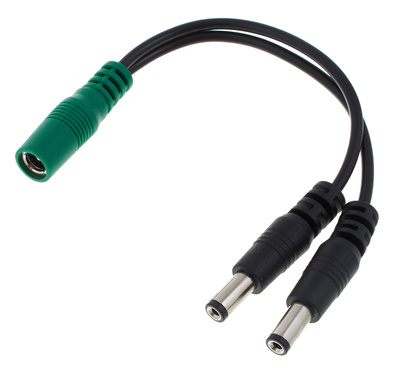
So-called current or voltage doublers are also very useful. These let you combine two outputs into one and either double the current or the voltage. For example, you can get 18 volts from two 9V outputs of a power brick, thereby eliminating the need for an extra power adapter.

If you want to be independent from electrical outlets, rechargeable power banks are also an option. Modern power banks provide enough capacity for several hours, of course depending entirely on the number of pedals and their power consumption.

T-Rex DC Current Doubler 50cm · Source: Remise 3
True Bypass or Buffered Bypass?
Long cable runs can cause a loss of signal, especially in the high frequencies, which can lead to a dull and lifeless sound. While the first pedals in history, like the Tube Screamer or most, if not all Boss models, were all buffered, the development of “true bypass” pedals brings about a problem that must be taken into consideration.
A guitar signal is high-impedance, and the buffer converts this into a low-impedance signal that’s much more stable and can be sent down long cables. The buffer should be placed at the beginning of the effects chain, but preferably behind the fuzz pedal if you use one, because some fuzzes can’t handle low impedance signals.
While few would argue the fact that a buffer is an essential component of the signal chain, there’s still a lot of controversy over the topics of buffers and buffered pedals. To shed some light on the issue, it should be noted that every buffer does affect the sound ever so slightly. By how much depends on the buffer’s quality, and since pedal manufacturers use different buffer designs, saying that buffered pedals are generally inferior would be too easy. For example, the famous Klon Centaur, widely considered to be the holy grail of pedals, isn’t a true bypass design, and most would agree that Stevie Ray Vaughan recorded some great records despite relying on a buffered Tube Screamer.
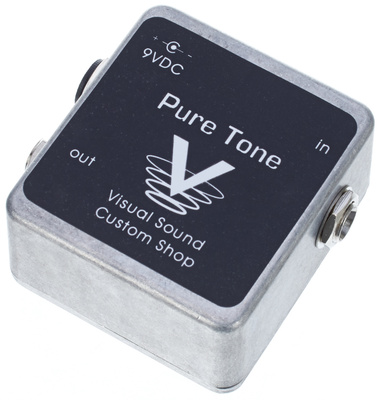
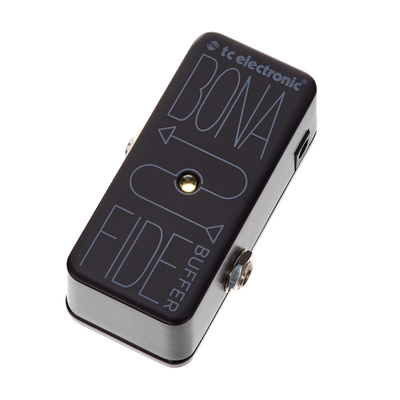
Stand-alone buffers
However, if you want to be on the safe side, choose a stand-alone buffer as an independent component of your pedalboard. High-quality buffers are available from various manufacturers. But don’t forget that it also requires power.
Here are some of these models:

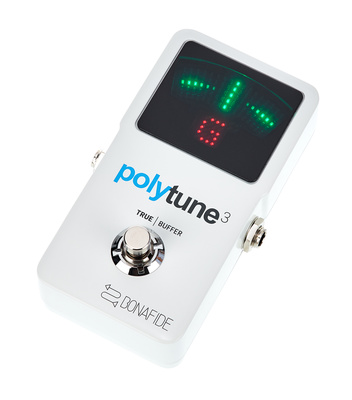
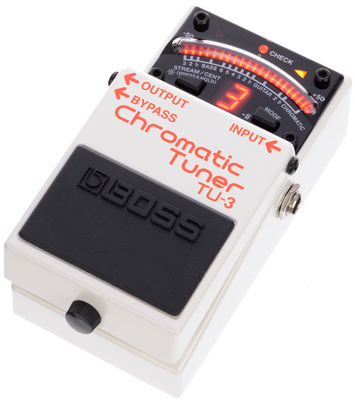
Alternatively, you can opt for a tuner with a built-in high-quality buffer. Try out the various models to find out if their effect on the sound is within acceptable limits to you.
Some examples of buffered tuners:

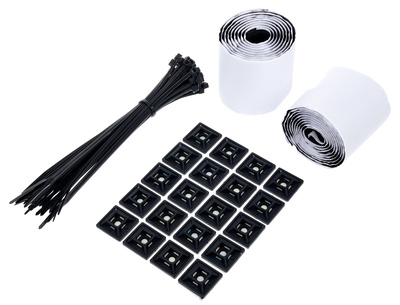
Accessories for avoiding cable clutter on the pedalboard
Tidiness is everything and cable management makes all the difference on a pedalboard. You should always secure cables well, if only to protect them from your foot. Reusable cable ties come in very handy for this.
Of course, you can also use the good old single-use cable ties from the hardware store:
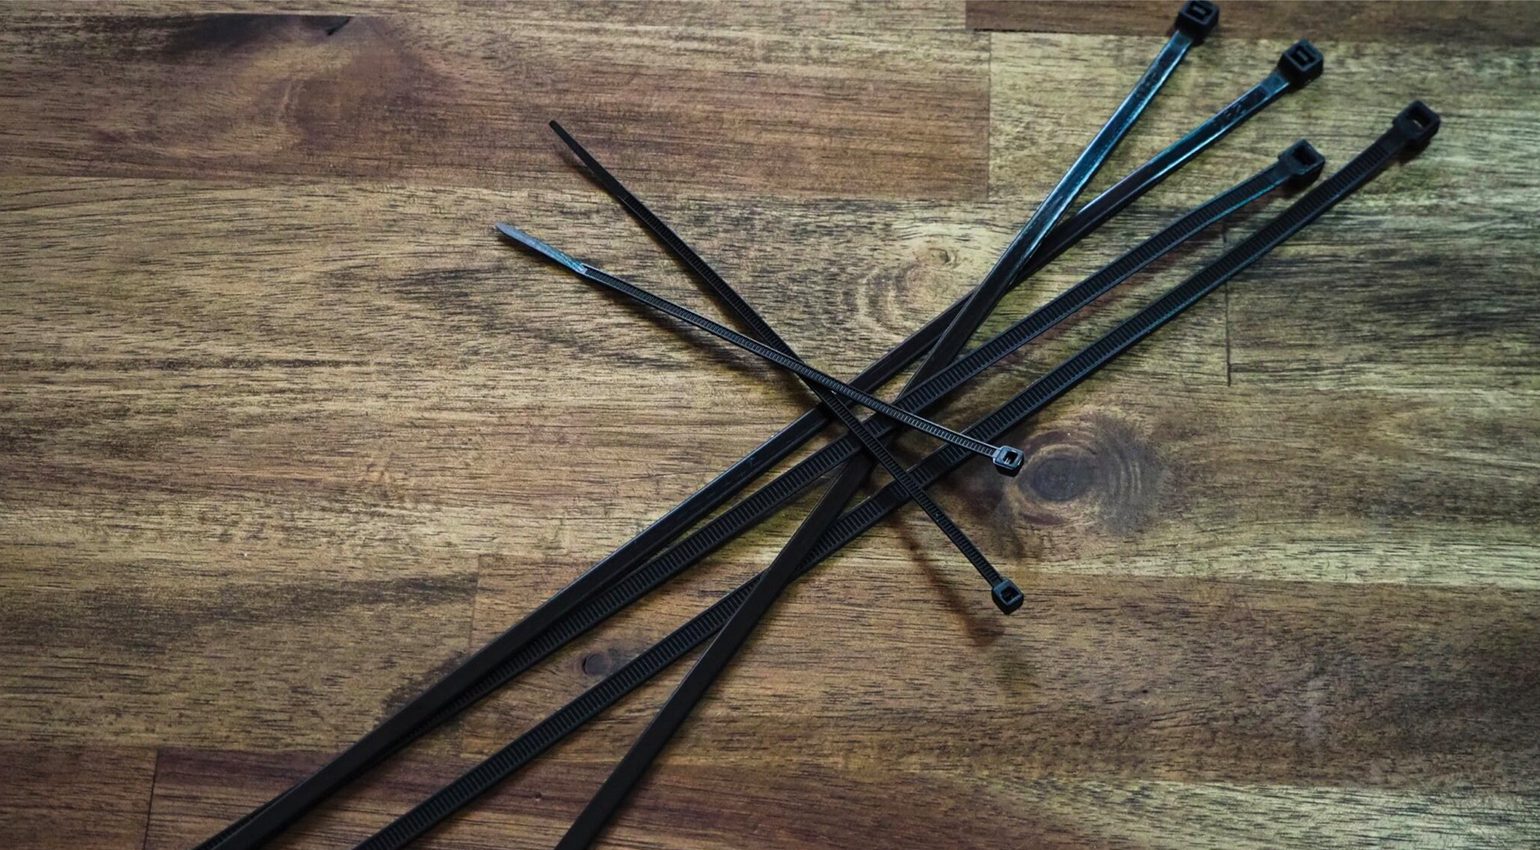
Cable ties · Source: Remise 3
Adhesive cable mounts, to which the cables are attached using cable ties, are also very useful.
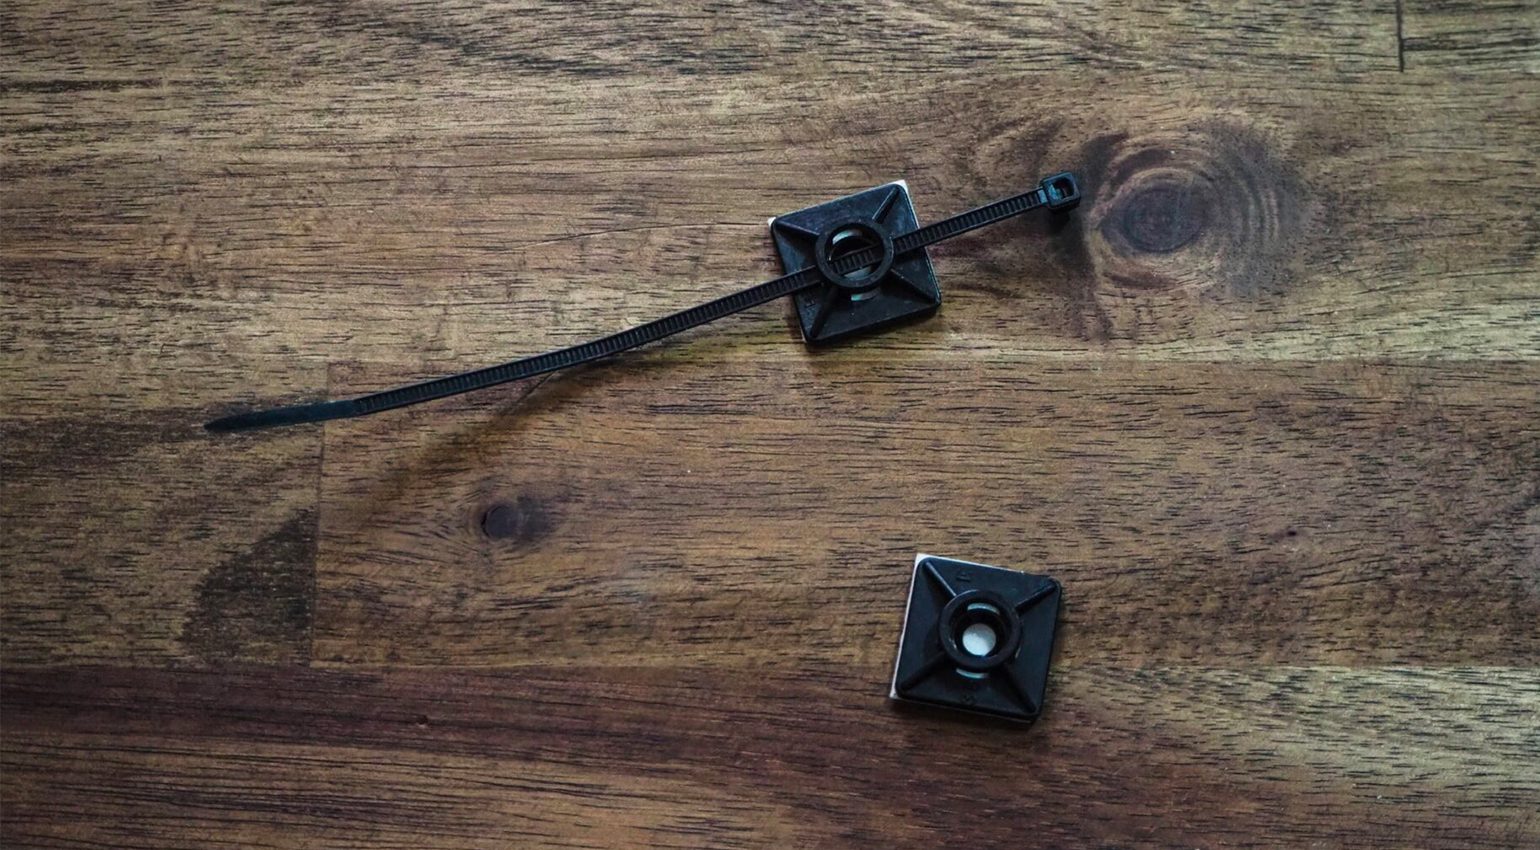
Adhesive mounts for cable ties · Source: Remise 3
Various other pedalboard accessories:
Have fun putting together your very own pedalboard with these useful accessories!
More about pedals, pedalboards, and accessories
This post was originally published in German on bonedo.de.

This might also interest you


3 responses to “Pedalboard Accessories: The Best Cases, Power Supplies and more”
Another great article, thank you! I’m going to have to bookmark this for when I get around to building a pedal board
Thank you for this article. You have opened my eyes to many new options and I’m anxious to go out and buy some of the items.
The explanation about high-impedance signals and long cables definitely makes sense. My old pedalboard with all true bypass pedals always seemed to lose sparkle compared to my friend’s setup with a buffer at the beginning. Now I understand why!