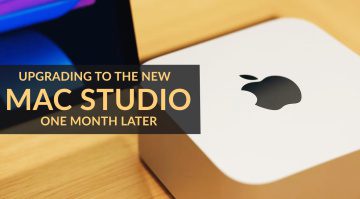
Upgrading my music setup with the Apple Mac Studio
 4,0 / 5,0 |

Should you upgrade to the new Apple Mac Studio? Here’s my first-hand experience of unboxing, installing, and setting up a brand news Mac Studio as a replacement for my 2015 iMac 5k from 2015. Will there be incompatibility issues? Did my software migrate properly? Read on to find out…
The Apple Mac Studio
In March 2022, we saw Apple introduce the new Mac Studio. The design is simple: a Mac mini with a “mezzanine level”. Although the casing may be small, this little box has been built for performance from the ground up.
As the name suggests, the Mac Studio is aimed at creatives using pro apps for music, graphics, and video editing. Of course, this also means it carries that pro equipment price tag.

Adjusting to the new surroundings. · Source: Gearnews / Marcus Schmahl
When you make your purchase, you have a choice of two configurable models: the M1 Max and the M1 Ultra. Unfortunately though, with the ongoing chip crisis, manufacturing and supply chain delays affect lead times, even at Apple. This means configure-to-order machines might only arrive mid-late August 2022 if you order today.
As seen on the various forums and test reports, the M1 Max is completely sufficient for a recording studio computer. We know that choosing the Max over the Ultra doesn’t offer the same level of performance, but you sure do save on the finances.
The new brain of my studio
Although my late 2015 iMac 5k with its Intel i7 4.0 GHz CPU, 32 GB RAM, and 1 TB SSD still runs quite well, I needed something faster. I often use larger instrument library plug-ins (Spitfire, Spectrasonics, and others) and extensive effects, as well as the software testing I do.
The configuration I chose: Mac Studio Max with 10-core CPU, 32-core GPU and 16-core Neural Engine, 64 GB of shared RAM and 1 TB of SSD storage as well as an Apple keyboard including Touch ID (finally!). Waiting time: several weeks. Too bad.
-
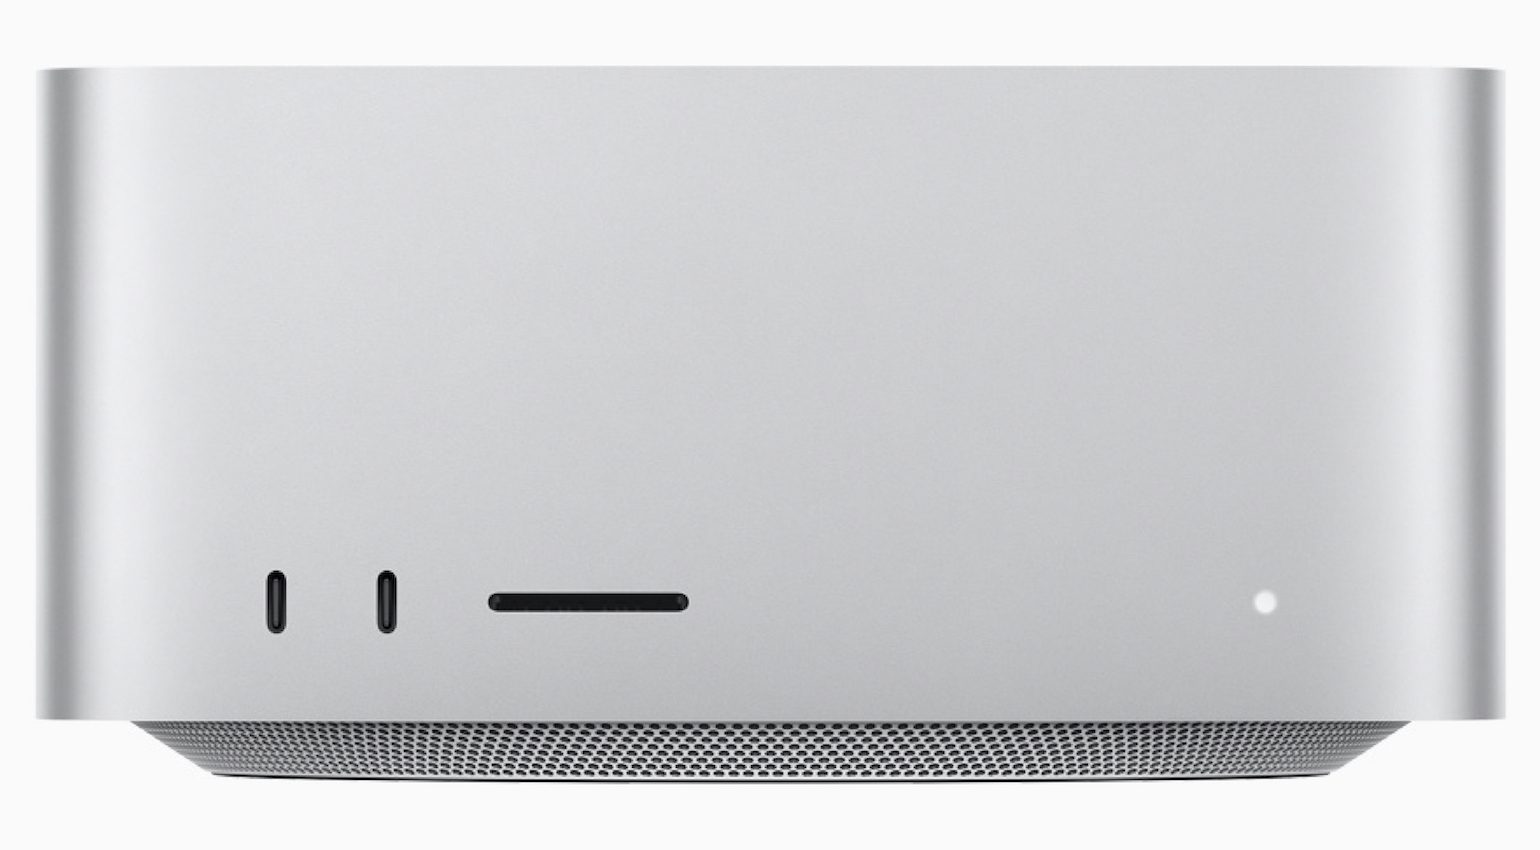
- USB-C and SD card slot · Source: Apple
-
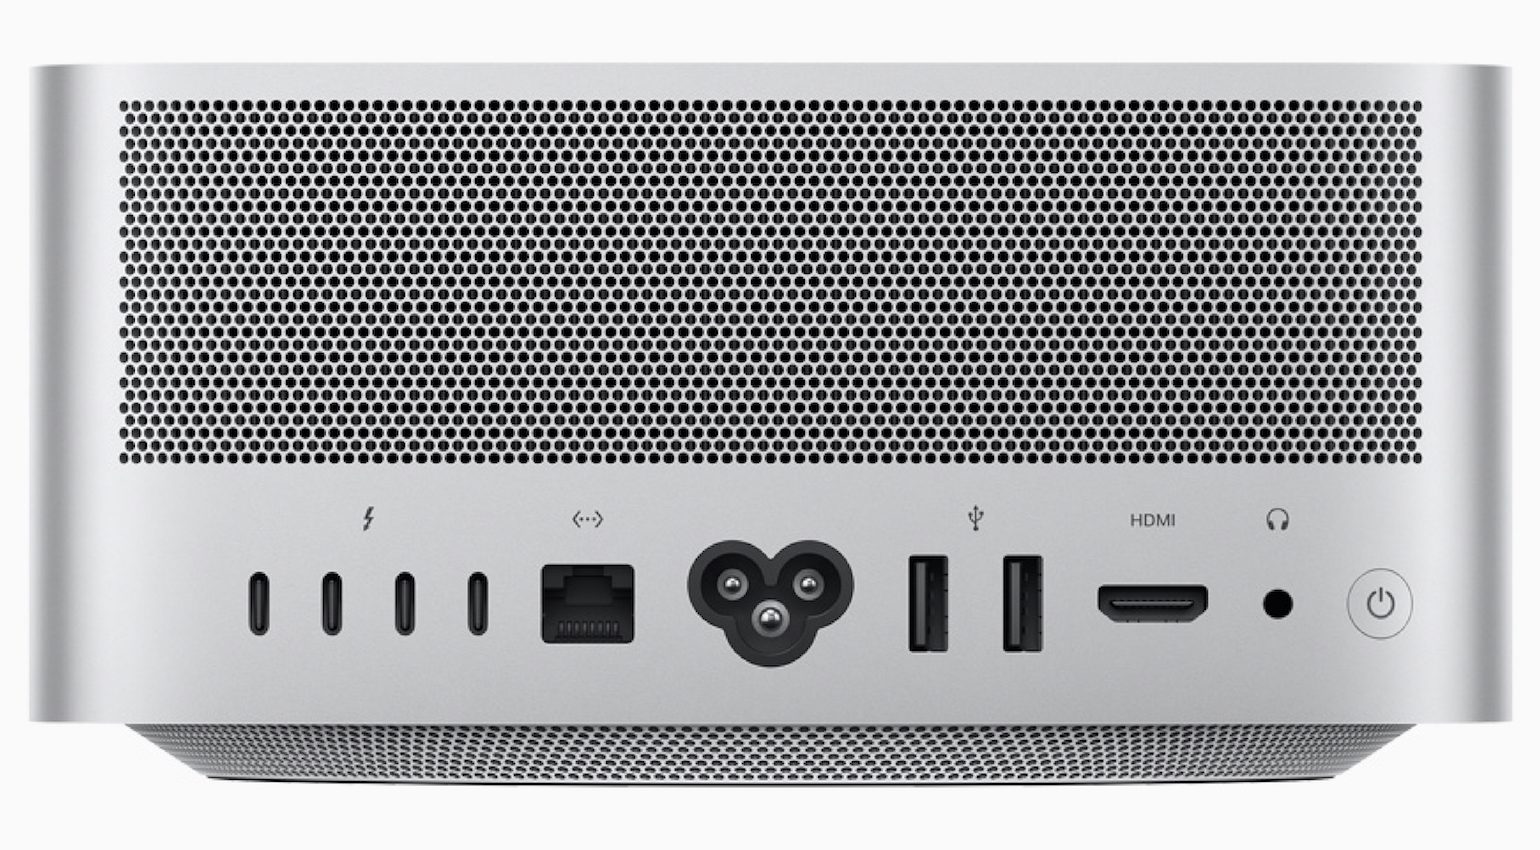
- Rear panel connections · Source: Apple
So with my new Mac Studio on the way, I realized an important fact: I had no screen! With my iMac on its way out, I’d need a suitable replacement – and hopefully something not as pricey as the Apple Display either.
Researching the best displays for music production, I decided on the LG 32UL950-W ( here at Amazon ). My choice was mostly due to the size and resolution being not too far from my old iMac 5k. It worked out great in the end.
Connectivity: Out with the old
Shifting from a 2015 system to a 2022 one means there are going to be some changes. Thunderbolt 2 becomes Thunderbolt 4 (including four USB-C and two USB-C ports as well as an SD card slot on the front) and instead of four USB-A inputs, there are only two to disposal.
Dealing with this requires even more adapters and different cables, which can be tricky. One of my Universal Audio Apollo interfaces, for example, now requires a 2-meter cable to connect to the Mac Studio.
The price of a 2-meter Thunderbolt 4 cable is steep, so luckily I saved some cash here with the TB2 to TB4 adapters I bought for the Apollos and my external TB2 drives.
Meanwhile, before making the switch I had to wait until the UA released compatible drivers and software for the Apollo. These arrived on March 30th, 2022, and ran without any problems on the new macOS as well as with M1 Macs.
Installation: Operation overhall
Next was the installation. Due to the large number of plug-ins, sound libraries, music projects, and other software I needed to install, I decided to use migration assistant over Ethernet (after a successful macOS update).
This process was relatively quick – just under two hours (for about 1 TB). The new system then rebooted and was immediately up and running! I signed into iCloud again, verified app installation rights (especially for the Apollo), and proceeded to launch Ableton Live 11.
Here I noticed some holes in the migration. Only the “Intel” versions had been transferred, rather than the require native M1 compatible software.
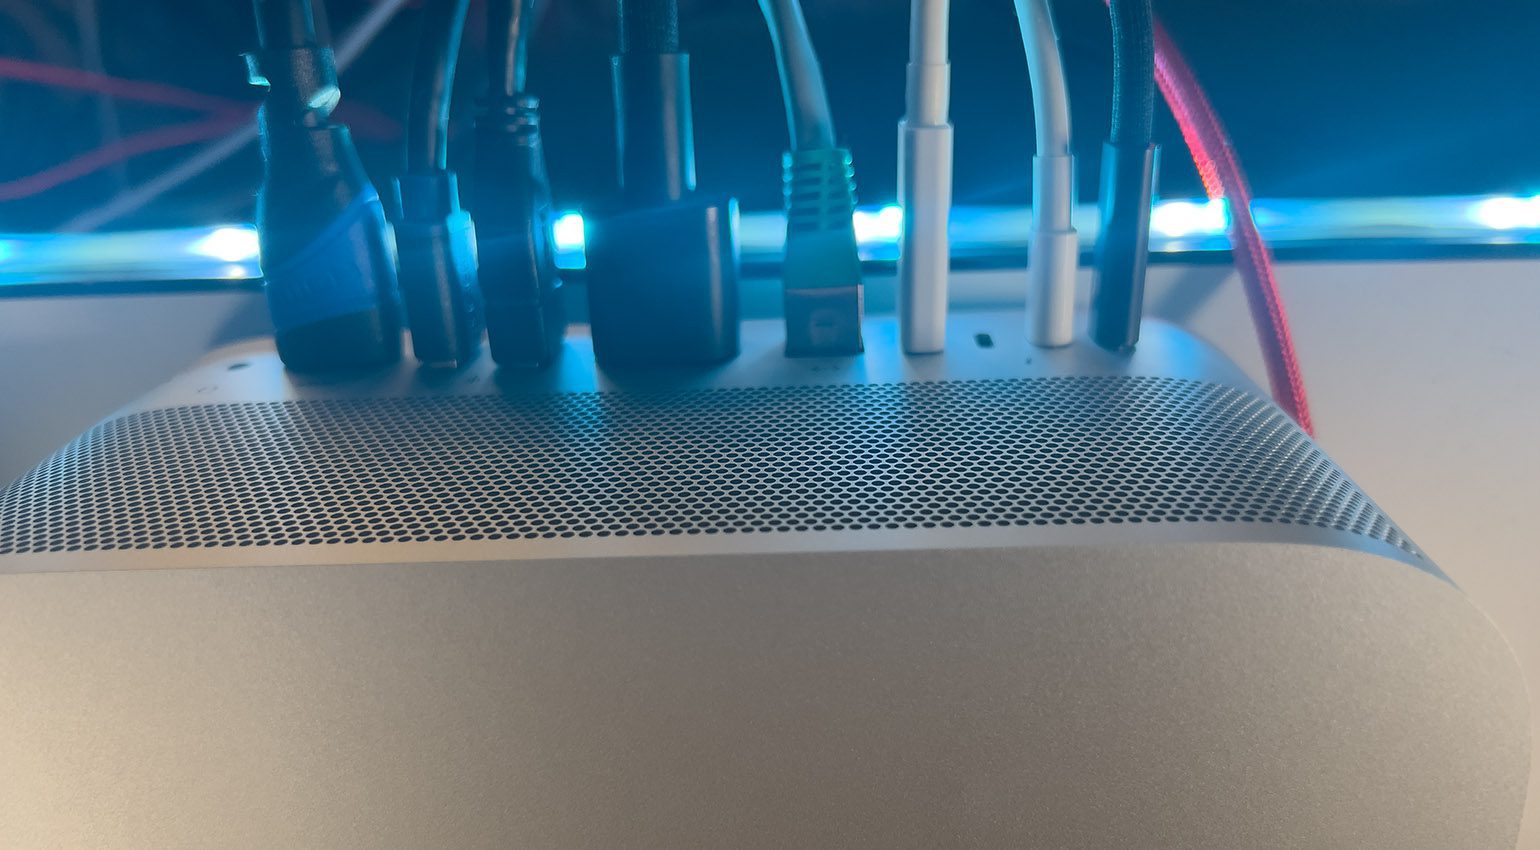
Once everything is connected. · Source: Gearnews / Marcus Schmahl
So I set about manually working through my list of applications and plug-ins, updating the incompatible software. This can be tedious, but luckily rebooting the Mac Studio takes only 1-2 seconds. Hopefully, everything should be back in order now!
Once I launched Ableton Live 11 (M1 version) I noticed that not all plug-in manufacturers have yet provided compatible updates for this system. Quite a few effects and instruments in my library (of almost 1500 plug-ins) were not indexed.
There is a positive side to this, in that I can finally find my favorite tools and instruments, as these are already optimized. My workflow feels more streamlined now, after this forced Spring cleaning.
Configuring the Mac Studio for audio
Now I faced the next problem. Live’s CPU performance meter jumped back and forth between 10 and 30 percent at a rapid rate. In addition, the performance was more similar to my iMac. It’s not supposed to be like that, is it?
For testing purposes, I changed the sample rate from 48 kHz to 96 kHz and the buffer size from 512 to 128. These are values that would not have worked with my iMac without “crackling”. Lo and behold, the CPU meter calmed down and was fixed at 4 percent (my default layout comes with some preset plug-ins and routings). This is very good news!
This was one of my main reasons for upgrading: Lower latency and higher audio quality. However, my external analyzer (TC Clarity M) is no longer running, which is my next problem.
To solve this I could set up a small HDMI monitor and connect it as a second screen or run standalone analyzer software. Either way, the M1 Max can do multitasking with ease.
Also, with a much larger screen, I now have a much better project overview for DAW work. Within Ableton Live, the upgrade is now seamless.
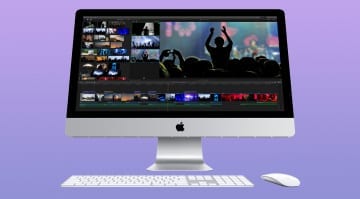
The Mac Studio can do more than just audio
My work in the studio also includes streaming for my Twitch channel. For this purpose I previously used a MacBook Pro M1 to run OBS and Co. as well as my studio iMac, sharing its screen via Ethernet. With this setup, I could use my iMac at (almost) full performance during the stream which was a plus.
However, once I tested my new Mac Studio system, I found that I can now run everything from a single system, and with even better performance. The Connected Sony Cam (via HDMI to USB converter), Elgato Stream Deck, second webcam, and a customized audio configuration for OBS are a breeze for this system. Furthermore, Final Cut, Motion, Photoshop, and other smaller apps also benefit from the vast increase in performance.
Background Noise?
As already known from some testers and forums, you can hear the Mac Studio fan in a quiet recording studio. This is said to emit a very unpleasant high-frequency resonant sound.
Fortunately, that is not the case with my model. My Mac Studio, which is actually 50 cm away from my head on the studio table, does not even “sound” under maximum load, which is really very difficult to achieve.
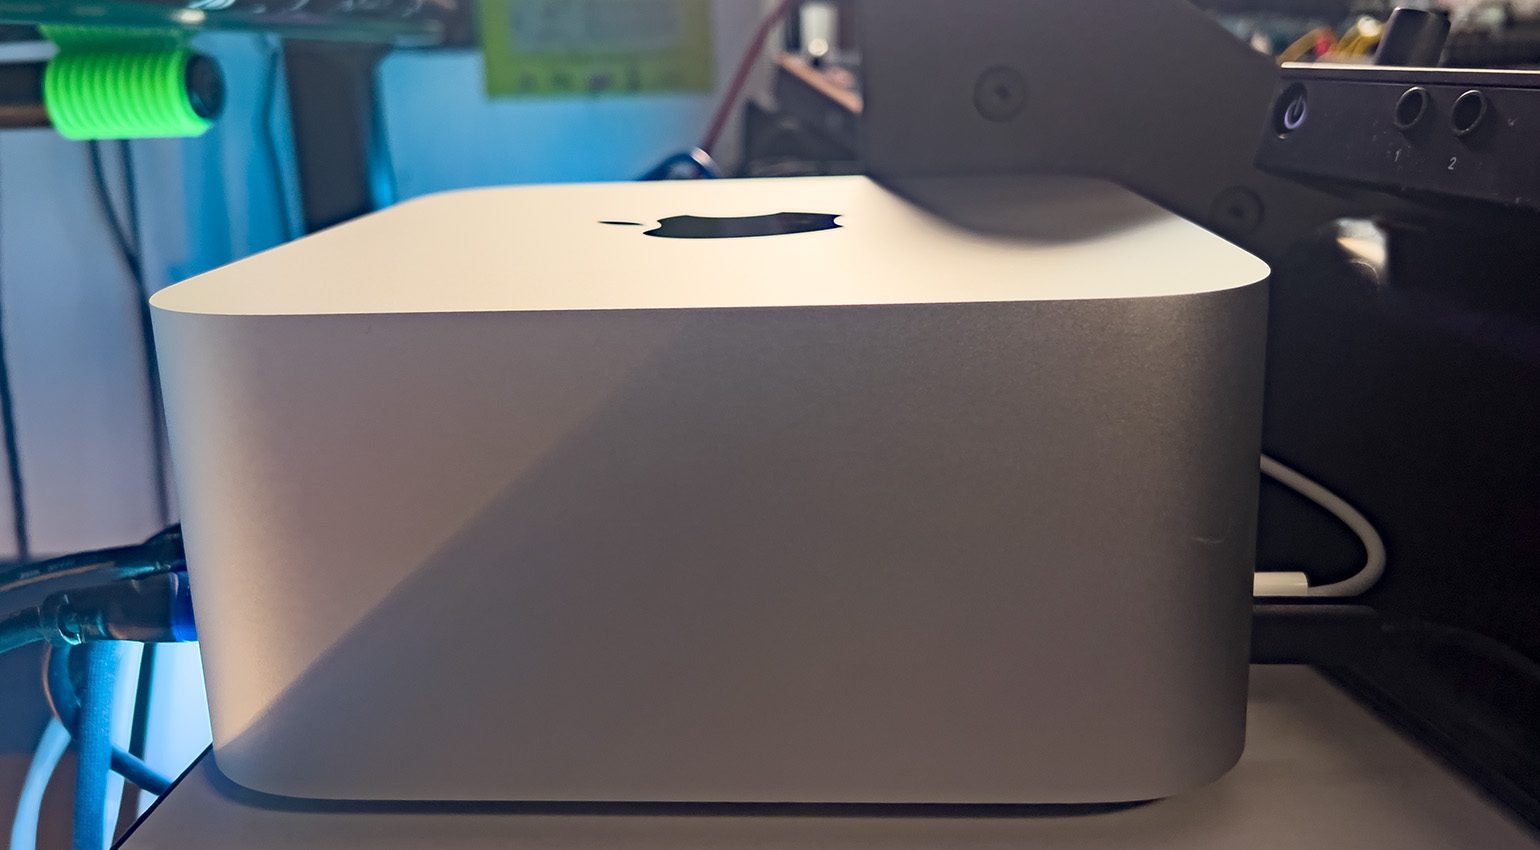
Happy in its new home. · Source: Gearnews / Marcus Schmahl
Conclusion
Every system upgrade in a media studio is a complex process involving several hours of installation work. This includes a fair bit of cable spaghetti management when you connect your peripherals, and the software configuration too.
So if you’re looking to upgrade, plan accordingly to make sure you have as little downtime as possible. To speed things up, make a list of all the cable types and lengths you require, the adaptors, and of course the compatible software drivers.
I am very happy with this upgrade so far, especially after the optimization frenzy. The Mac Studio easily copes with multiple apps running tasks with far less load on the CPU.
On the studio side, I have significantly higher audio quality and lower latencies. The system is a huge improvement, especially for multitasking processes such as video editing and graphics.
For me, the upgrade was a success and I certainly do it again. The M1 Max is perfectly sufficient for my work, let’s hope for the next seven to eight years.
Price and Availability
The Apple Mac Studio in the Apple Store starts at $1999. My configuration costs $3452 (without cables, screen, keyboard, and trackpad). A power cable is included in the package.
More from Apple:
- Configure your Mac Studio
- Everything Apple
Video:
You are currently viewing a placeholder content from YouTube. To access the actual content, click the button below. Please note that doing so will share data with third-party providers.
Note: This article contains promotional links that help us fund our site. Don’t worry: the price for you always stays the same! If you buy something through these links, we will receive a small commission. Thank you for your support!
Originally published on Gearnews.de by Marcus Schmahl.


This might also interest you
4 responses to “Upgrading my music setup with the Apple Mac Studio”

There is no main info! Is it sound better then Mac mini M1?
“It’s all about the Pentiums, baby.
It’s all about the Pentiums!
(it’s all about the Pentiums, baby)”
… highly likely!
Just a tip…reformat any external ssd to APFS…not Apple Journaled. Spitfire, Spectrasonics…I had problems until I figured that out. And it’s in their docs to do so.
I’m probably in the minority but I find the Mac Studio a terrible design for a terrible price.
Most people are better of buying a Mac Mini or MBA with M1. Just make sure you got enough RAM.
Don’t pay Apple more than needed or they keep charging more.