Video Podcasting and Vlogs for Musicians: How to Get Started!
· Source: Gearnews

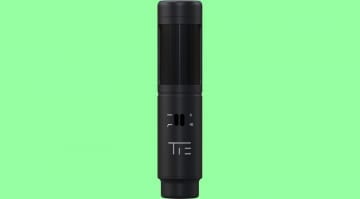
· Source: Zoom
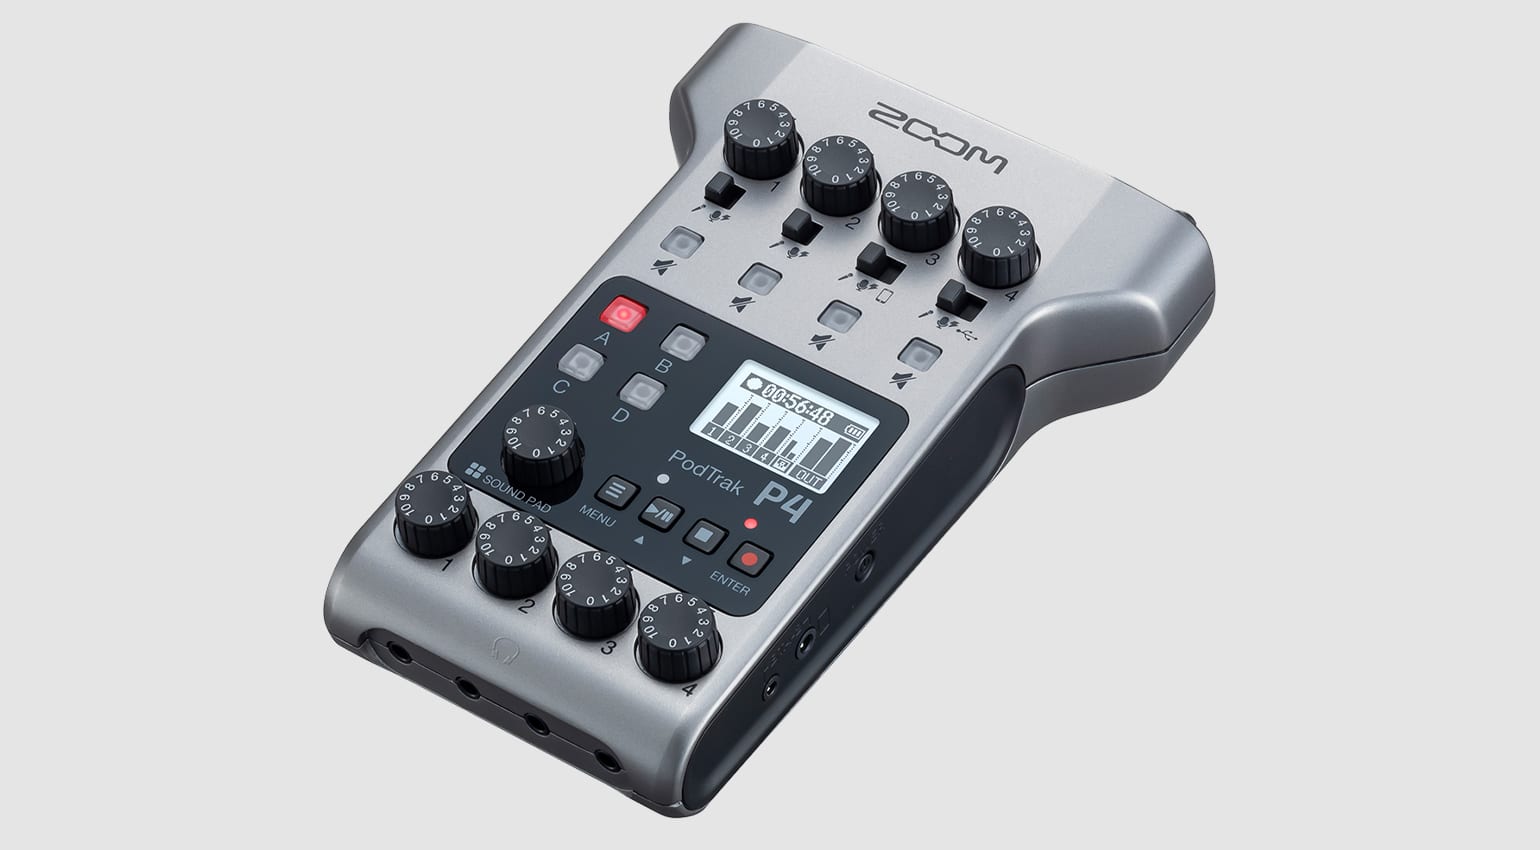
Zoom PodTrak P4 · Source: Zoom
Take your first steps into the podcasting world! · Source: Zoom


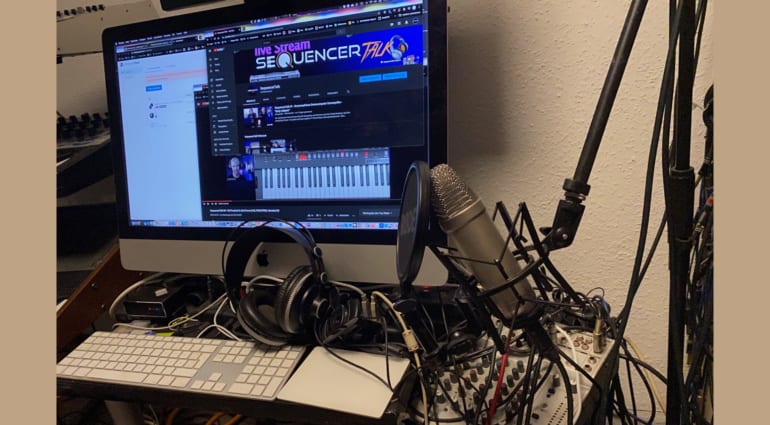
So you’re a musician looking to get into podcasting and vlogging? You’ve come to the right place. We listen to podcasts passionately and some of us also actively do videocasts, such as SequencerTalk, run by our colleague Moogulator over on our German sister site. So why not try and do a small show yourself? It’s easy, it costs little to get started, and it can be immensely rewarding!
There is unwaning enthusiasm for good discussions and contributions on many topics. A well-produced podcast or v-log is practically superior to radio and TV content in terms of scope and depth. But your show doesn’t have to look slick and expensive from the very start – all you need is a decent computer and a solid webcam.
Live on the air
For live broadcasts, first you need a fast and stable internet connection. We recommend at least a 50 mbit/sec connection with at least 6-10 mbit/sec upstream. Ideally, your computer should be connected to the router via Ethernet cable. Wi-Fi is still an option, but lag and interference may occur. If it doesn’t have to be live, then you have to choose a platform such as Vimeo, Dailymotion, YouTube, or even your own website. However, live streams have a certain charm to them because everything happens in the moment! You can also integrate a live chat and interact with your viewers or listeners as you go.
Monologues are technically the easiest, as dialogues over the internet take some amount of effort. It’s a good idea to think of a suitable microphone – these are no longer expensive today. With resources that a typical musician usually already has, such as a computer, an audio interface, perhaps also a small mixer – there is little effort required on the visual side of things. A webcam or a camera with USB streaming support is enough to get you covered.
Be seen
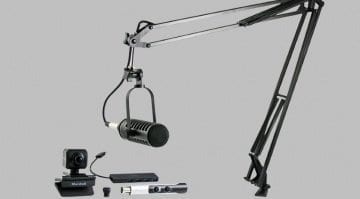
Alas, the built-in cameras of laptops, iMacs and most computers are not exactly up to spec. And affordable action cameras do not necessarily offer streaming. This is why a classic webcam is the cheapest, safest choice for a podcast or v-log with you as the host. For example, Logitec’s C9XX series has proven itself in the field. The Logitech C922 is one you could go for, but beware, the built-in microphone is not very good.
With better sound and only slightly weaker picture quality, the Logitech C920 is also well suited. The cost is around EUR 120. These cameras are also available as bundles with a small tripod stand. However, webcams like this are far from perfect for live set recordings. Mirrorless or DSLR cameras are usually the better choice for this. Alas, stream cameras are generally much more expensive than webcams. It’s something to think about when you are certain that you want to keep going with this.
The better webcams have stereo microphones, but they cannot be positioned close enough to record your voice without room ambience. Camera positioning is a bit of an art in itself. It is advisable to place the camera at eye level, perhaps attaching it to your monitor or mounting it on a tripod. However, if the camera is installed too high, low or to the side, the result always looks like you’re talking past your audience. Be mindful and always look into the camera.
Get lights
A ring LED light or a monitor that is set to a sufficiently brighter setting is usually enough to illuminate a speaker’s head. Good light can certainly help a lot. A softbox is also a great choice – it creates direct diffused light, avoiding reflection and mirroring. This means that there are no overexposed areas on the face or the object being filmed. Ring lights and softboxes can be found cheaply in specialized stores.
Get mic’d
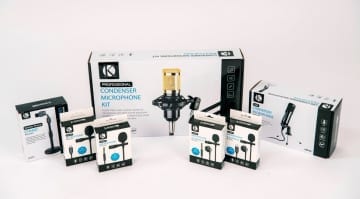
In the medium term, your podcast listeners and viewers will likely complain about the excessive amount of space and noise in your sound. That’s when you know you need a microphone. The ‘classic’ broadcast microphones are large-diaphragm condensers with slightly directional cardioid polar pattern. They are usually attached to a “spider” mount to decouple them from contact. They may or may not have pop filters, too – a small piece of fabric which reduces spitting noises, plosives, and hissing.
There are now more and more “podcasting” microphones that offer USB connections, letting you bypass the audio interface or external preamp. They also integrate right into recording software. One of the cheapest USB mics that do the job is the the t.bone SC240 USB set (EUR 59, affiliate link), which even includes a spider mount and pop screen. But there are plenty of other models to check out if you want to spend a bit more, like the recent PreSonus Revelator, Rode’s well-priced NT-USB Mini, Shure’s MV7 or the Mackie Chromium, with a built-in mixer.
In any case, any sound arriving from behind the mic will be very muffled. Thus, if you have to speak from two positions – for example, to discuss an object that is set up to your right or left, you should set up a second microphone there or use a lav (lavelier) mic. These are clip-on microcapsules often found in TV broadcasts. The better ones are, however, very expensive while the cheaper ones sometimes rustle a lot. A reasonably priced lav mic with very good audio quality that you can try is the Rode SmartLav+ (EUR54, affiliate link). It’s a direct fit for your laptop or camera’s mic socket, and it also works with smartphones!
One thing to be mindful of – don’t do videos with a dynamic vocal microphone like the Shure SM58. You will have to keep it much too close to your face to get a good sound, and it looks invasive in the video. As a general rule, twenty centimeters is a good distance when speaking towards a condenser microphone! If you want to make a reporter impression and get louder sound, you can also put the microphone in the video. But friends of understatement will want to push it out of the picture. Don’t worry, the sound will still be good enough.
In addition, you should always use headphones during the broadcast to avoid echoes and feedback. Also, remember to switch all nearby cell phones to Flight mode – this will prevent unwanted interference from creeping into your audio.
When does it get expensive?
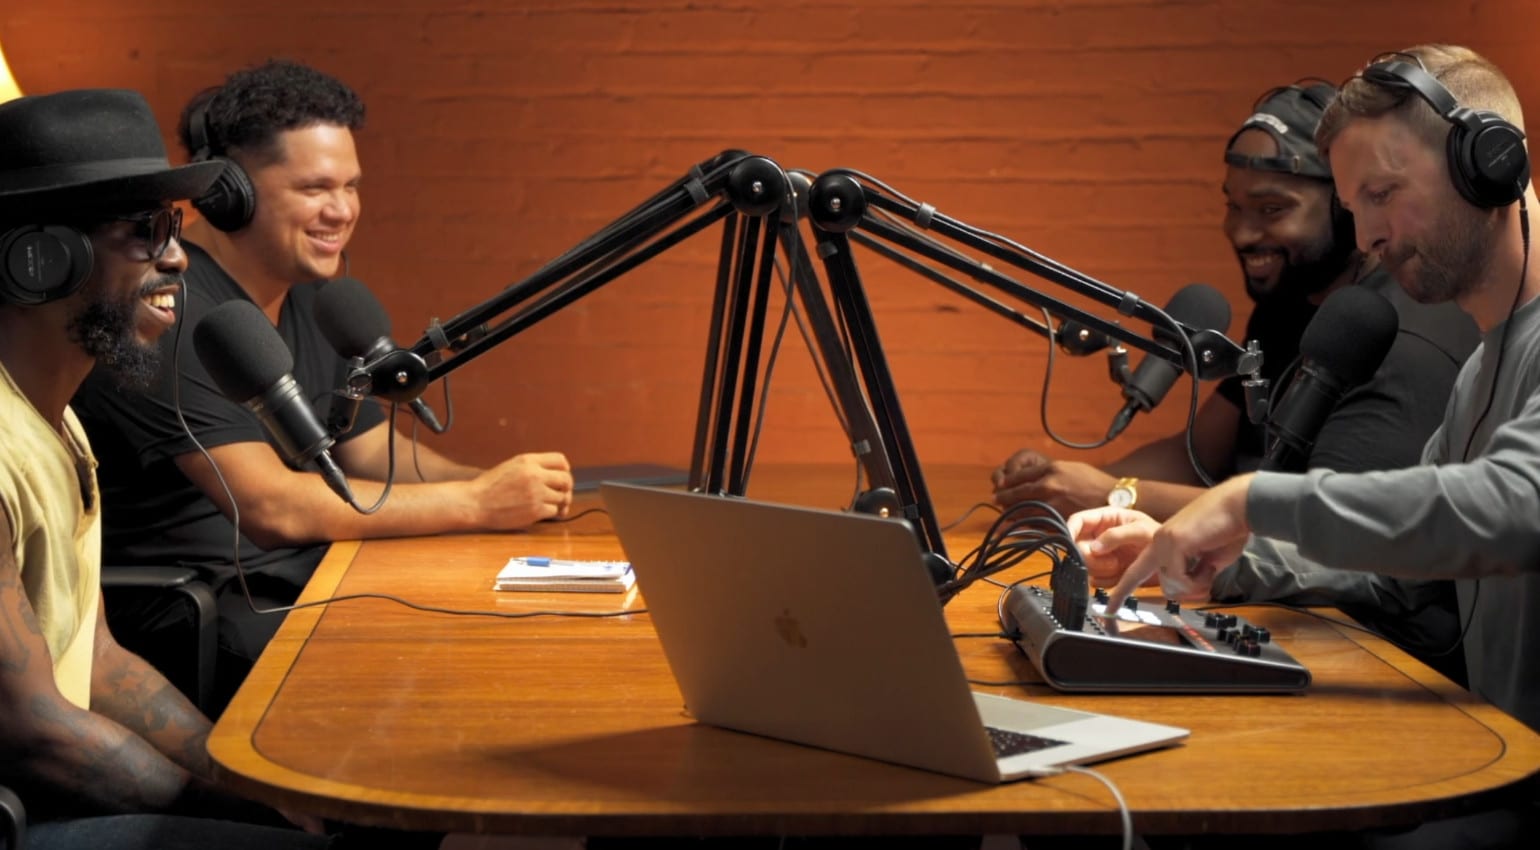
If there are several people in your show, and they are in the same room as you, will have to switch from a webcam to an actual camera with stream functionality. Many modern cameras have USB streaming functionality or can stream via HDMI. You will also have to think of additional microphones, which will require a mixer or audio interface with at least two microphone inputs. You will also need more light so that everyone can be seen clearly.
How streaming works
Entry-level cameras and microphones do not offer built-in streaming functionality, which is necessary for live broadcasts. Audio interfaces and USB devices (incl. webcams) offer that. The audio interface is usually recognized by the internet browser as an audio source. However, many web services can only handle the first two input channels – you may have to work around that. When you are set up, register in a streaming website like YouTube, Twitch, Jitsi, or Streamyard. The latter also offers a connection to the well-known hosters such as Youtube, Twitch, Facebook and Co. Do some test broadcasts, make the necessary adjustments, and go live whenever you are ready! And above all, have fun.

This might also interest you