Craig’s Production Tips #2: Use “glue” compression to subtly upgrade your mix
 5,0 / 5,0 |
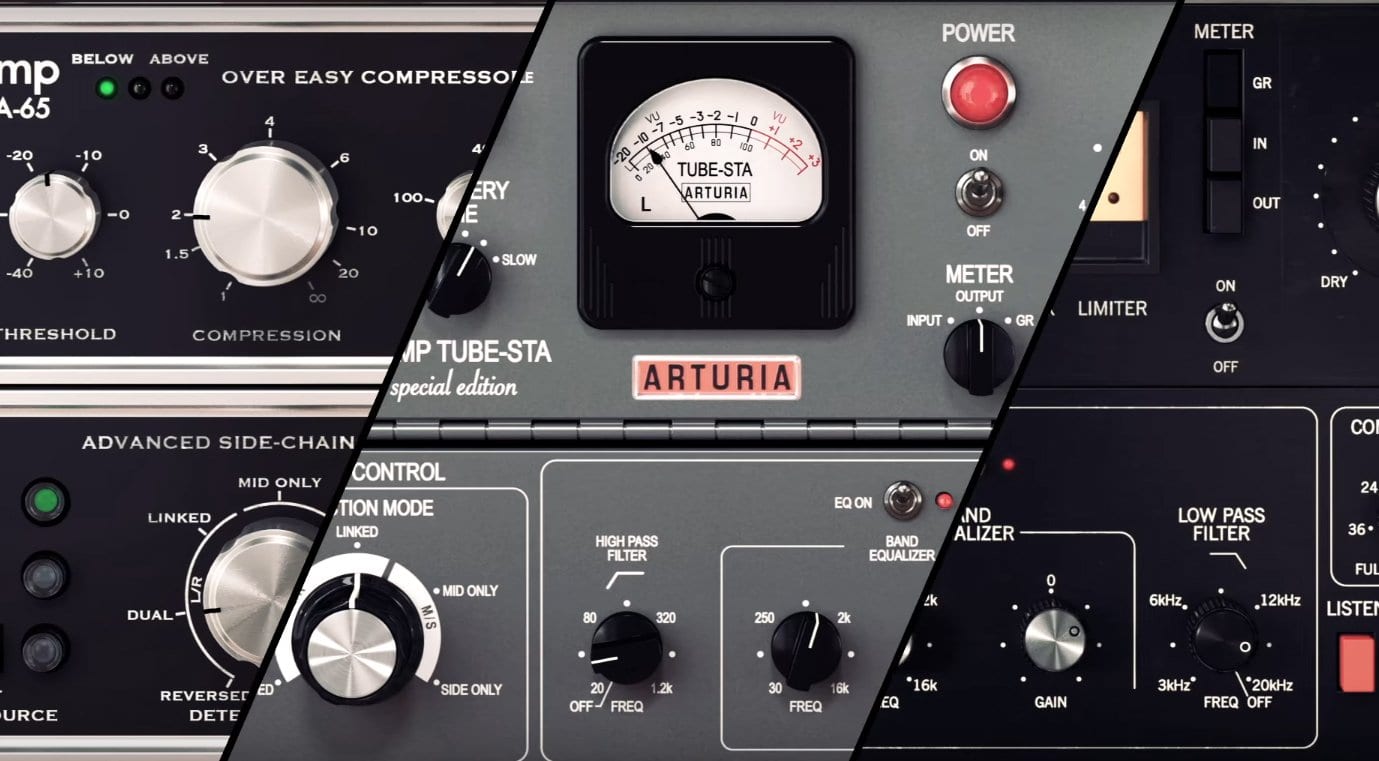
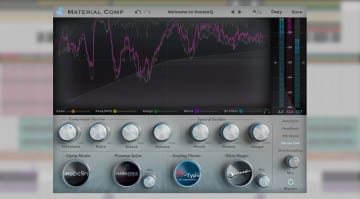
Arturia 3 Compressors You'll Actually Use · Source: YouTube / Arturia
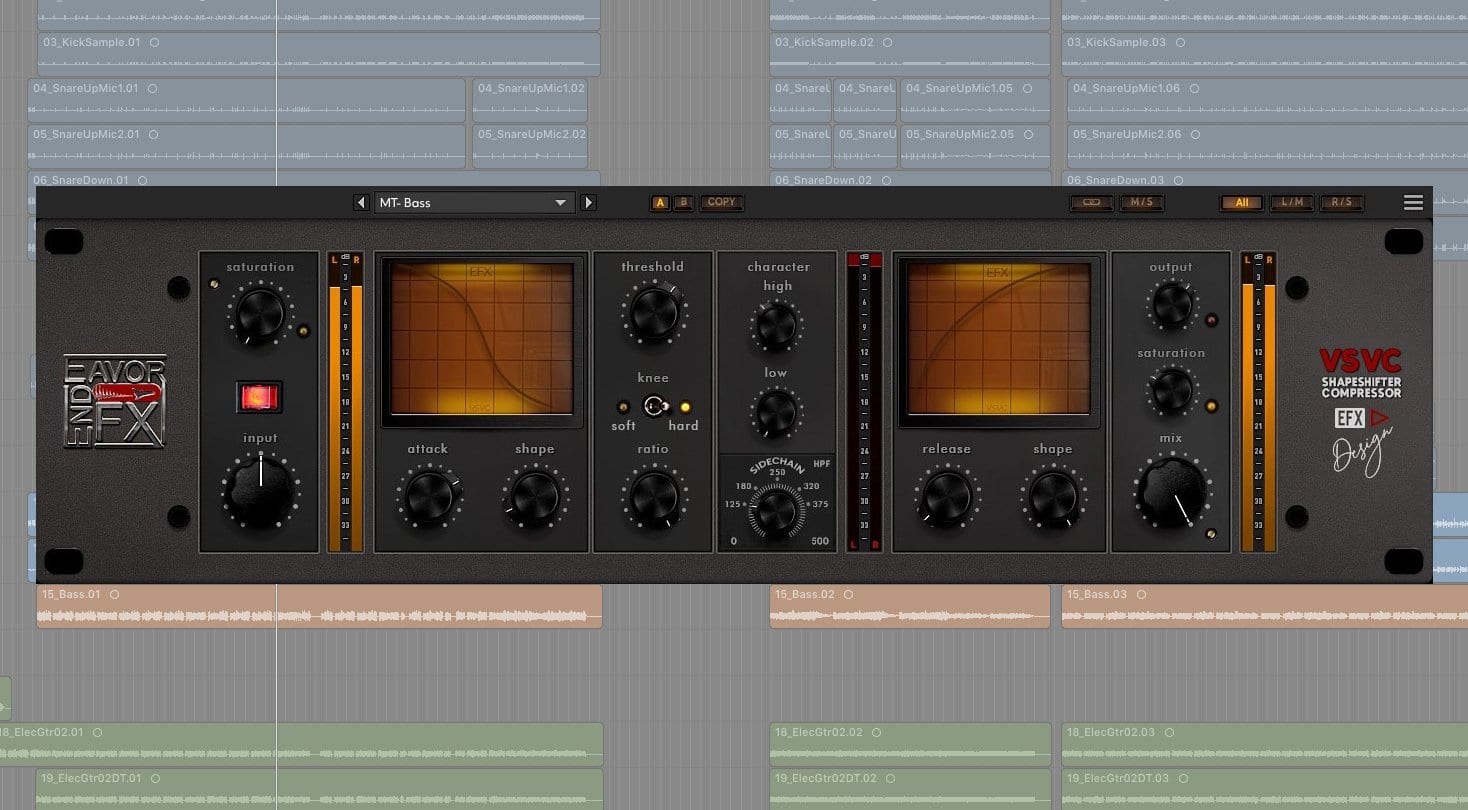
EndeavorFX VSVC Shapeshifter Compressor · Source: EndeavorFX / gearnews.com
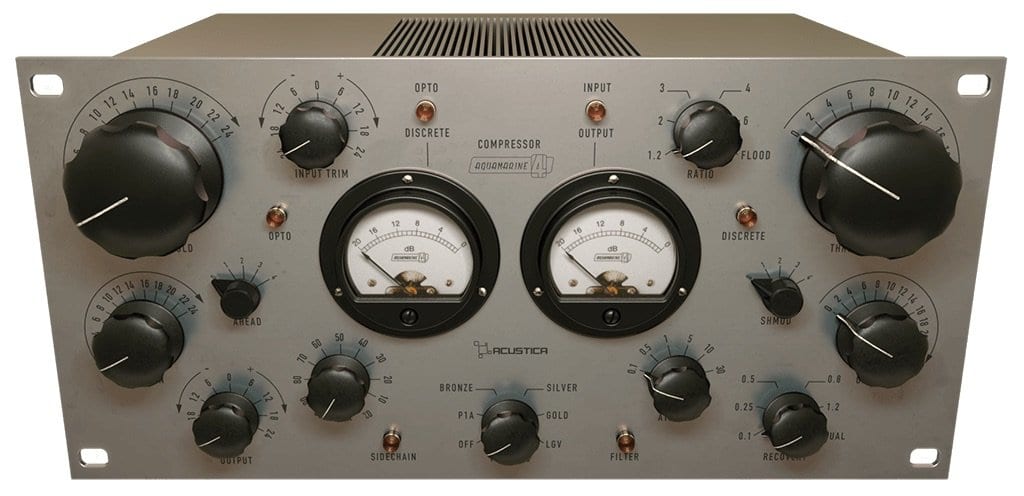
Compressor · Source: Acustica Audio Aquamarine4 Compressor
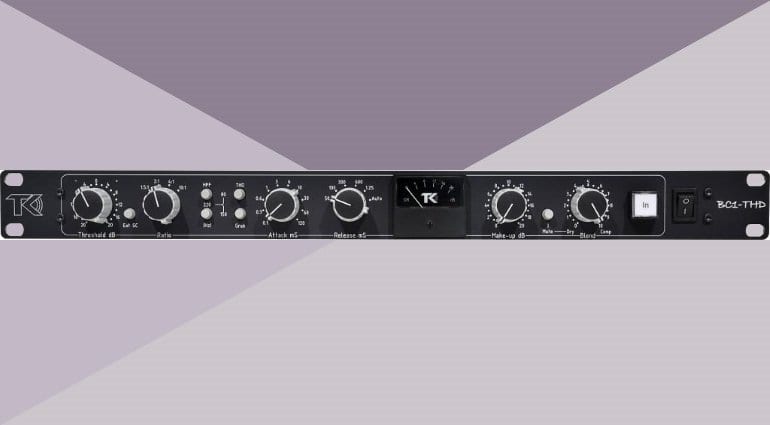
TK Audio's BC1 THD Bus Compressor · Source: TK Audio


If you’ve heard people talking about adding “glue” to a mix, this usually involves a bus compressor. But you can also “glue” tracks together in a subtle way by placing two standard compressors in series with high thresholds, low ratios, and no attack time. This method of glue compression gives you dynamics control that’s so gentle, you won’t really hear that a compressor is working—but you will hear the benefits.
It’s difficult to give precise settings because the levels on tracks differ, but the level going into the first compressor should be fairly high—around -3 dB or so. Here are some suggested settings as a starting point.
- Compressor 1: Threshold -6, ratio 1.3:1, knee 3 dB, attack 0.1 ms, release 200 ms, stereo link, lookahead (if available), gain 0.00
- Compressor 2: Threshold -6, ratio 1.3:1, knee 3 dB, attack 0.1 ms, release 200 ms, stereo link, lookahead (if available), gain = makeup gain
You’ll need to adjust makeup gain based on the signal levels you’re using so that the peak levels when the compressors are enabled match the peak levels when bypassed.
With lower input levels, lower compressor 1’s Threshold control but note that the above settings are optimized to work with higher signal levels, like what you’d expect from program material. It’s not intended to work like a conventional compressor that flattens an input with a highly variable level, although you can always increase or lower the ratio or threshold for the best sound.
Now, try the following test with a finished mix:
- Loop part of the program material with the compressors bypassed, and note the maximum level.
- Observe the maximum peak values.
- Enable the compressors.
- Adjust the second compressor’s makeup gain so that the peak value is the same that you noted in step 2.
- Bypass the compressors as a reality check. The effect should be noticeable, but not sound like obvious compression.
Happy squashing—or perhaps more appropriately, happy anti-squashing!


This might also interest you