How to Set Up your Guitar: Beginner’s Guide to Guitar Setup
 4,5 / 5,0 |

Even the best guitar isn’t much fun to play if the setup isn’t right! A clean setup is an absolute necessity for great sound and optimal playability. Due to changes in temperature and humidity throughout the year, it also makes sense to check and readjust your guitar setup regularly. With our 6 tips for the perfect guitar setup and a bit of practice, you’ll be able to adjust your instrument yourself in no time!
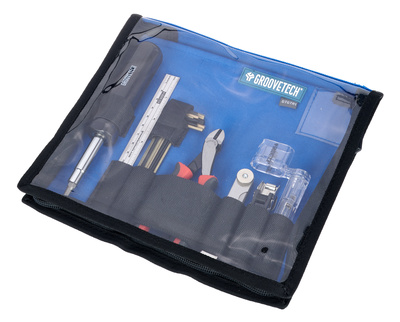
Before you start working on your guitar setup, make sure you have the following tools at hand:
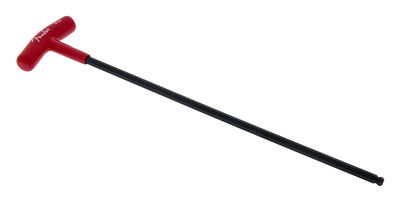
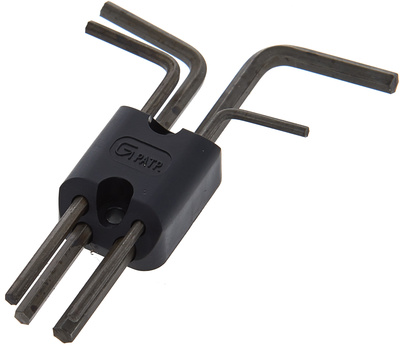
- The correct keys for the bridge/saddles and neck tension rod
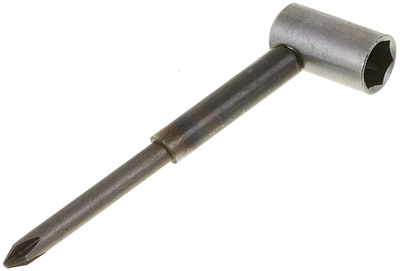
- Screwdriver for the pickups and the intonation adjustment of the saddles
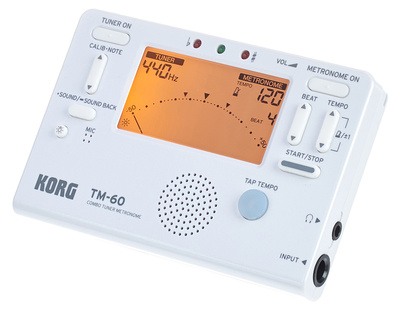
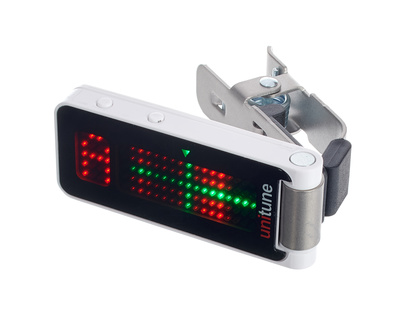
- Tuner


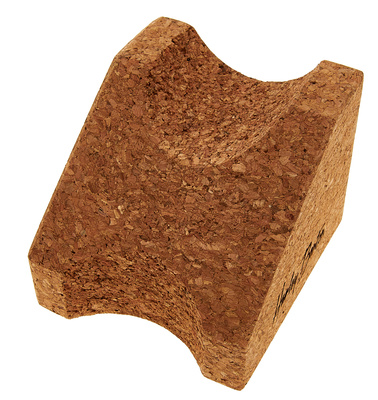
To keep the guitar in place while you’re working on it, we also recommend using a guitar neck rest.

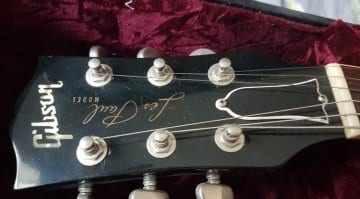
In this tutorial, we’ll focus on fine-tuning your guitar setup. If you have a guitar with a bolt-on neck that you haven’t played for a while, first make sure the neck is securely fastened in the neck pocket. If this is not one hundred percent the case, you should tighten the screws.
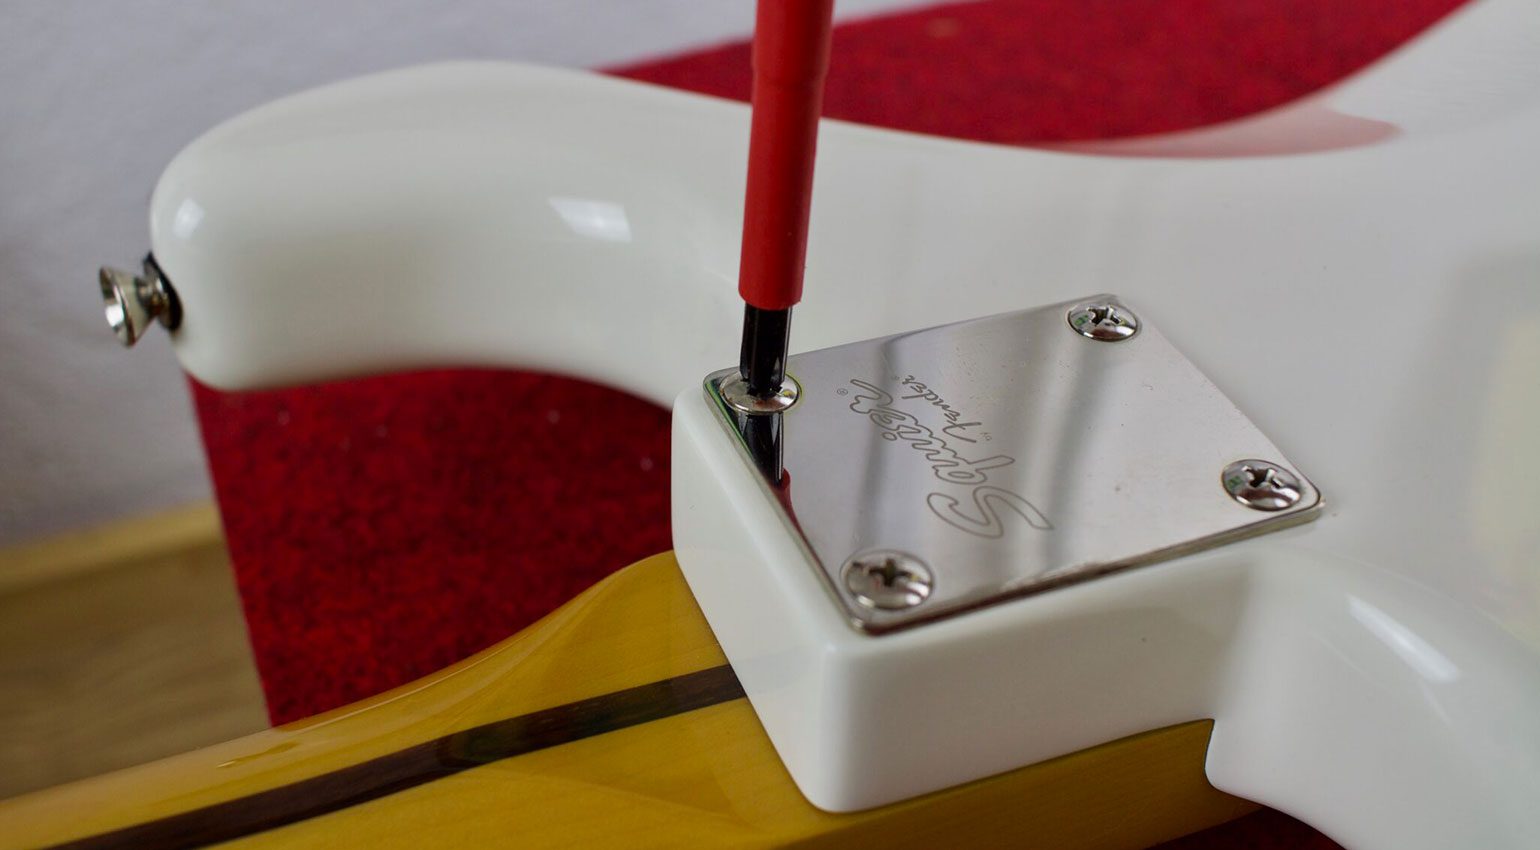
Before you get started, make sure that the neck is firmly in place · Source: Bonedo
Guitar Setup: Bridge Adjustment
To start with, let’s optimize the setup of the bridge. This allows us to fine-tune both the intonation of the instrument and the action (string height) from the 12th fret upwards.
If you have a tremolo, be sure to adjust it first before you go to work on the bridge. If you change the basic setting of the tremolo afterwards, you’ll have to repeat the setup process for the bridge. Therefore, make sure you have determined the basic tremolo setup in advance.
In order to be able to adjust the intonation, the guitar must also be tuned correctly during the entire process. Be sure to check the tuning frequently.
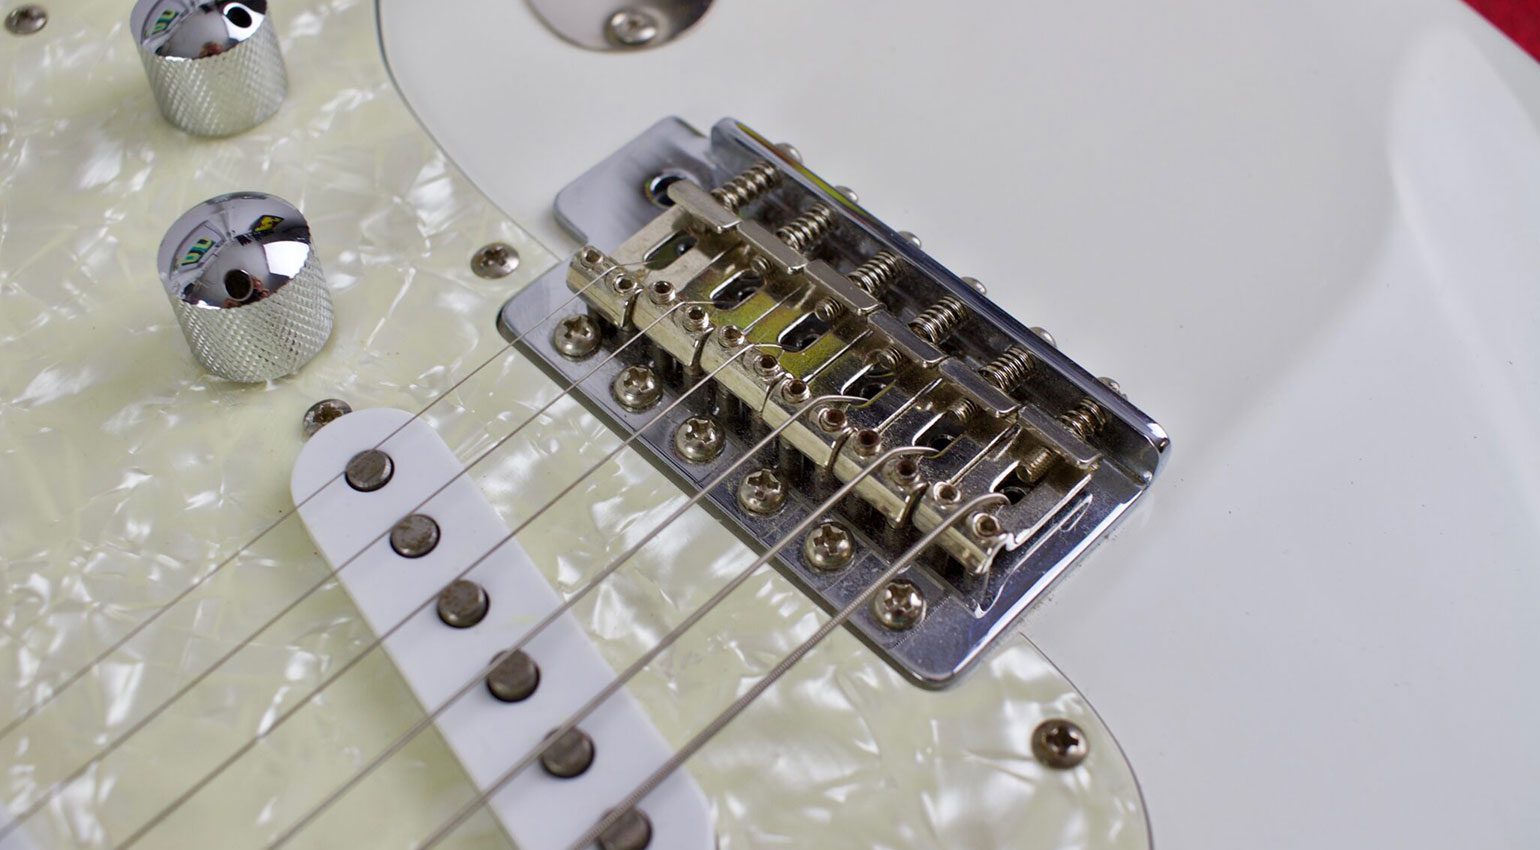
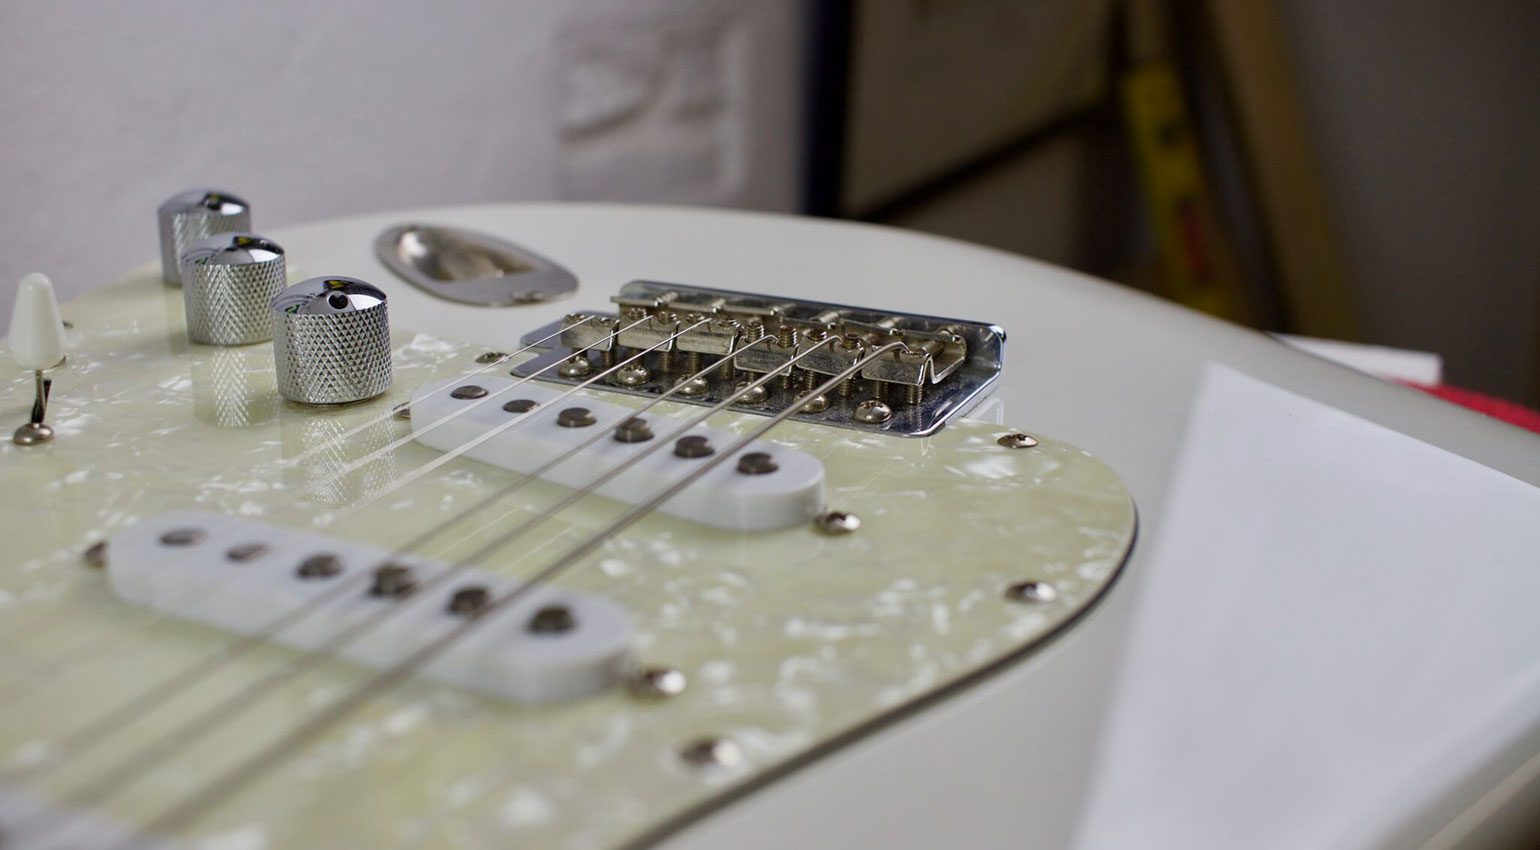
Our example instrument is a Stratocaster with a vintage tremolo. The desired tremolo setting must be made before adjusting the bridge for intonation and string action. · Source: Bonedo
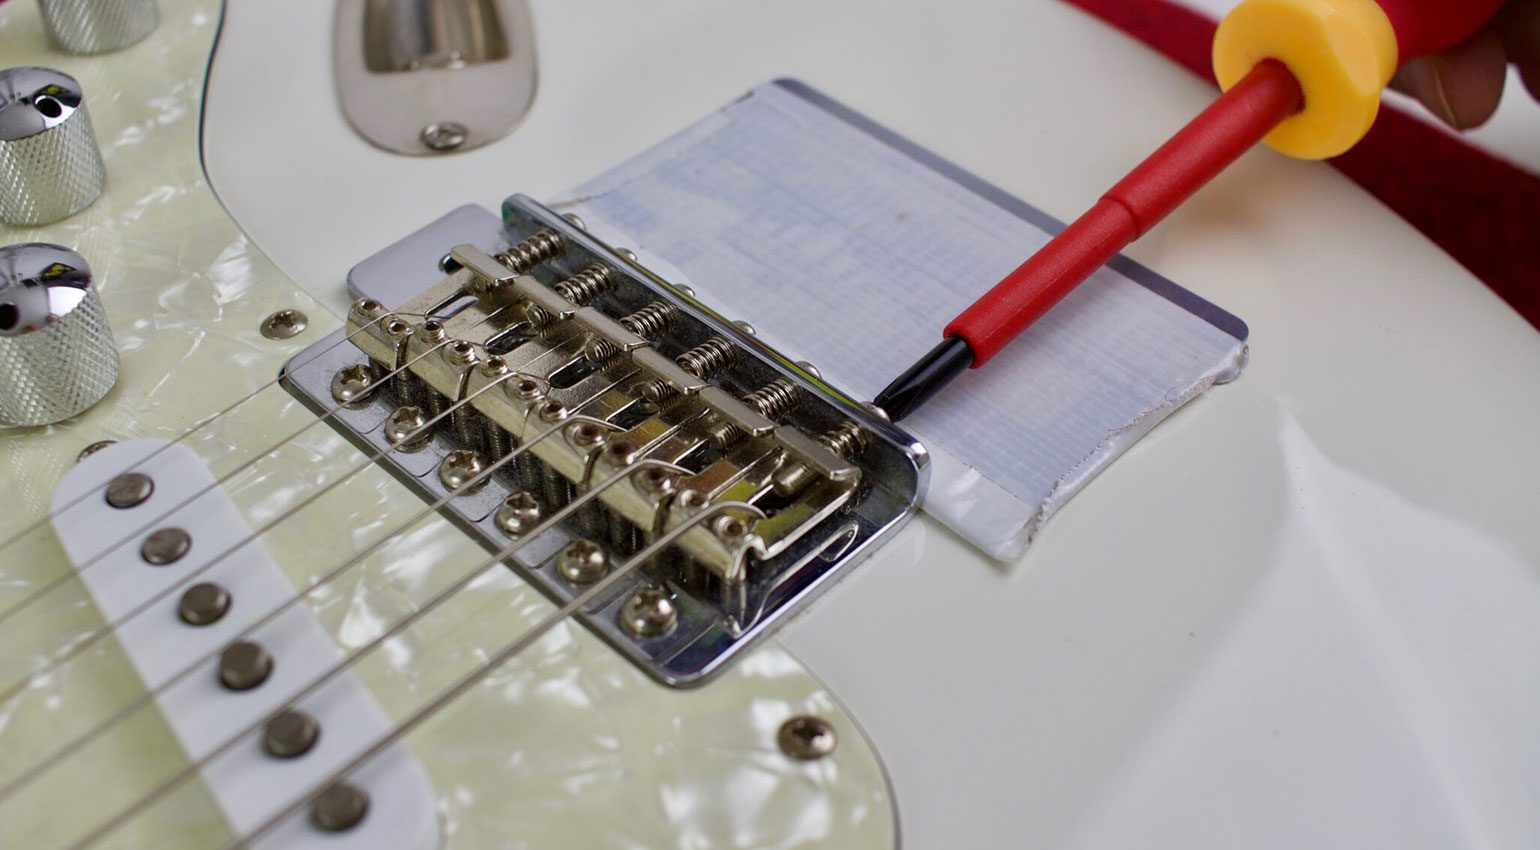
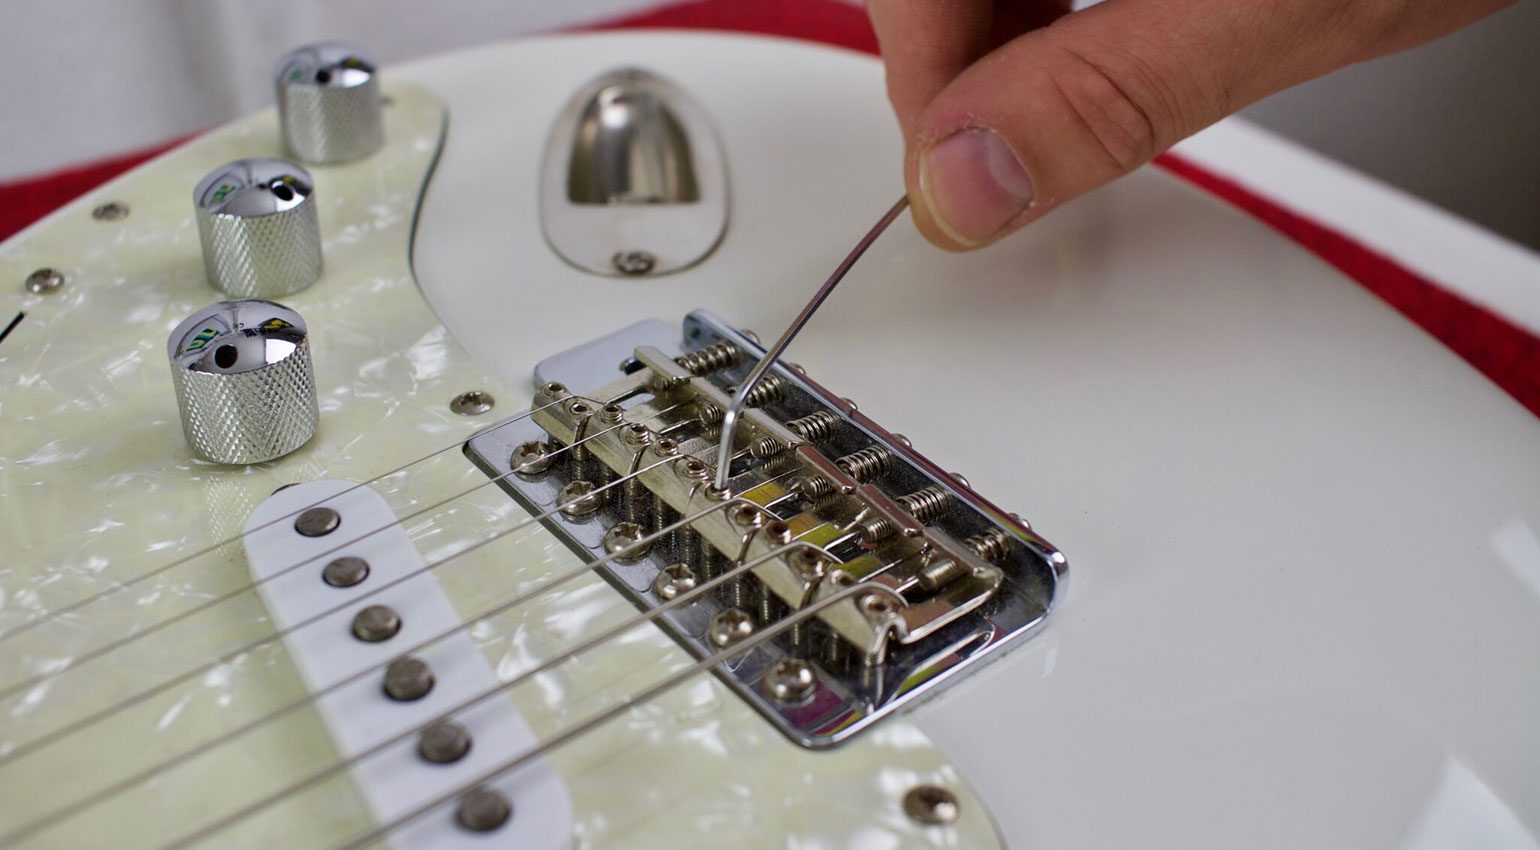
First, let’s take care of the intonation. You can easily check the intonation of a string with the tuner by comparing the harmonics at the 12th fret with the fretted note at the same position. If the pitches are not the same, the total length of the string to the bridge must be shortened or lengthened. To do this, adjust the spring-loaded screw in small increments and check the result frequently with the tuner. To avoid scratches, you can use something like a credit card as protection.
-
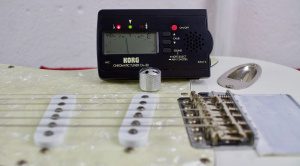
- Use the tuner to adjust intonation by comparing the harmonics to the fingered note. · Source: Bonedo

-
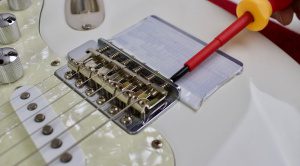
- The intonation is adjusted using the screws on the bridge. An old credit card helps to avoid scratches. · Source: Bonedo
Guitar Action Adjustment
The two grub screws on the saddle, which are usually found on Strat-style guitars, are mainly responsible for the string action from the 12th fret upwards. The truss rod, which we’ll get to in a moment, is used to adjust the string height up to the 12th fret.
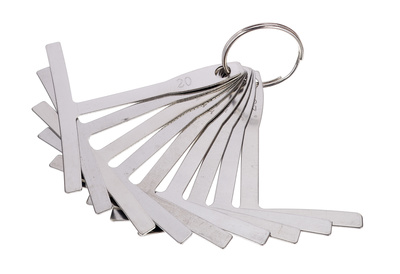
When adjusting the saddles with a suitable Allen key, the strings should be relaxed beforehand to avoid damaging the screw. The height adjustment of the saddles takes into account the curvature of the fretboard as well as the vibration characteristics of the different string gauges. By the way, the high E-string should be set a bit lower than the low E-string.
To set the string action from the 12th fret upwards, adjust the two screws per string using an Allen key. · Source: Bonedo
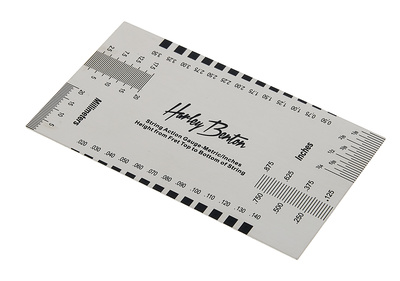
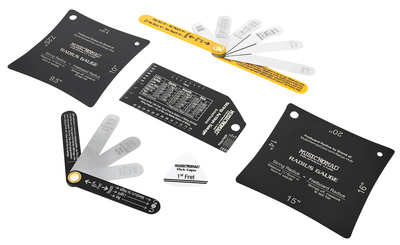
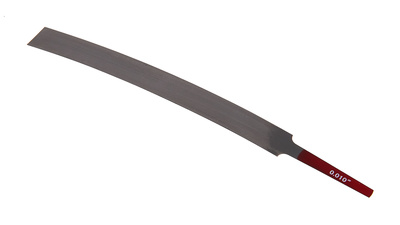
Professional workshops often use a template (see picture) to determine the optimal flow of the strings in relation to the fretboard’s curvature. String action rulers are also available.

While adjusting the string action, check the notes from the 12th fret upwards frequently. If the string action is correct, there should be no jingling. · Source: Bonedo

Templates like this help to match the string action to the fretboard. · Source: Bonedo
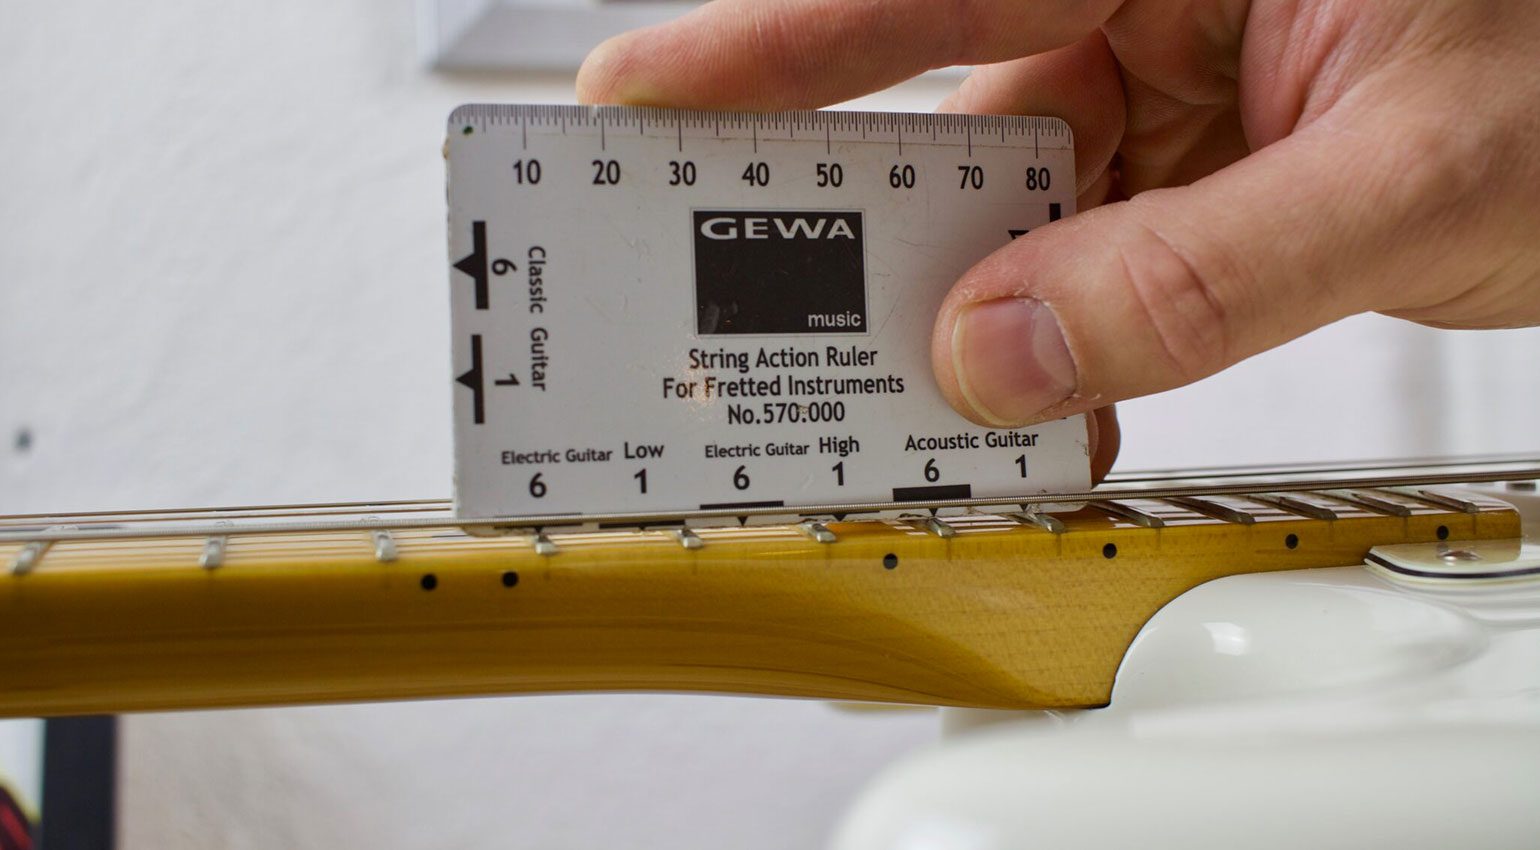
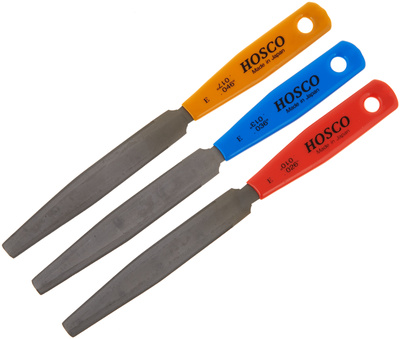
Guitar action rulers are readily available. · Source: Bonedo
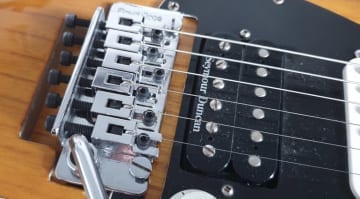
This is NOT what the bridge should look like! · Source: Bonedo
After you have adjusted the action, you may find that it’s necessary to readjust the intonation slightly. All aspects of the guitar setup affect each other, so this rule also applies to the next step: the truss rod.
Guitar Setup: Neck Relief
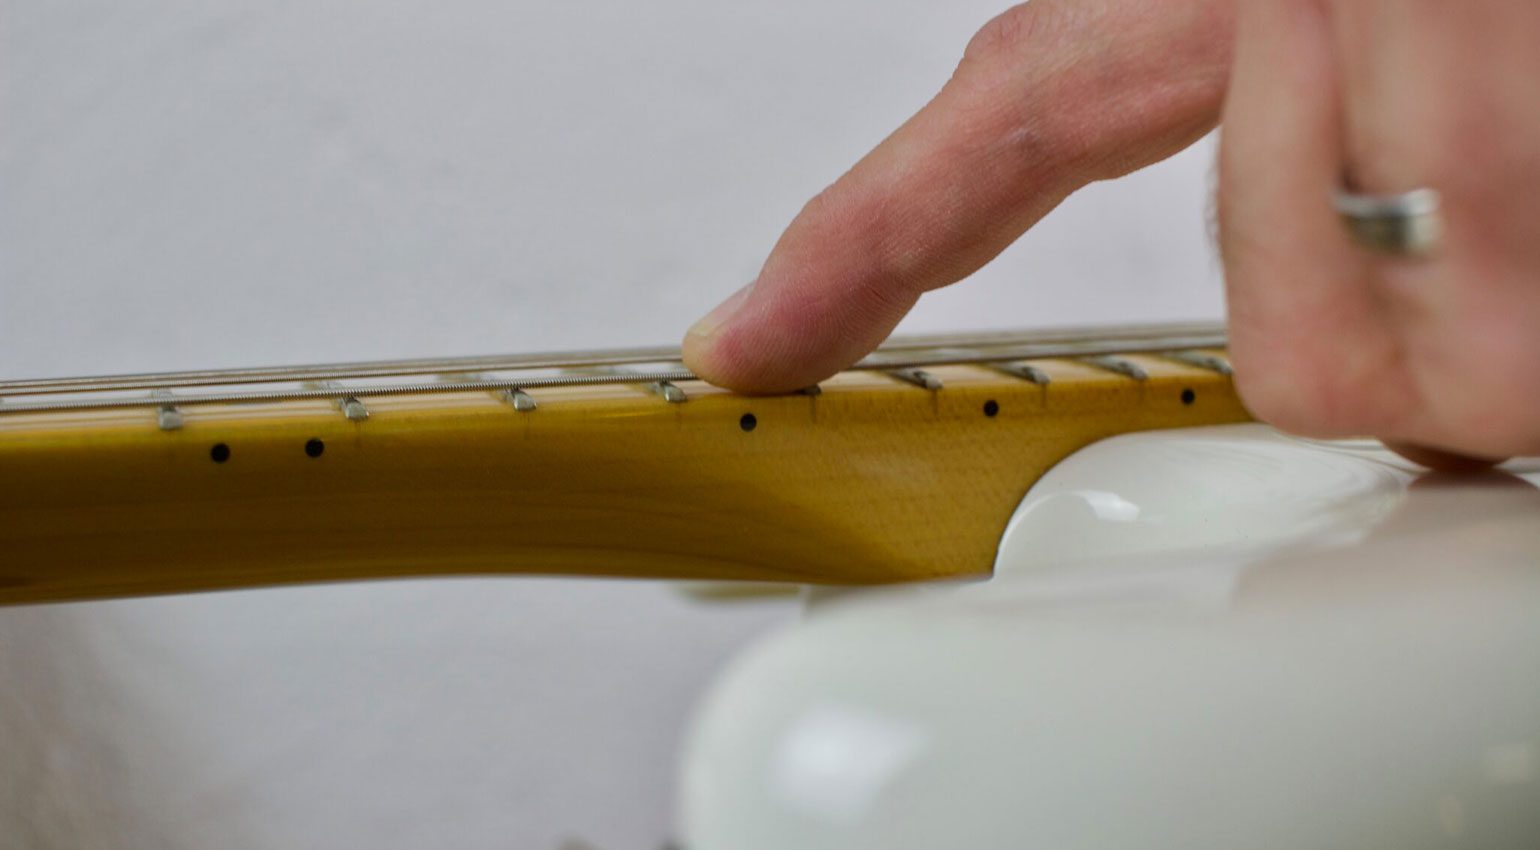
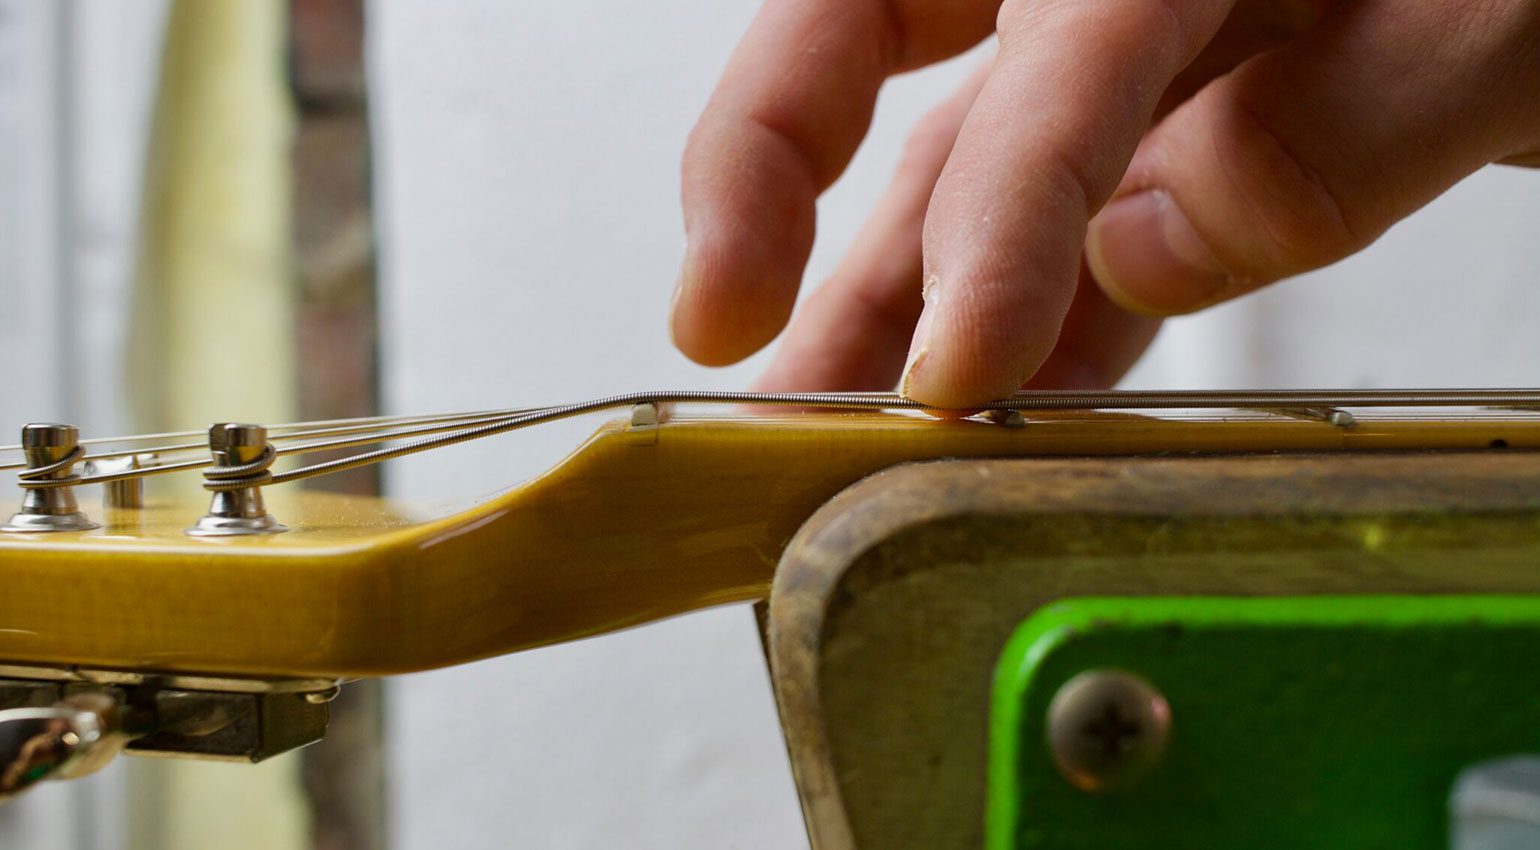
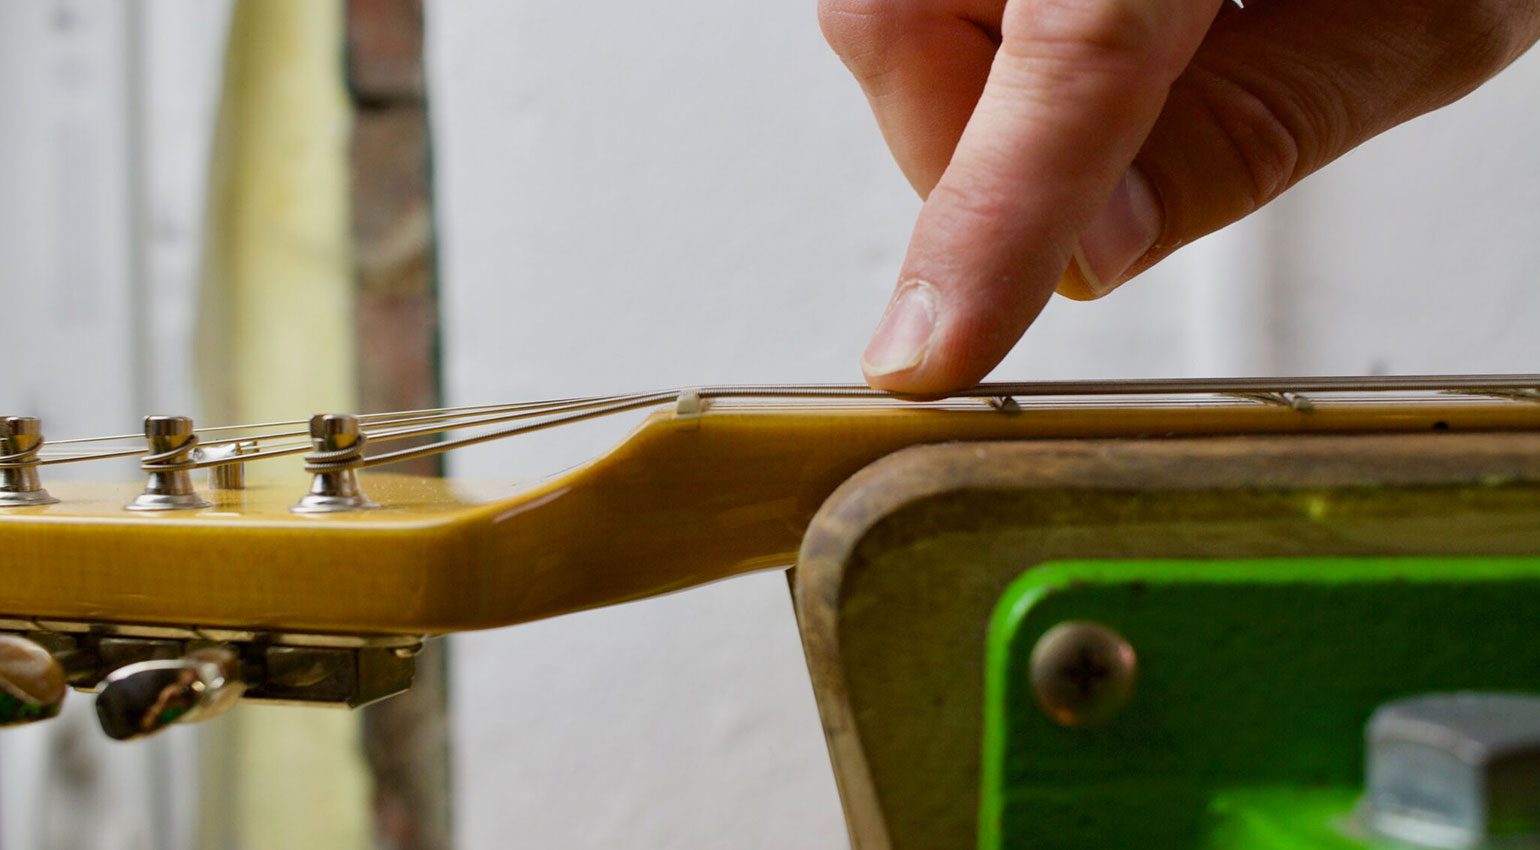
To allow the strings to vibrate freely, the neck should have a slight curve. You can easily check the condition of your guitar neck by pressing down on the low E string at the first fret and the thirteenth fret at the same time. If the string touches the frets, this is a sure sign that the neck is too straight. To counteract this, you need to adjust the screw of the neck truss rod. In our case, it is located on the headstock. On some guitars, this can be difficult to access, so ask a professional if necessary.
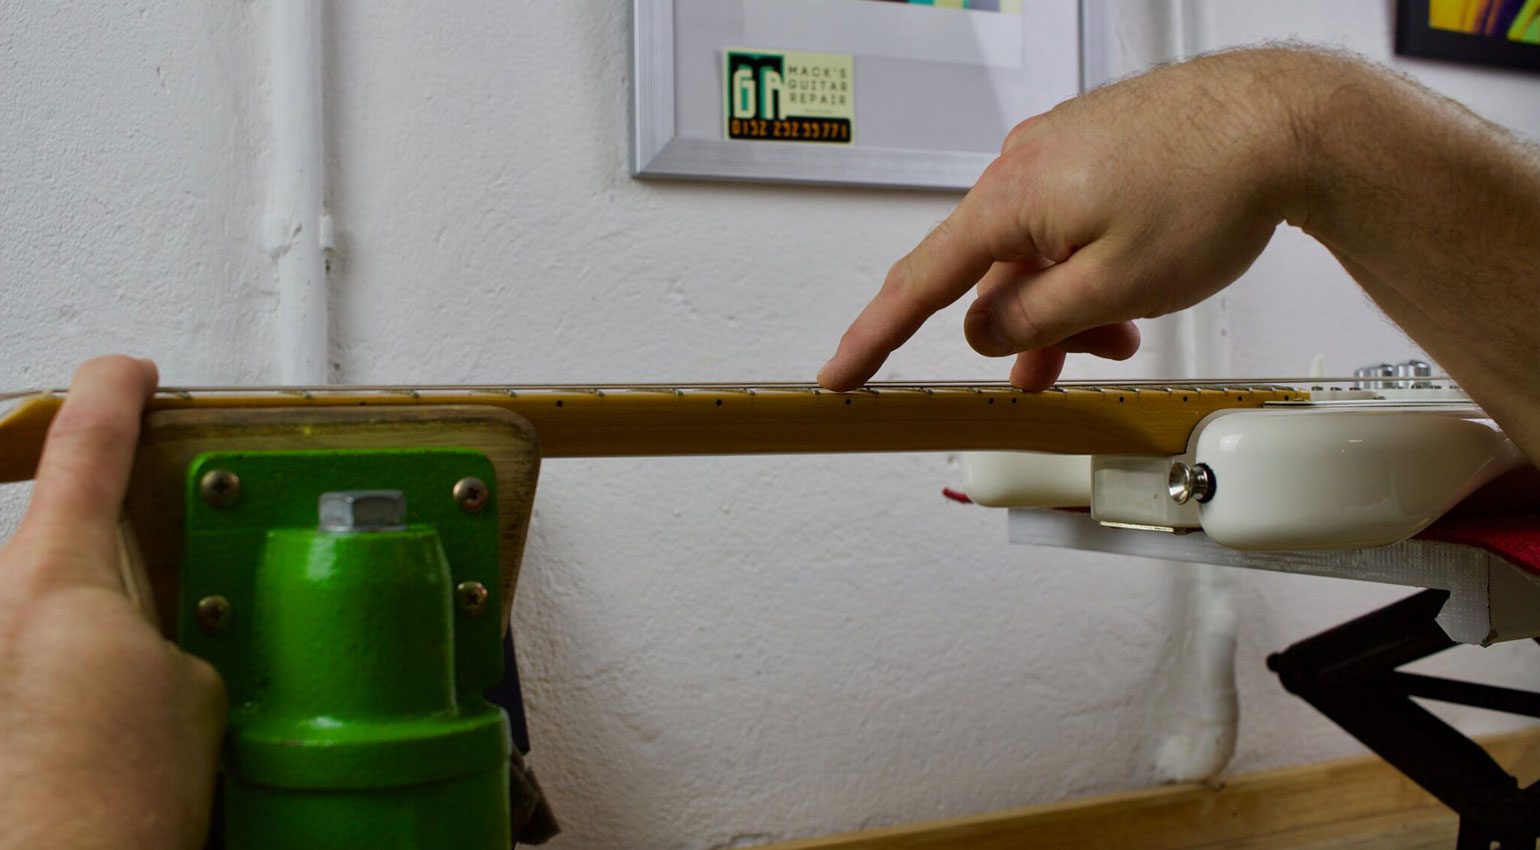
This trick helps to determine the correct truss rod setting. If the strings touch the frets, the neck is too straight and needs to be readjusted. · Source: Bonedo
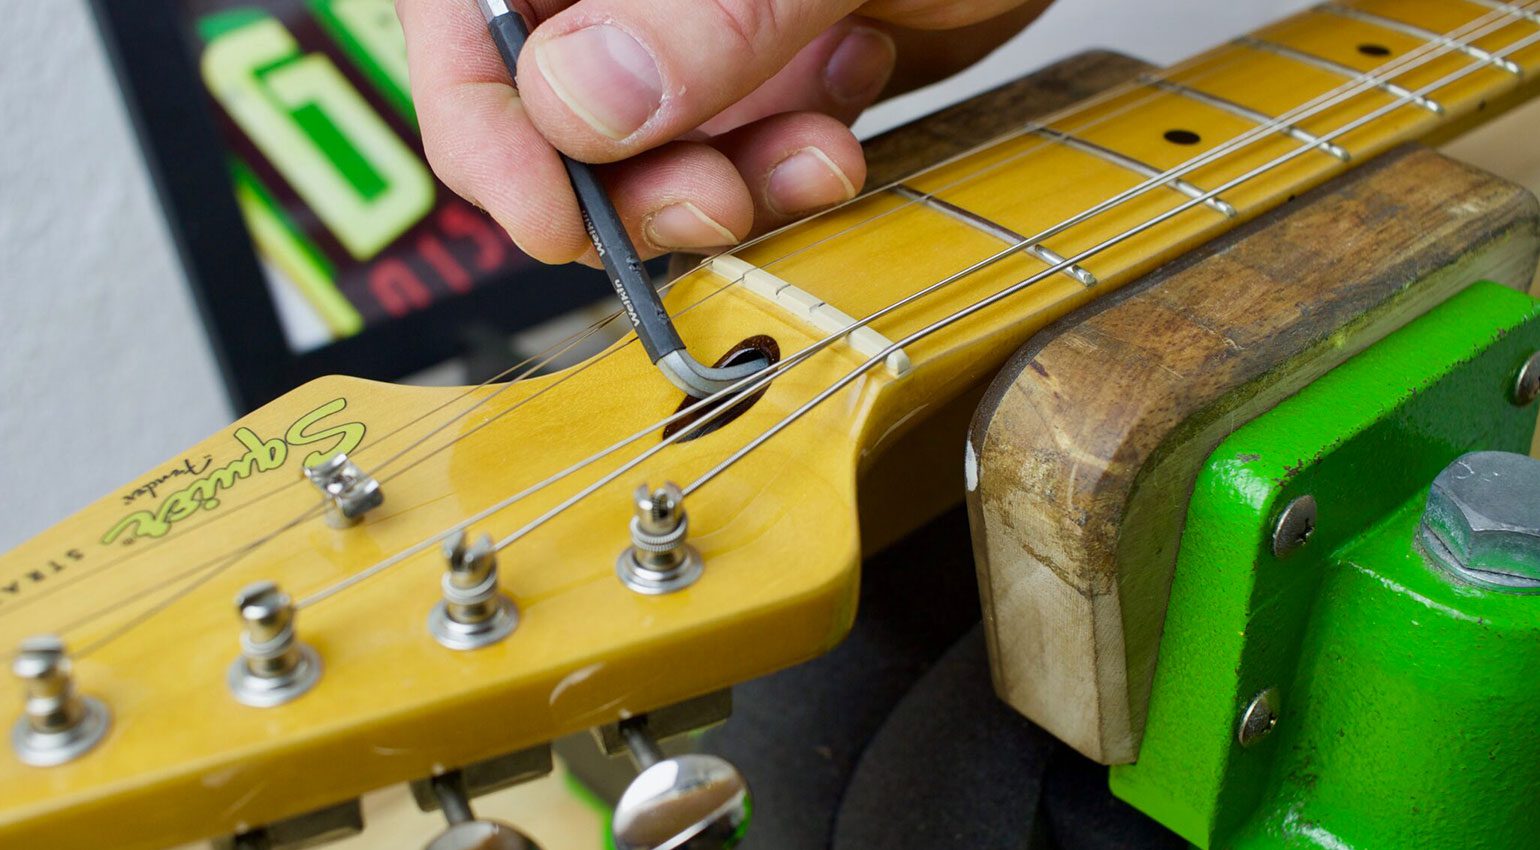
Use the correct key to carefully adjust the truss rod. · Source: Bonedo
Guitar Setup: Nut Slots
The slots in the guitar’s nut can also be optimized using a nut file if necessary. If you don’t feel confident using this tool, it’s best to leave this step to a professional. Generally speaking, if the slot isn’t deep enough, intonation problems can occur up to the 3rd fret. If the slot is too deep, the open string can start to jangle – despite everything else being set up correctly as described.


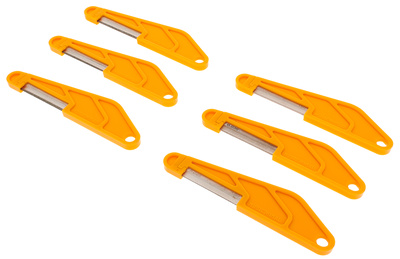
If the slot is too shallow, intonation problems can occur up to the 3rd fret. · Source: Bonedo
This is how the string should lie in the nut. · Source: Bonedo
Guitar Setup: Adjustment of the String Trees
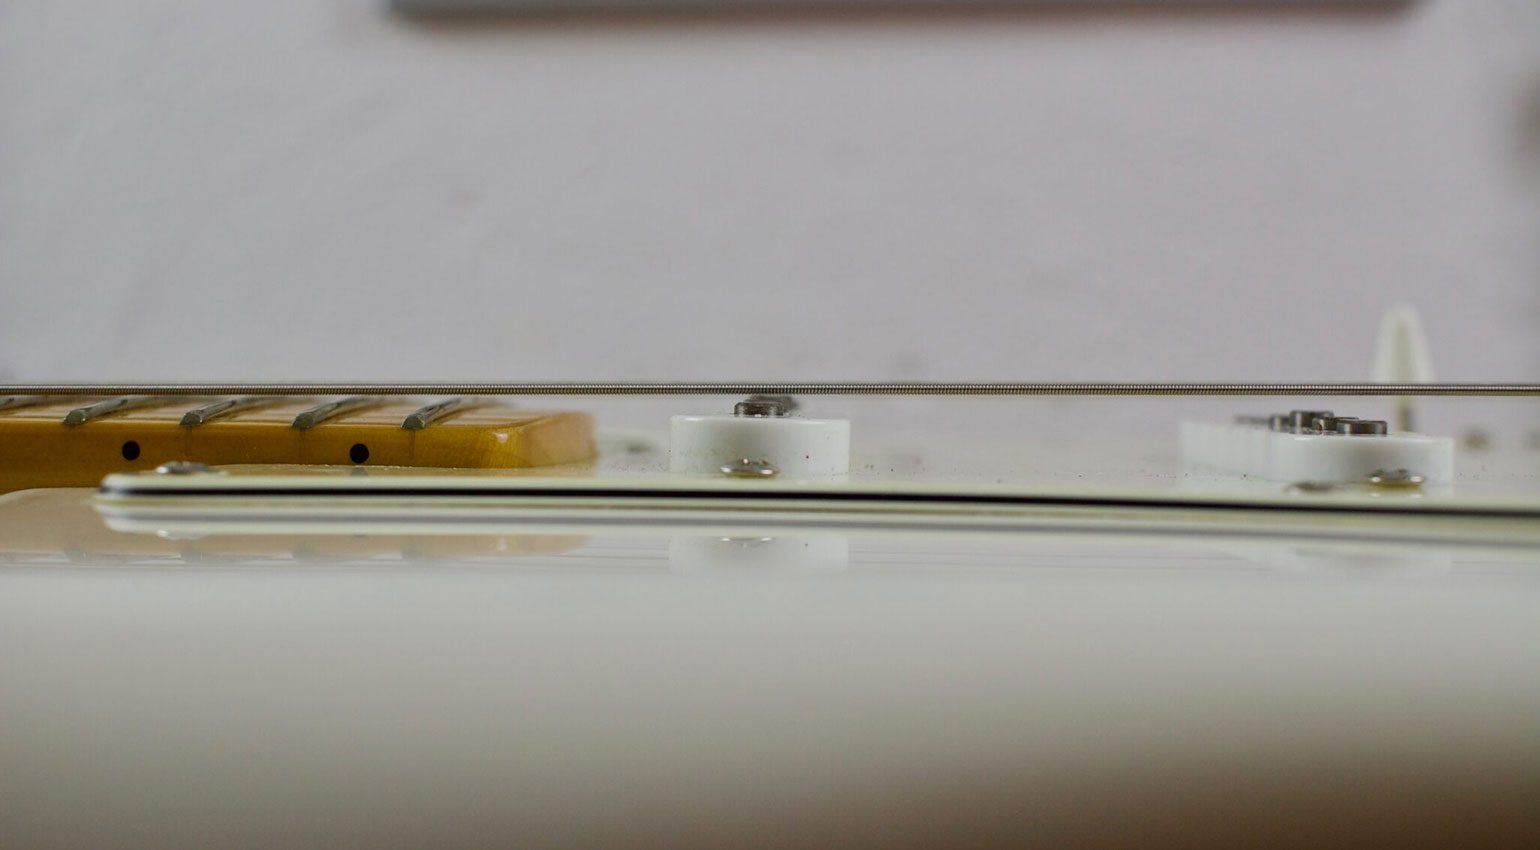
The string hold-downs on the headstock should exert some pressure on the strings. Since this also increases the pressure on the nut, this helps to support the strings in case the nut slots are beginning to wear out. In addition, a higher pressure on the string often leads to slight improvements of the sound and vibration behavior. If you want a flatter string tree, unscrew it and remove the insert that is often included.

String trees should exert some pressure on the strings. · Source: Bonedo
Guitar Setup: Adjustment of the Pickups
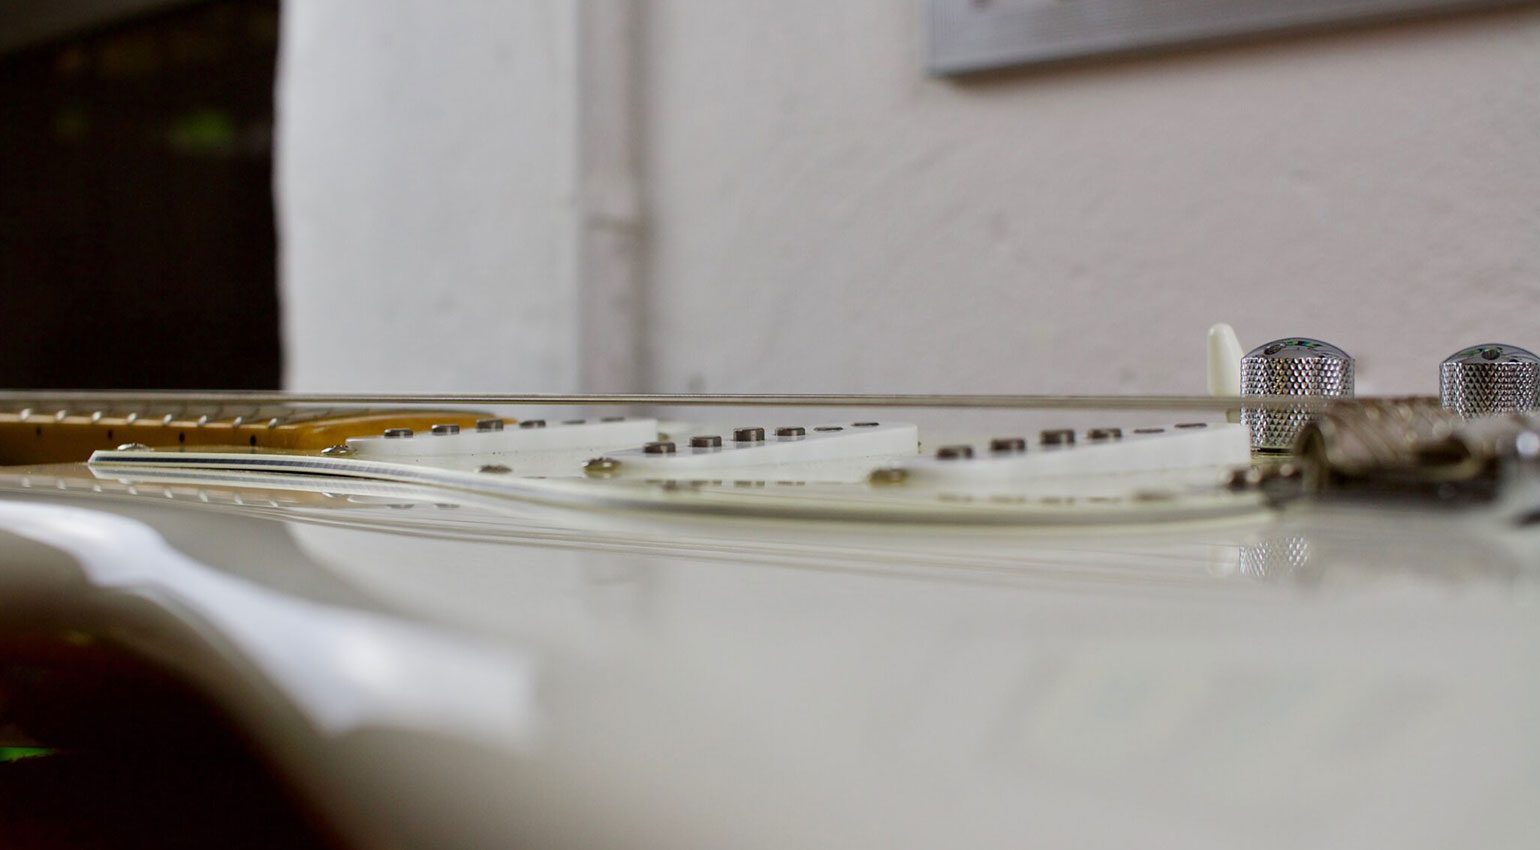
The pickups can also be fine-tuned and adapted to your musical preferences. As always, it is important to listen closely to determine which frequency ranges or string groups should be emphasized. There must be a sufficient distance between the pickups and the strings, as the magnetic effect of the pickup can affect the string vibration. With single coils, the magnets are often already pre-compensated for this.
Sometimes it makes sense to readjust the magnets independently as well. However, this work should also be left to a specialist.
In this example, the lower strings are too close to the magnet. · Source: Bonedo
An example setting where the low strings are attenuated in the overall frequency response. · Source: Bonedo
We would like to thank Mack’s Guitar Repair Berlin for their support and advice for this article!
More Guitar Tips for Beginners
- Best Guitar for Beginners: Acoustic or Electric?
- Best Acoustic Guitar for Beginners
- Best Electric Guitar for Beginners
- 10 Best Rock Songs for Guitar Beginners
Note: This article was originally published in German on bonedo.de.
* This post contains affiliate links and/or widgets. When you buy a product via our affiliate partner, we receive a small commission that helps support what we do. Don’t worry, you pay the same price. Thanks for your support!


This might also interest you

One response to “How to Set Up your Guitar: Beginner’s Guide to Guitar Setup”
This is such a great article! Thank you! Especially with all the appropriate links to the tools needed per section.
I do fear I’m about to spend a lot of money on tools that will cause me to break my guitars, but at least I have a couple of £25-£50 eBay electric guitars I can practice on 🙂