The 15-Minute Seasonal Guitar Setup Check
Keep your guitar playing smoothly all year round.

 4,1 / 5,0 |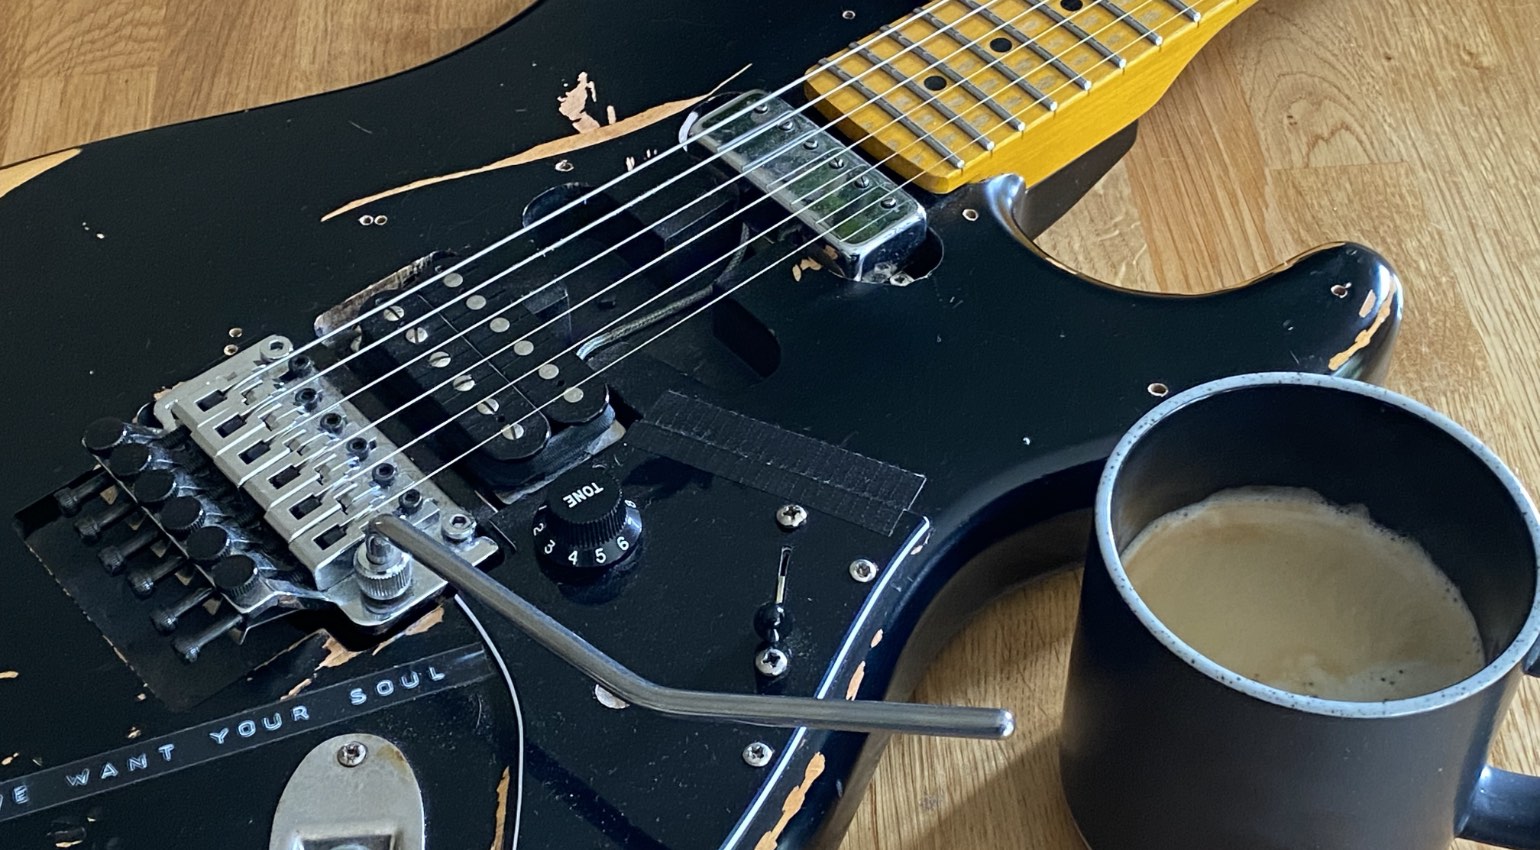

As seasons shift, changing humidity levels cause guitar wood to expand and contract. That sweet-playing setup you dialed in six months ago might now be buzzing against the fretboard or forcing your fingers to fight high action up the neck. This easy-to-follow beginner guide should get you back up and running with a guitar that plays well and sounds great!
Contents – The 15-Minute Seasonal Guitar Setup Check
Guitar Setup Check
My 15-Minute Seasonal Guitar Setup Check is a set of basics for you to go over each season to dial in your guitar.
I own many guitars, and I have been setting them up for the best part of four decades. During this time, I have taught myself the basics of maintaining them, keeping them in tune, and getting them to play well.
I’m in the UK, and we are currently experiencing a heatwave, which has affected all my guitars. The UK is usually pretty wet and mild, with sporadic summers. This year it hasn’t rained for the best part of a month, and the sun has been beating down for weeks.
Obviously, many countries have far more extreme weather, and so you need to be able to maintain your guitar throughout the seasons. I have had to dial in all my guitars over the last few weeks, as they all need their seasonal setup in this extreme heat.
If you have just got your first guitar, or you want some basic pointers, here are the main things you should check on your instrument.
Fortunately, you don’t need a professional workbench or hours of spare time to fix it. Grab a precision tuner, a capo, a small metal ruler, and your truss rod wrench. Here is a quick, four-step routine to get your instrument playing effortlessly again.
Ideally, set up the guitar with a fresh set of strings and follow these simple steps to dial in the playability.
Each of these checks should take you between 3 and 5 minutes, so grab a coffee, some tools, and get your guitar gig-ready for the season!
Check Neck Relief – Time: 3 Minutes
Before touching bridge saddles, you need to verify that your neck has the correct amount of forward curve, known as relief. This whole relief process should take between 3 and 5 minutes, and once you get the hang of it, it is simple to dial in.

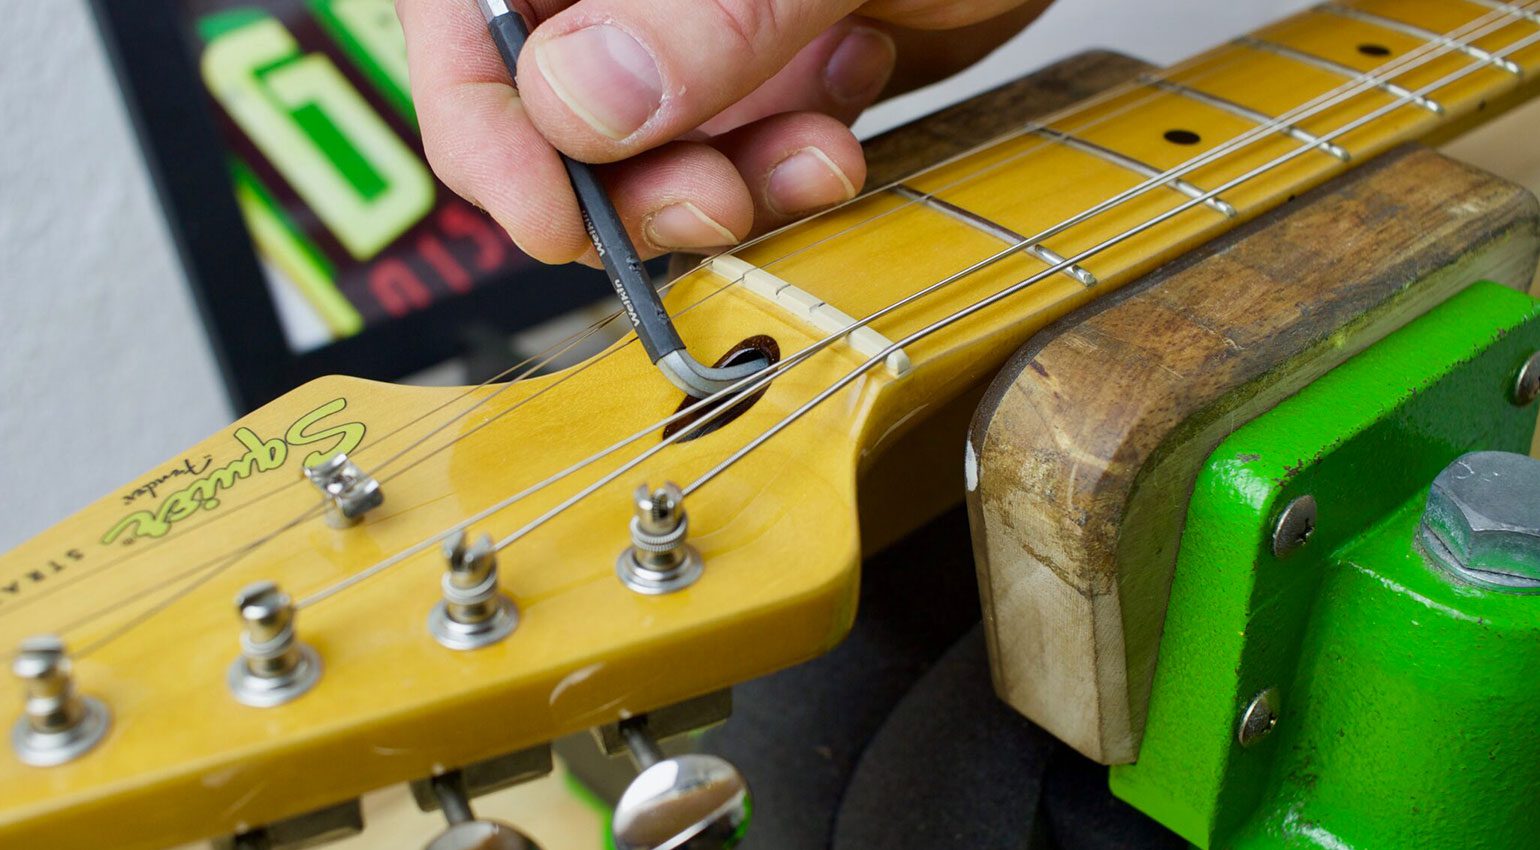
Allen key or truss rod wrench
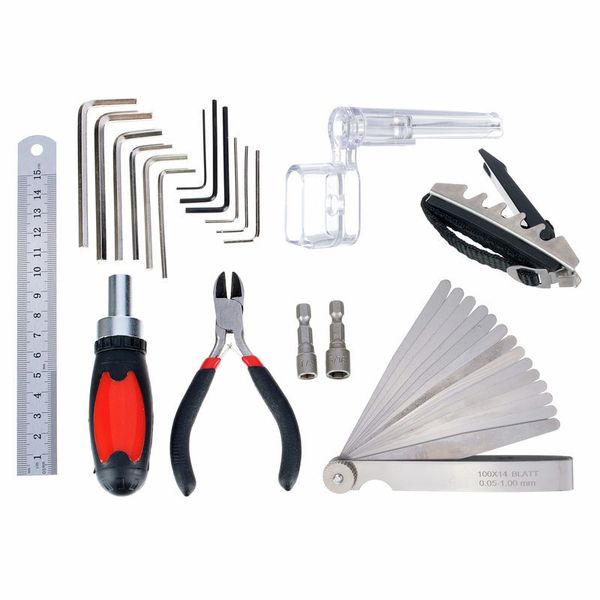
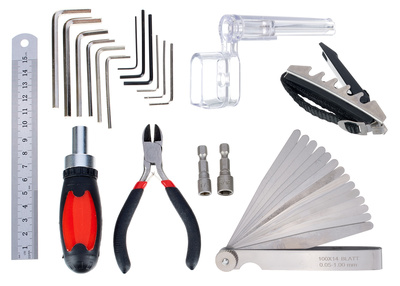
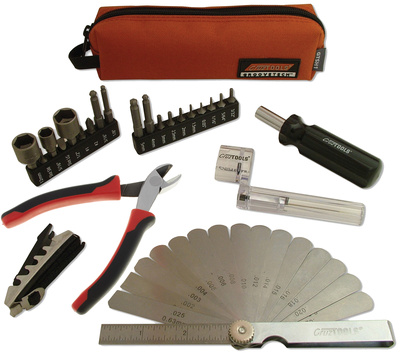
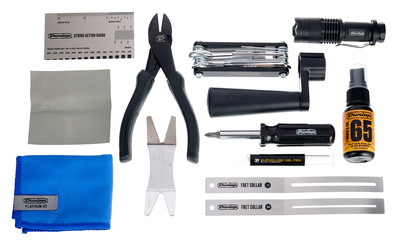
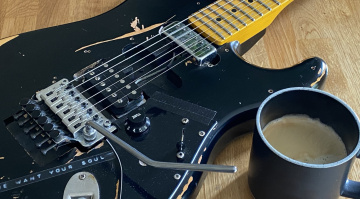
Your guitar should have come with a truss rod adjustment wrench, typically an Allen key, and sometimes a truss rod wrench (Gibson US-built guitars, for example). Use these tools to adjust; make sure you use the correct size tool. If you don’t have the right tool, buy a guitar toolkit (I’ve linked a few in this article) and do the job with the correct tool.
Tune Up
Tune your guitar to standard pitch (or the pitch you usually keep that instrument in), place a capo on the first fret, and press down the low E string at the fret where the neck joins the body, typically around the 14th or 17th fret. While holding the string down, inspect the clearance between the bottom of the string and the top of the 7th fret wire.
You are looking for a tiny gap, roughly the thickness of a standard business card (you can use feeler gauges for a more precise measurement). If the string touches the fret, the neck is flat or back-bowed, requiring a counter-clockwise turn of the truss rod nut to add relief.
Conversely, if the gap is wide enough to slide a heavy guitar pick underneath, turn the truss rod clockwise to straighten the neck. Always work in small increments, about an eighth to a quarter turn at a time, and re-tune before checking your progress.
Eliminate Nut Slot Friction – Time: 3 Minutes
Tuning instability is rarely caused by faulty tuning pegs; more often than not, string binding at the nut is the true culprit.
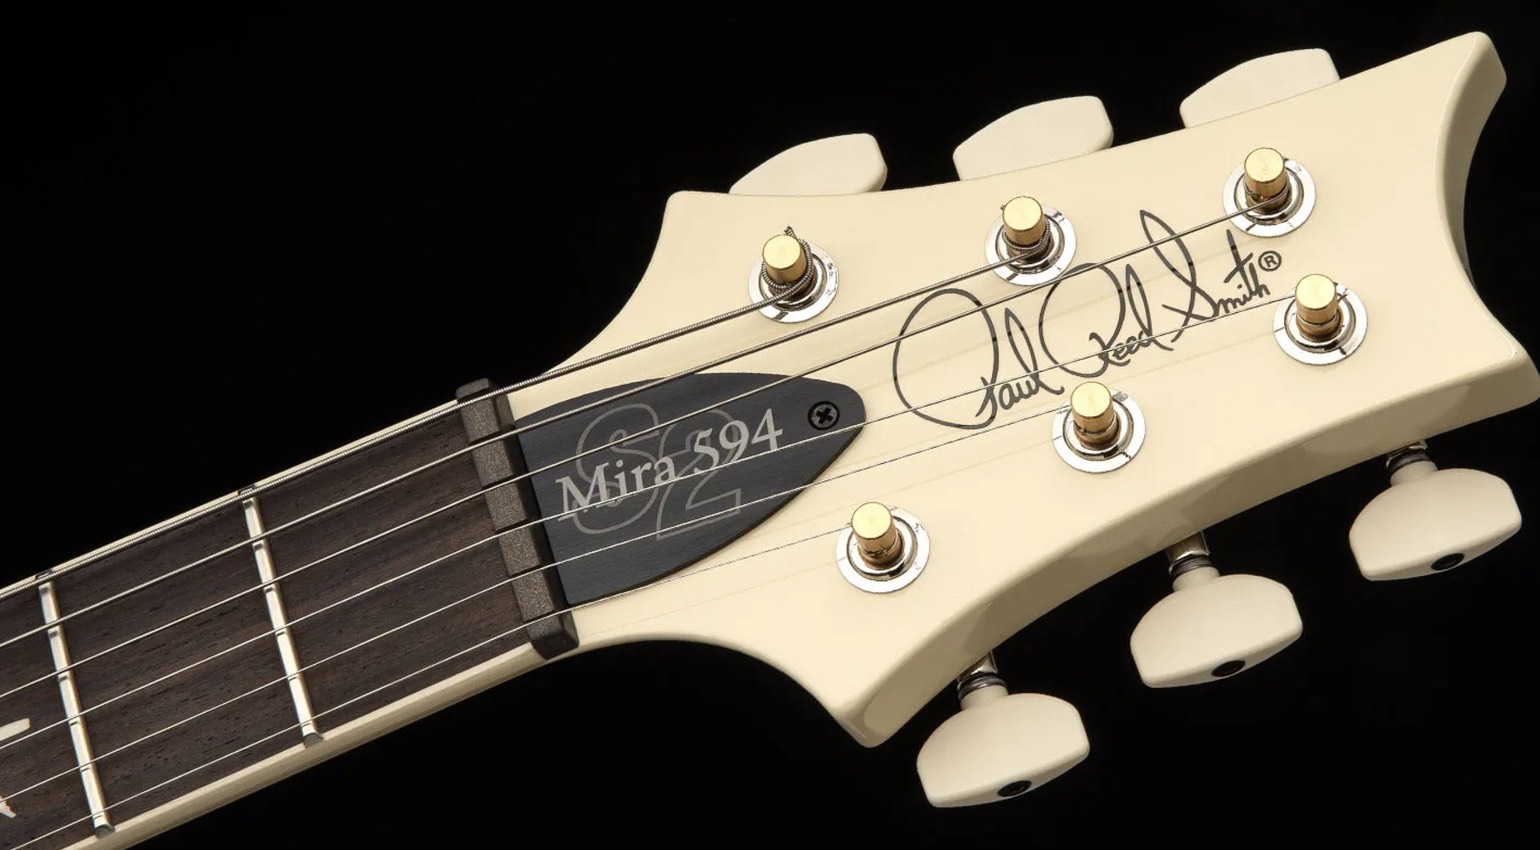
Tune up to pitch and gently bend a string behind the nut, or push down on it near the peghead. If you hear a sharp “pinging” sound, the string is usually getting pinched inside its nut slot, which traps tension and pulls the guitar out of tune during heavy bends or tremolo use.
Lubricate
To solve this, slacken the affected string and pop it out of its groove. Take a soft #2 graphite pencil and scrub the point directly inside the slot. The loose graphite powder serves as an effective dry lubricant, allowing the string to glide freely. Once coated, snap the string back into place, re-tune, and stretch it out.
You can also use some Chapstick and use a cocktail stick to apply a little to the nut slots.
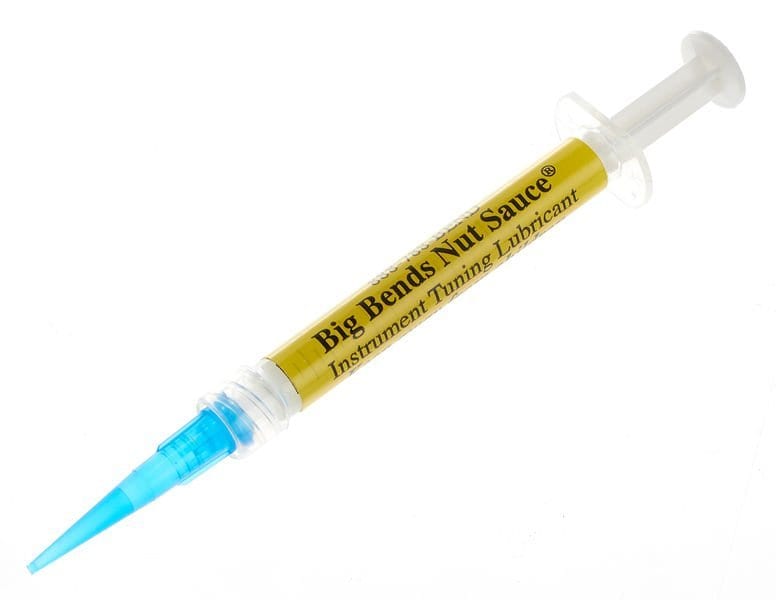
Nut Sauce
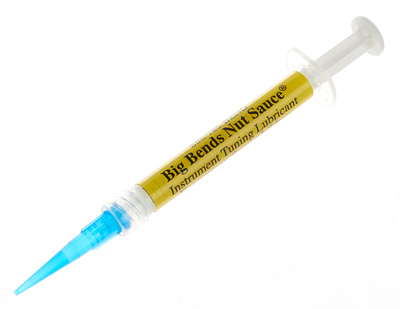
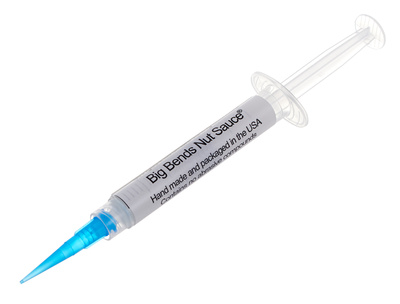
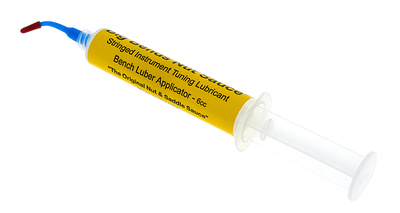
I would also highly recommend products like Big Bends Nut Sauce or similar ones, as they are less messy and will keep working for a long time. A pencil is often far easier to find if you don’t have access to specific products designed for guitar lubrication.
The advantage of a product like Nut Sauce is that it stays in place, so it can be used on the contact points, including under the string trees and on the bridge saddles of your guitar. In a perfect world, it is better to lubricate all these points on your guitar when you change your guitar strings.


Set Intonation at the Bridge – Time: 5 Minutes
An instrument can be perfectly tuned on open strings yet still sound sour when playing chords higher up the neck. Testing your intonation ensures the distance between the nut, 12th fret, and bridge saddle remains mathematically balanced across the entire fretboard.
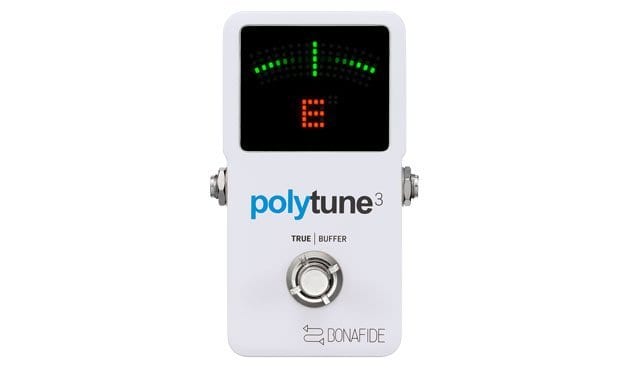
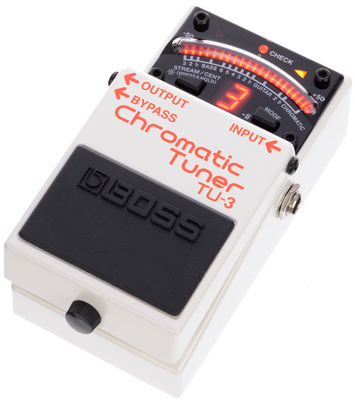
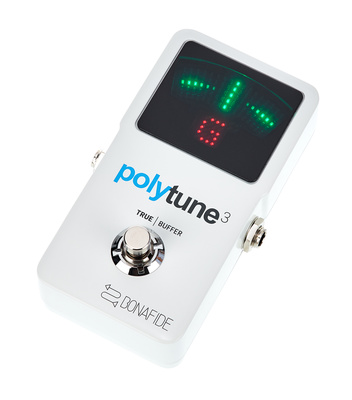
Digital Tuner
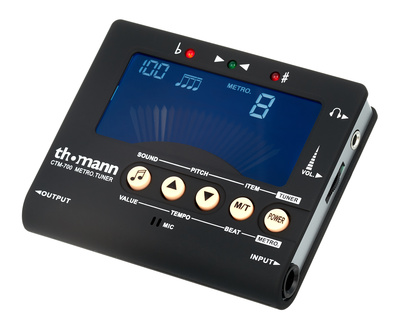
Use a digital tuner, tune your open string precisely, then play the 12th-fret note with normal finger pressure (if you push too hard, the note will be sharp).
If the fretted note registers sharp on the tuner, the string’s vibrating length is too short; adjust the bridge saddle screw to move the saddle back toward the end pin.
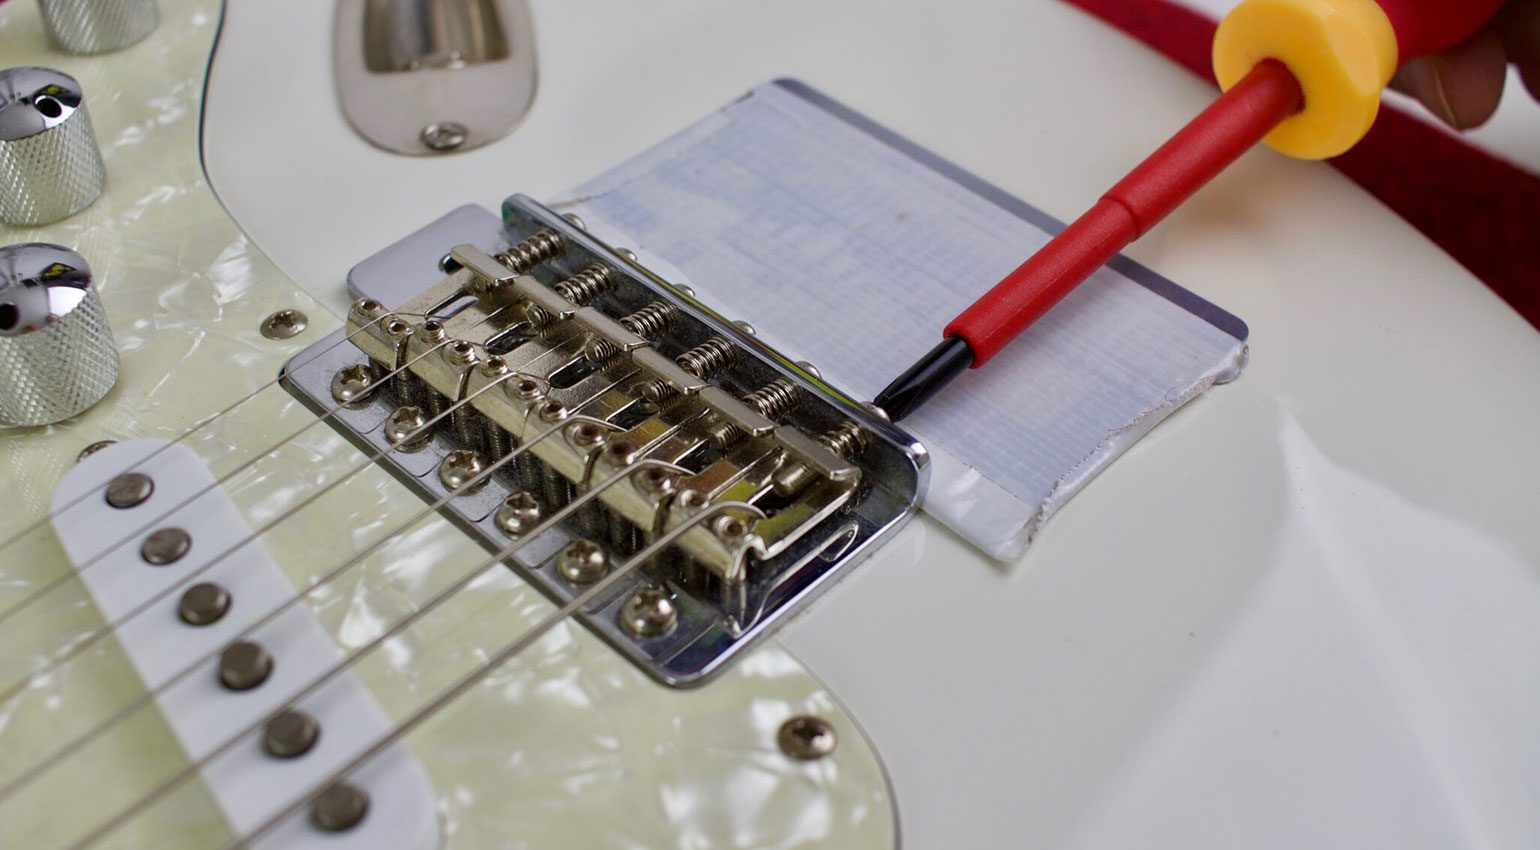
If the fretted note registers flat, the string is too long, so move the saddle forward toward the neck. Re-tune the open string after every saddle adjustment until both the open note and 12th-fret note land dead center on your tuner.
This is a very simple job; just go slow the first time you attempt it, make sure the open string is perfectly in tune, and don’t fret too hard at the 12th fret. Some bridges will never intonate perfectly; these are normally vintage-style wraparound bridges, or similar. In this case, you may need to compromise and get as close as you can.
Modern bridges and compensated upgrades of vintage-style bridges can eliminate these issues.



Dial In Pickup Height – Time: 4 Minutes
Setting pickup height is a balancing act between healthy signal output and magnetic pull. Pickups set too close to the strings can pull them out of tune or cause strange, unnatural resonances, while pickups set too far down lose dynamics, low-end response, and overall punch.
Things like this many of us set and forget; I would recommend double-checking your pickup height seasonally. Things move over time, and if you can spare a few minutes, this is a simple way to confirm your pickups are set correctly.
To check your heights, fret the outer E strings down at the very last fret on the neck and measure the distance from the top of the pole pieces to the bottom of the string.
A solid baseline for bridge pickups is roughly 2.0 mm on the bass side and 1.6 mm on the treble side. Neck pickups generally sit slightly lower, around 2.4 mm on the bass side and 2.0 mm on the treble side, to account for the wider vibrational arc of the string near the middle of the instrument
Adjust the mounting screws on either side of the pickup until the output feels balanced across all positions.



I would also highly recommend our Beginner’s Guide to Guitar Setup article if you would like to learn more.

This might also interest you


One response to “The 15-Minute Seasonal Guitar Setup Check”

great article, it’s the first time I’ve felt confident about the reasons for the necessary adjustments.
thanks