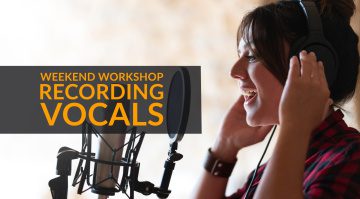
Weekend Workshop: How to record vocals – Everything you need to know
Everything you need to know about getting quality recordings!
 3,0 / 5,0 |
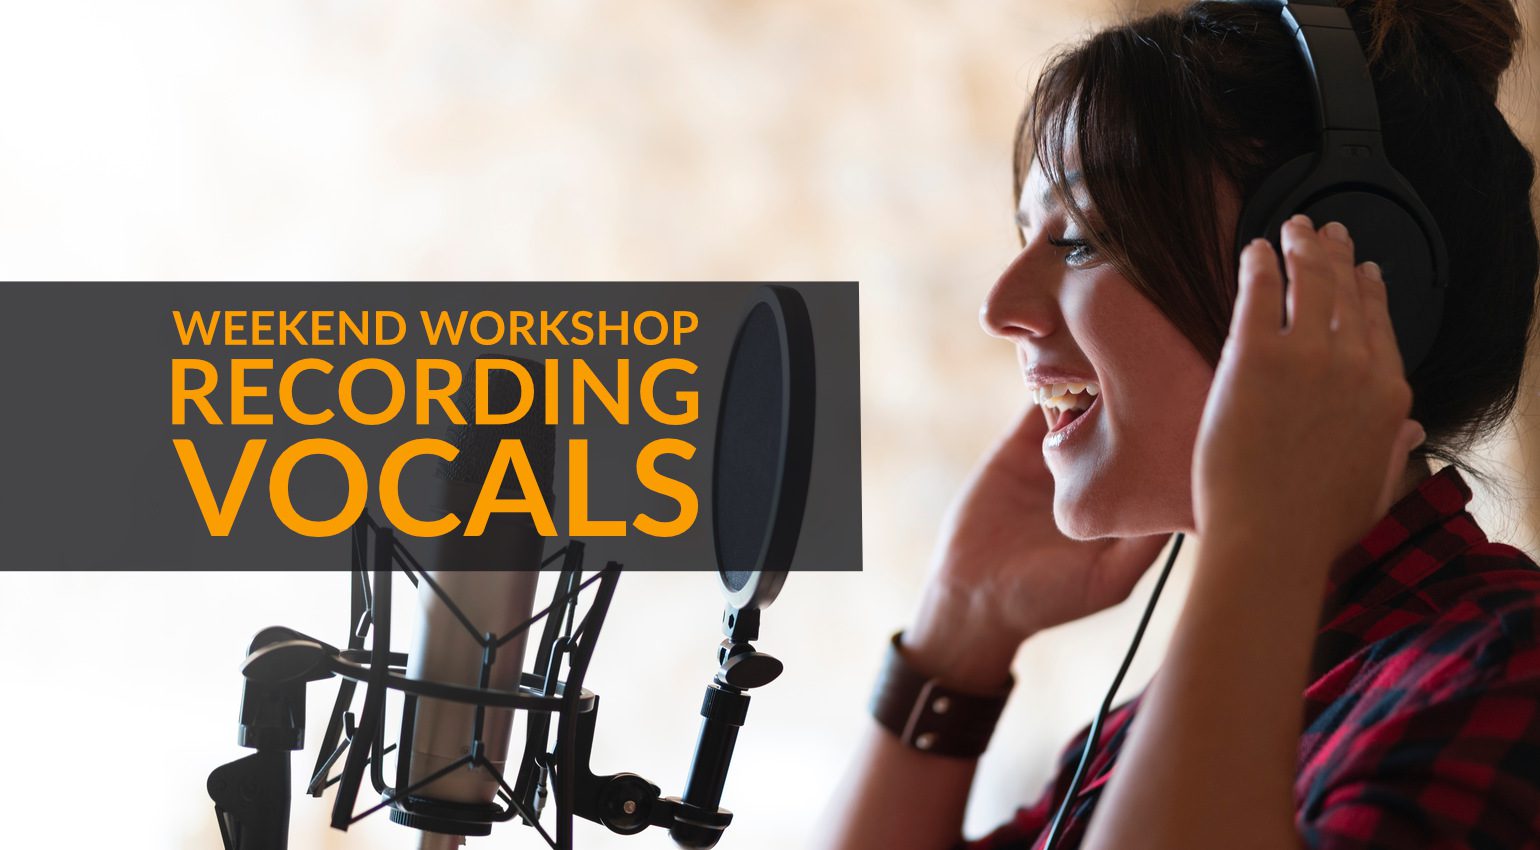
Weekend Workshop: How to record vocals - Everything you need to know · Source: Marc Calleja, Shutterstock // Gearnews

Recording vocals is one of the most important parts of music production, podcasts, and content creation. So how does it work? And what do you need? We’ll give you all the ins and outs about how to record vocals.
How to record vocals – The basics
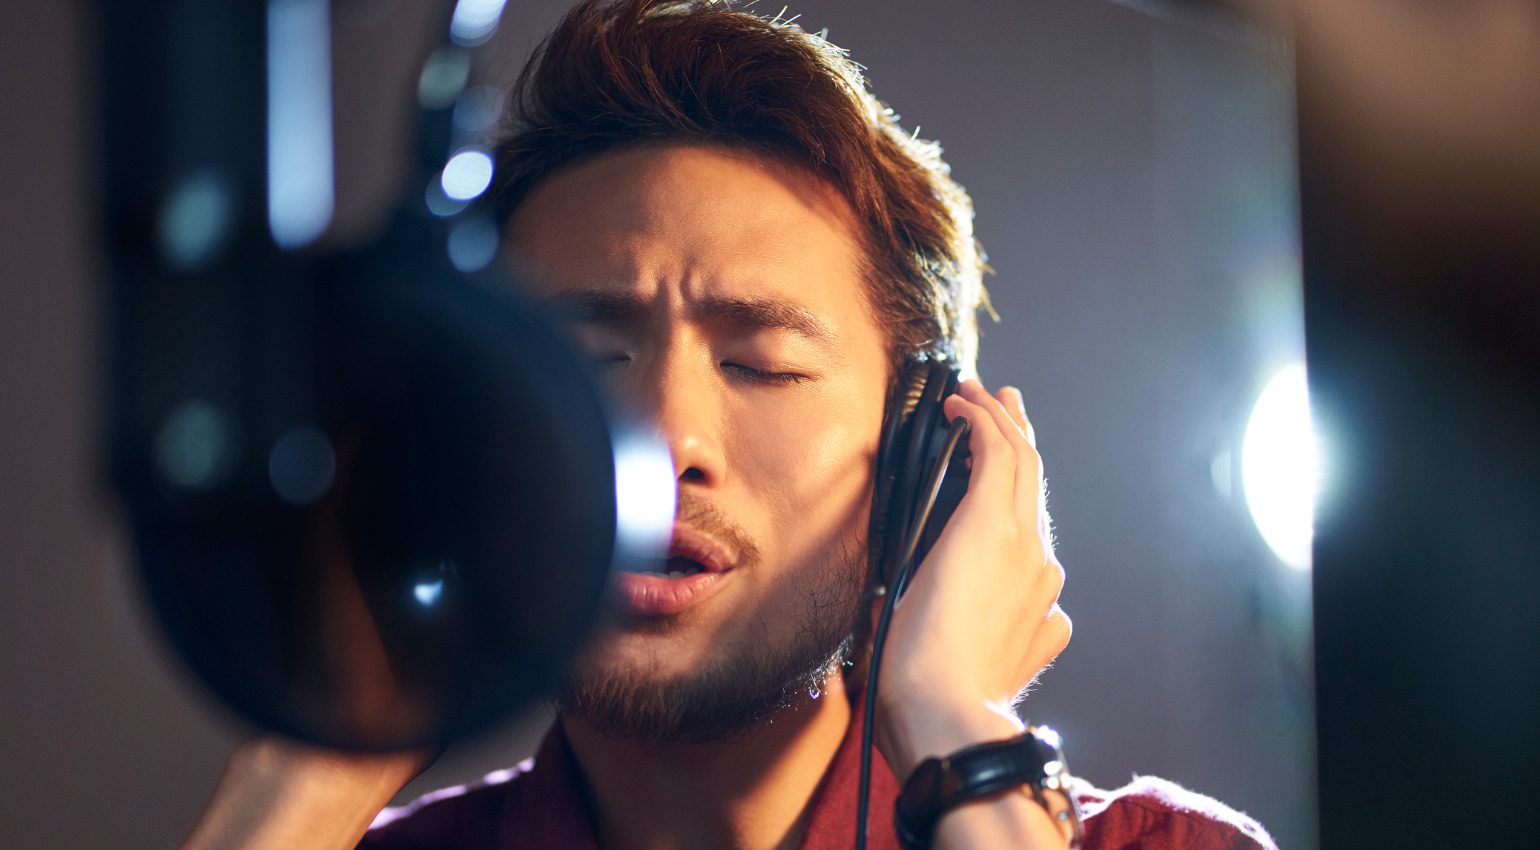
Whether you’re at home recording a voice-over, in the project studio to record a singer, or in the basement with some friends for your next podcast episode – how to record vocals is inevitably one of the first questions that come up.
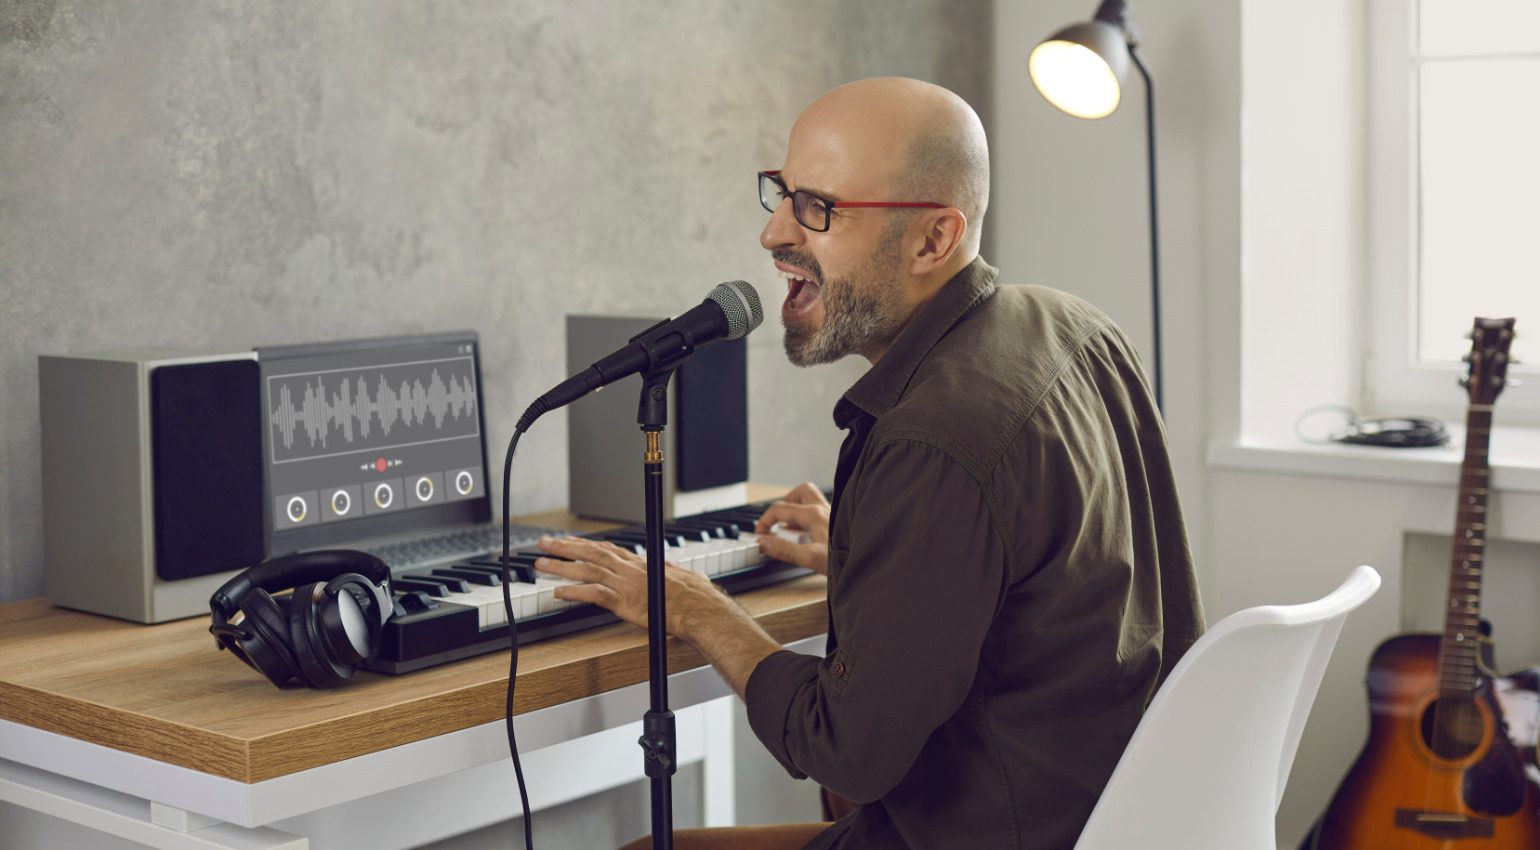
There is the technical side: you need a computer, either an audio interface, microphone, and an XLR cable, or a USB microphone, headphones, and a popfilter. Also, it is a good idea to install an an audio-editing software like Audacity or a DAW like Ableton Live to record and edit with.
Then there is the room. If you’re recording at home with noisy neighbors, humming kitchen appliances, and kids playing outside, you’ll be very busy editing your vocal recordings afterward to remove excess noise. And finally, there is the person in front of the mic. Especially when you’re new to recording (that’s probably why you are reading this guide) yourself, it takes time and patience. (Almost) no one is born as a one-take wonder.
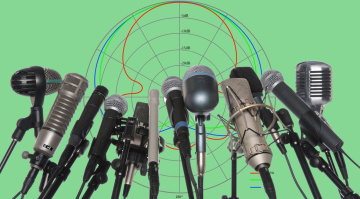
The microphone you need
Besides yourself (or the vocalist you’re recording), the microphone is the most important piece of equipment. Here you can go two ways, depending on what you already have and how much you want to spend.
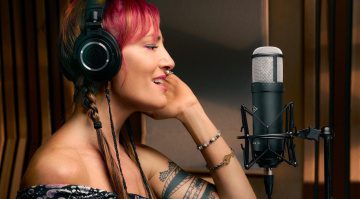
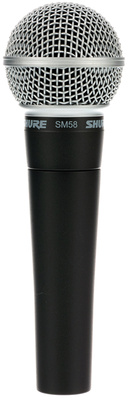
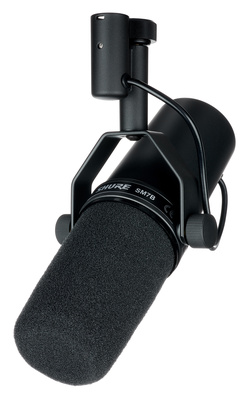
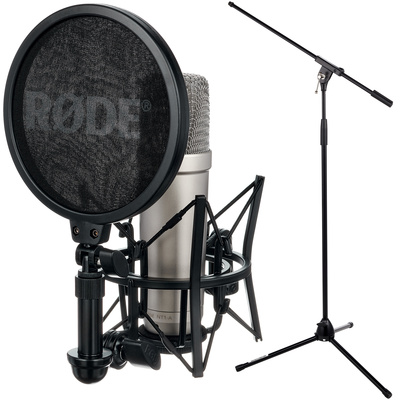
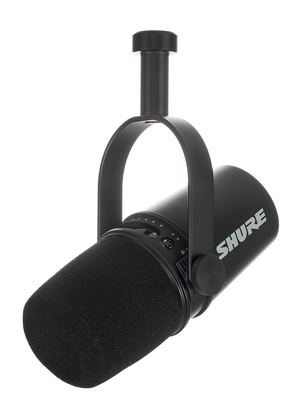
If you already own an audio interface, and headphones and want to know how to record vocals, then a dynamic mic like the Shure’s SM7-B or SM-58 or a condenser mic like the Rode’s NT-1 or Lewitt’s LCT 440 is a good choice. The louder you plan on singing or speaking the better it is to use a dynamic mic.


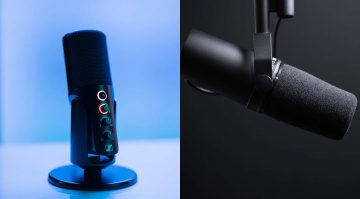
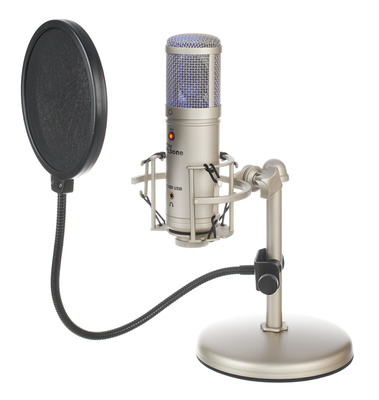
If you’re looking for an all-in-one solution, a USB microphone is worth a look. Here, the audio-interface is integrated. For simple voice-over or podcast recordings, models like the t.bone SC 420 or Shure MV 7 do an excellent job. Just make s(h)ure that the USB microphone you’re getting includes a headphone output for monitoring.

How to record vocals – The necessary accessories
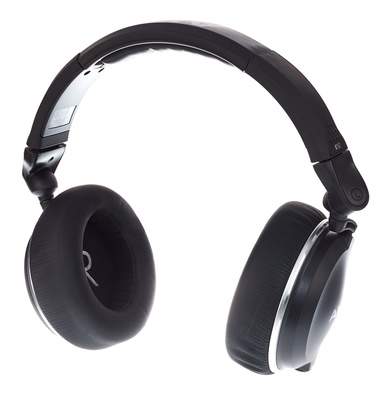
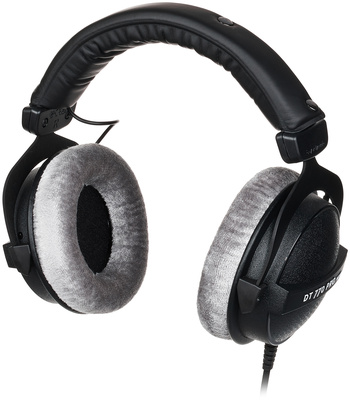
Headphones are an absolute must for vocal recordings because you need to be able to hear yourself talking. You can’t do that through your computer’s speakers while recording because that would cause feedback noise! Unfortunately, Bluetooth headphones simply won’t do it, because the latency (=delay between speaking and hearing yourself) is just to high. Studio headphones like the AKG K-182 or the beyerdynamic DT-770 PRO (80 Ohm) also isolate you pretty well from your surroundings (they are closed-back models), so you can focus on your recording better.


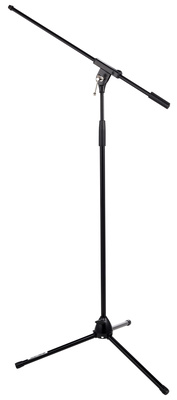
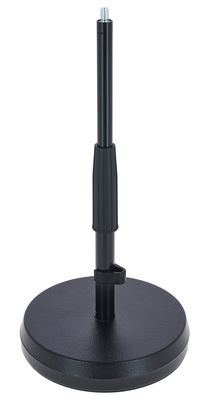
You also need a mic stand and a popfilter, if these things weren’t already included in the mic package you got. Both help prevent unwanted noise in your recordings. I highly advise against holding the mic in your hand while recording. The amount of rumbling and clicking the mic picks up while you are moving around is simply not worth it. So get either a standing mic stand like the Millenium MS-2003 or a table stand like the K&M 23325 if you prefer sitting while recording.


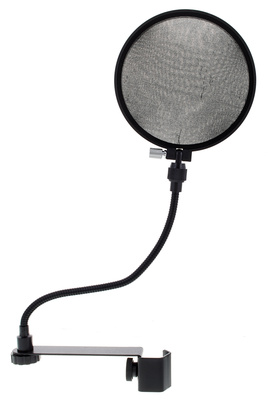
A popfilter prevents too much build-up of air when you pronounce hard consonants like „P“ or „T“ while recording. If you don’t use one, it can happen fast that your vocal recording is full of these annoying bumpy „p“ sounds. So get one to mount onto your mic stand like the the t.bone MS-180. Additionally, an XLR cable for connecting the microphone (If it is not a USB microphone) to the audio interface like the sssnake SM6BK is a good idea.


The audio interface connects your mic to the computer
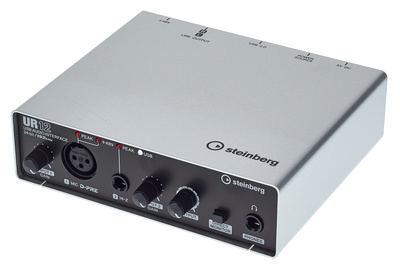
We’re going to assume that you have access to some kind of computer (PC or Mac) in order to record vocals. If you opted for a microphone without a USB connection, you will also need an audio interface to connect the microphone to your computer. Entry-level interfaces like Steinberg UR12 or Focusrite Scarlett Solo offer more than enough features to achieve professional-sounding recordings.


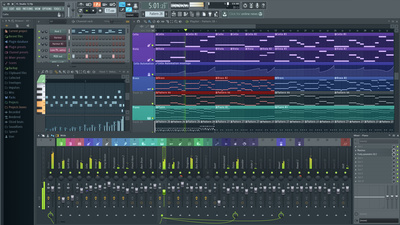
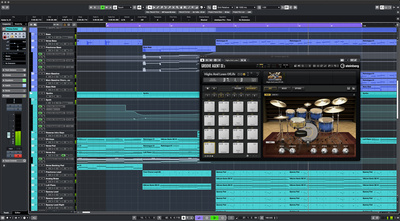
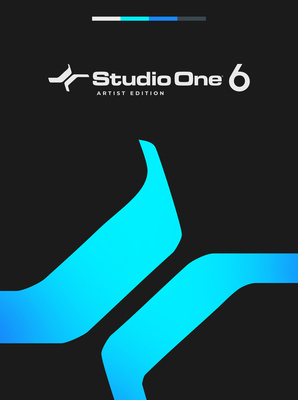
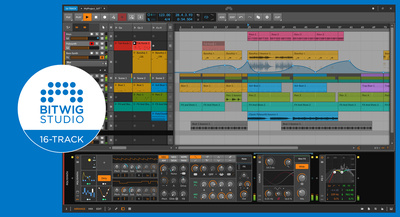
A big decision in your quest to learn how to record vocals is picking the right kind of software. There are either audio-editing programs like the free Audacity, which do nothing but help you record, edit and export audio. And then there are DAWs (=Digital Audio Workstations), which often bring more features and effects to work with. If you’re just starting out, the entry-level versions of popular DAWs like Ableton Live, Bitwig Studio, Studio One, FL Studio, or Cubase are your best bet.


Room acoustics are crucial
You can use the best mic in the world with the most expensive audio interface, if your room isn’t treated at all or you’re not using a mic shield, your recordings are not going to sound good. Of course, most of us don’t have access to an acoustically treated studio, but there are a lot of things you can do. If you’re recording at home and excess noise from outside and your surroundings is a problem, try recording at night! Or try to find a corner in your home where the noise is least noticeable.
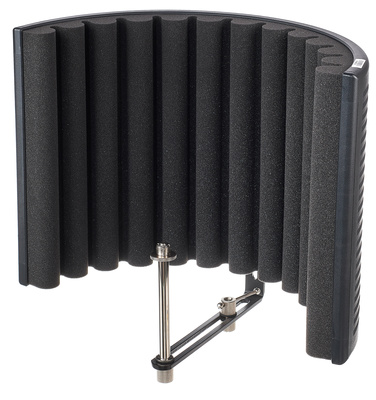
One thing that can improve the sound of your recordings quite significantly is a mic screen. Because room reflections are your enemy. A mic screen like the SE Electronics RF-X dampens at least part of your room reflections while you’re recording. And if you don’t want to rearrange your apartment and hang up acoustic panels everywhere, the combination of putting up a mic screen behind the microphone and recording with a rough surface like a bookshelf behind the vocalist can get you pretty good results.

How to record vocals for the first time
When you’re recording yourself for the first time, it will sound awkward, there is just no way around it. We all got used to it. So part of the practice of recording yourself is just that: getting used to hearing yourself outside yourself.
Take some time to find the proper recording level (either the input gain on the audio interface or on the USB mic). Because, unless you’re recording in 32-bit, as soon as you speak or sing too loud, there will be distortion (the bad kind) in your recordings. So do some test recordings speaking or singing nonsense to find a good average for your input level.
Also, don’t worry about mistakes. Hearing yourself stutter or misspeak can be brutal in the beginning. But the beauty of digital recording is that you can repeat it endlessly, and fix a lot of things later during editing. Don’t aim for the perfect one-take recording. Rather, record phrases often.
Conclusion on how to record vocals
Congratulations – now you know everything about how to record vocals. We’re not at the editing stage (yet). But if you get yourself a setup as we suggested and try to be as patient as possible with yourself or the person you’re recording, then it’s only a matter of days or weeks until you get good-sounding material to work with.
More on how to record vocals
Helpful Videos
This article on how to record vocals contains affiliate links and/or widgets. When you buy a product via our affiliate partner, we receive a small commission that helps support what we do. Don’t worry, you pay the same price. Thanks for your support!

This might also interest you