Make your Cheap Squier sound like an American Fender: Soldering Basics
It's time to make your Squier sound more like an American Fender
 4,6 / 5,0 |
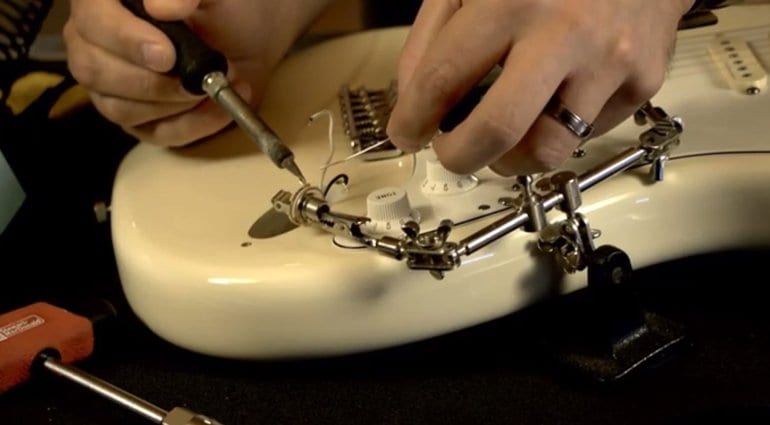

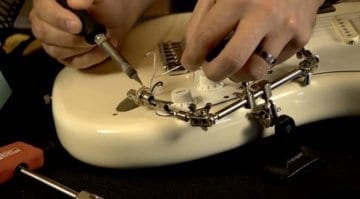
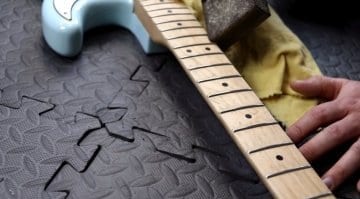
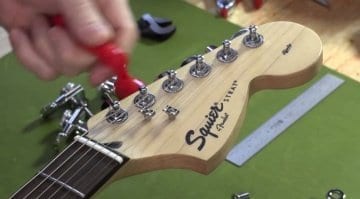
Over the last few weeks I’ve covered a few tips on how to upgrade your cheap Squier guitar to make it play like an American Fender costing way more. So far we’ve looked at improving fret finishing and your tuning hardware. Now it is time to help you make it sound like one as well. Yes, it’s time to grapple with your soldering iron! But don’t worry, we’ll take you through this step-by-step. This post is a Soldering 101 – the next post will explore the components and how to put them in.
Upgrading the electrics, Part One
This is Part 1 of a two-part tutorial. Here, I’m going to cover the basics of soldering and in Part 2 I will be covering some of my favourite upgrades and circuit tweaks!
Over the years I have seen lots of players buy cheaper Squier guitars and after some time go out and spend a fortune on upgrading the pickups. These are often viewed as the weakest link with cheaper import guitars.
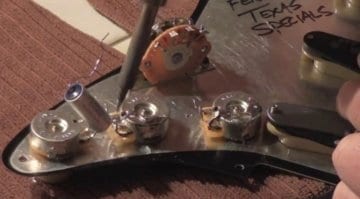
My advice, though, would be to first upgrade the guitar’s wiring, switching and potentiometers. It is a lot cheaper and will have a huge impact both on the sound and control of the guitar’s pickups. Also, you can get some really nice new tones with a few simple modifications.
Tools
You will need the following tools. Please remember to find a quiet, well-ventilated area to work in. You will need to use a hot soldering iron, so you won’t want any unnecessary distractions and solder fumes are toxic.
- Soldering Iron – ideally with a variable temperature setting and a stand/sponge
- Solder
- Solder sucker or braid (see below)
- A small pair of wire cutters
- Helping Hands stand or needle nosed pliers
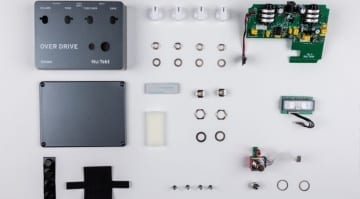
I use a really neat little soldering iron called a TS100 that has a digital meter and can go from hot to cool in seconds. It’s also easy to program. This is the most expensive item to buy, but you may already own one. If not, I would highly recommend the TS100 and I actually imported my one from China for around £30, so it can pay to look around online for a good deal.
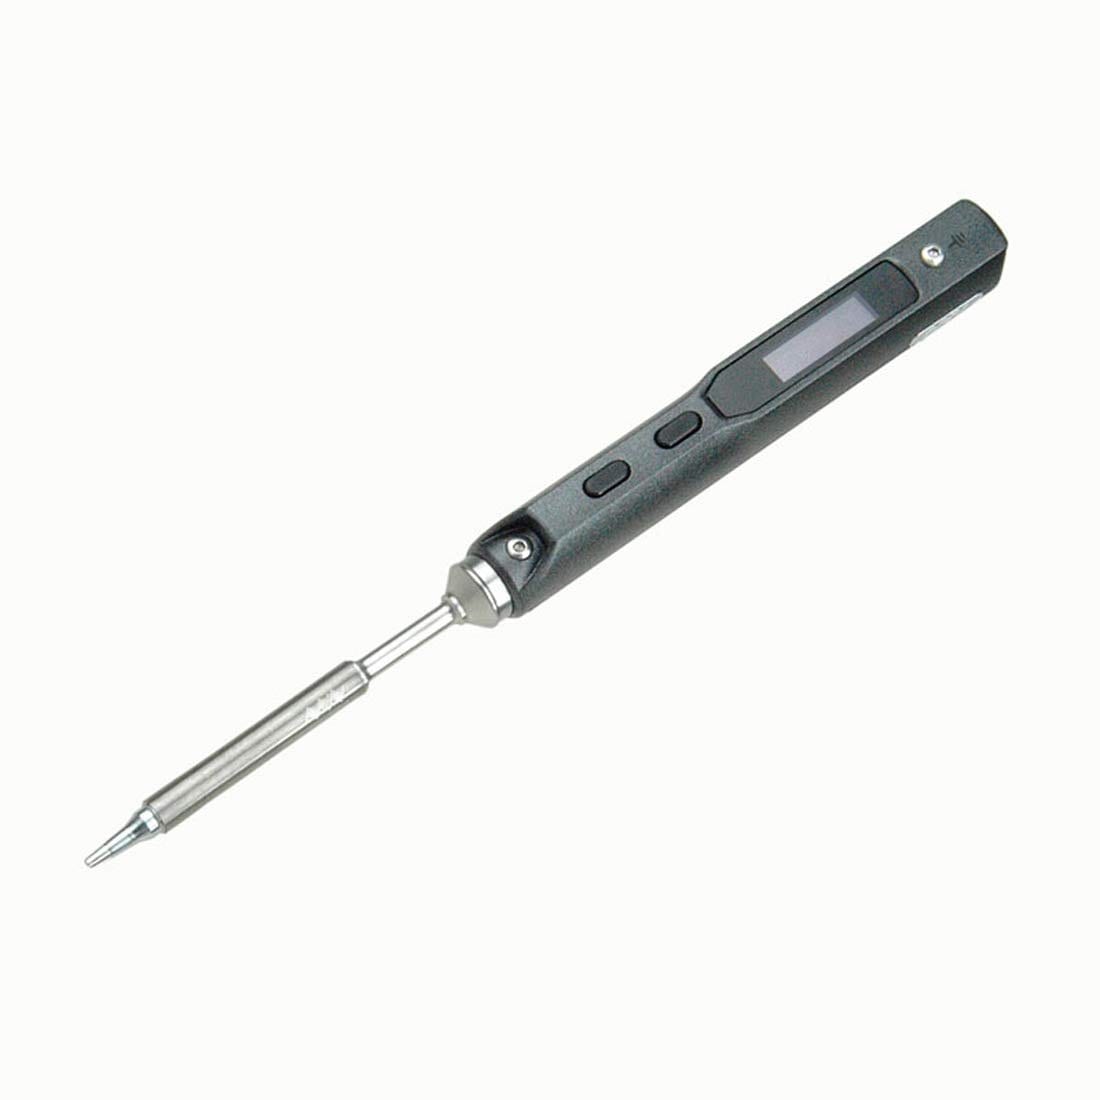
TS100 programable soldering iron · Source: Amazon/TS100
Soldering
If you have never soldered before, my advice is to keep your fingers well away from the hot end! If you can smell roast chicken, in about 0.3 seconds you’ll feel excruciating pain. Well done, you’ve burnt yourself. But seriously, though, soldering irons are super hot and can cause serious injury. So find somewhere quiet and calm to work, away from children, animals and distractions. Keep your working area tidy and lay out all your tools in an orderly fashion.

A hot soldering iron is very, very hot indeed. · Source: Instastalker
Tin your tip
The trick with soldering is to get the solder to flow onto the things you want to join. To do this you must first get the tip of your soldering iron ‘tinned’. All that means is that you must have a small amount of solder melted onto the tip. This helps transfer heat and makes it easier to get your parts to the correct temperature.
What you must not do is melt huge blobs of solder onto components or wire. You must always heat the objects you want to join and then the solder will actually flow onto them and join them. If you don’t do this, the join will either be dry (give you a poor connection) or the solder will not stick.
Remember: heat your components and not the solder.
A nice way to learn to solder is to get two pieces of wire, twist them together and then heat them using the tip of the soldering iron. Keep the iron in contact with the wire, but place your solder on the hot wires where you want them to be joined. Watch the solder flow onto the hot wire and once you have enough on then, remove the tip of the soldering iron from the wire and let the joined wires cool down.
The fresh solder join should be shiny and silver to look at. If it is dull, matte, grey or slightly pitted, then the join is dry and the connections will be poor. Practise and take your time to perfect this, as you will need this skill to do these simple upgrades.
You should clean your soldering iron tip using a damp sponge, damp but not wet. Just wipe any unused or excess solder onto the damp sponge. Many soldering stands have a little sponge in the base specifically for this job.
Solder removal
Sometimes you will need to remove old solder. Or maybe you’ll make a mistake and need to tidy it up. There are two useful tools for this job. The first is a solder sucker. This is a cheap little hand-held tool that sucks up excess solder once it is heated to its liquid form. The other is solder braid, or wick. It’s a roll of material with a free end that you hold onto the hot, flowing solder to soak it up.
I use both depending on what I need to clean up. Braid is really useful for small amounts, whereas a solder sucker can remove big globs of solder relatively quickly.
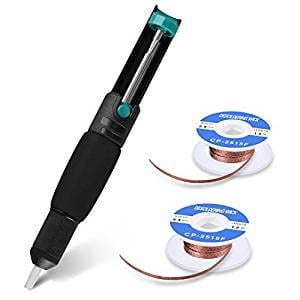
Solder sucker and braid · Source: Amazon
What to upgrade?
In Part 2 I will go deeper into exactly what to upgrade and where to find the correct components. But let’s take a look at the kind of components you can upgrade with your new soldering skills!
Here are a few components to check out: CTS-made potentiometers are a good upgrade for most Stratocaster and Telecaster guitars. Then I also recommend Oak Grigsby and Fender switches as well as Switchcraft output jacks.
For wiring, track down some vintage-style cloth-covered wire. Ideally, you want to use both white and black wires. That way you’ll easily be able to trace the circuit of your guitar. You can do it all in one wire colour, but having two colours makes it easier when you are learning. Another component we’ll be focusing on in my next post is the capacitor. I usually recommend either Sprague Orange Drop or PIO (paper in oil) capacitors.
Next time we will also be looking at things like the difference in logarithmic and linear potentiometers, at capacitor values and wiring diagrams! You know, all the stuff you thought you’d never be able to get your head around. But is easy to do with a bit of practise.
If you have any comments or questions, please feel free to contact me via the comments section below. In the meantime I have added a few useful videos below to show you the basics and give you an idea of where to start. Get yourself familiar with the concepts and next we’ll be upgrading your Squier guitar to make it sound like like a Fender…
Video
You are currently viewing a placeholder content from YouTube. To access the actual content, click the button below. Please note that doing so will share data with third-party providers.
You are currently viewing a placeholder content from YouTube. To access the actual content, click the button below. Please note that doing so will share data with third-party providers.
You are currently viewing a placeholder content from YouTube. To access the actual content, click the button below. Please note that doing so will share data with third-party providers.

This might also interest you
3 responses to “Make your Cheap Squier sound like an American Fender: Soldering Basics”

What a great series of articles.
I mainly play cheap Danelectro reissues. I’ll be doing a lot of these mods to get them playing a bit better.
Thanks!
Do not attempt to solder anything ever without a layer of insulation immediately below the piece you are working on. I use an old newspaper when soldering above a lacquered finished guitar. A damp rag is just as good or some cardboard. I was really shocked to see this presentation without proper protection to the instruments finish.
Good advice fella. I must admit I normally remove everything from the guitar with Fender-style and Squier-style instruments, as the control plates/pickguards come away from the guitars. However, as you point out, you might get unlucky and damage your finish if you make a mistake. Using a matt, piece of card or a damp rag may well stop that happening and is so well worth using. Thankfully, in over 35 years I have not once dropped hot solder on anything, but I suspect that I’m just lucky!