
Soundcheck like a Pro: An Engineer’s Guide


Are you taking your first steps into engineering live bands? Maybe you’re already mixing bands live but you’re in search of a cleaner, better workflow? In today’s blog, I’m going to share with you two decades of engineering tips and advice. If you’ve got any questions or want to share your tips for beginners, let us know in the comments section below.
Sound advice
Last year I wrote a blog on Successful Soundchecks: 5 Essential tips For Bands. With live shows gearing up again in the wake of Covid I thought it might be time to revisit the topic, this time from the perspective of a Front Of House Engineer. Clearly, everyone’s definition of what a successful soundcheck entails may vary from person to person. You might, for example, decide it’s been a success if you don’t end up in a fight with the lead singer!
I’m going to try and share with you the experience I’ve gleaned from two decades of FOH mixing. From working as the house engineer at a club in London, through to touring with stadium-level bands. Much of this may seem like common sense, but it’s a process that works for me from 200 capacity venues up to 8000 capacity stadiums (and everything in between).
Importantly, I’m writing from the perspective of a typical club level engineer. By the time you’re engineering festivals and stadiums, you’ll have people on hand to take over some of the roles mentioned here!
Workflow
Ok, listen up, because this is perhaps the single biggest tip I can give you! Master your workflow and, provided you have a decent set of ears, you’re almost guaranteed a great show! Live sound has a very clearly defined “input-output” workflow. Once you develop a defined workflow and structure, you’ll soon find your soundchecks run smoothly and successfully.
Pre-show prep
Before performers arrive at the venue, there’s a whole load of things you can do to streamline your soundcheck. If you’re lucky, then you’ll have received a tech-rider. The tech-rider gives you a massive head-start, as it lets you plan in advance the equipment, channels and even mix techniques you’ll need.
Sometimes though, we don’t have the luxury of a tech rider, which can lead us to something of a guessing game. In this era of social media, why not jump online and see if you can find anything about the band? A couple of minutes on Facebook or Google could let you know whether “Dagenham Dustbin” is an acoustic folk-rock duo or, on the other hand, a 7 piece Ska-Punk band with a full brass section!
Get familiar with the PA rig
If you’re the house engineer, it’s your sole responsibility to ensure that the house PA is working to its optimum. That means powering up the rig, ensuring all speaker drivers are working properly, and that the system is properly EQ’d. Were you the engineer last night? If not, check everything! If you find a fault, report it and try and fix it before the show.
First up, start by playing a tune you know intimately, that’s impeccably well recorded, that’s free from any noise and has a wide frequency response. Use this opportunity to EQ the system to be as flat as possible to your ears, but by the same token, don’t be tempted to scoop out big bands of frequencies! This is your opportunity to balance the rig to the acoustics of the venue, although bear in mind venue acoustics will change when it’s filled with people.
If you’re also running monitors from FOH, send music down each monitor line and EQ the monitors out too. Set up a vocal mic, talk through it and see if any frequencies want to ring out badly.
If you’re not confident in your own abilities to EQ the system, then there are lots of tools available to help. Consider a handheld solution like the NTi Minilyzer, or alternatively software such as AFMG’s SysTune Pro coupled with a measurement microphone.
Set up mics/DI Boxes in advance of soundcheck
So you’ve done your research, checked the rider, or at least made best guesses regarding the artist’s setup. Now’s your chance to get ahead of the game by getting your mics on stands and plugged up in advance. If you don’t have a rider, or you don’t know the venue well, take stock of what mics, DI boxes and stands you do have available.
As a travelling engineer, I always carry my own mic box with various “get out of jail” mics of my own. It’s also a good idea to maybe carry a couple of DI boxes and stands too. This doesn’t have to cost a fortune, with Thomann’s Millenium stands being very affordable!
Channel allocation and desk setup
This is a crucial aspect of soundcheck workflow and one I’ve seen mucked up more times than I care to mention! As a general rule you’re going to want to plug up your channel sources in the order you want them to appear on your desk. If you’re using an analogue desk, how you plug up on stage will be directly mirrored on the desk. If you have a digital desk, you can re-patch internally but it’s still easier to do a 1 to 1 patch.
When allocating channels, think again about your workflow. For example, drum mics to the left-hand side of the desk with kick on channel 1, snare on channel 2 etc. Then comes bass instruments, then guitar, keys, miscellaneous instruments, then vocals. Now is also the ideal time to engage high pass filters (unless it’s a bass instrument high pass everything) and assign phantom power to sources that need it.
Label your channels up either using electrical tape and a sharpie or if you’re on a digital desk, programme your scribble strips. Do not be tempted to skip this step! Whilst you might know what’s on each channel, now, you’ll be in a mess when show lights go down if you have a fault on a channel and can’t identify it!
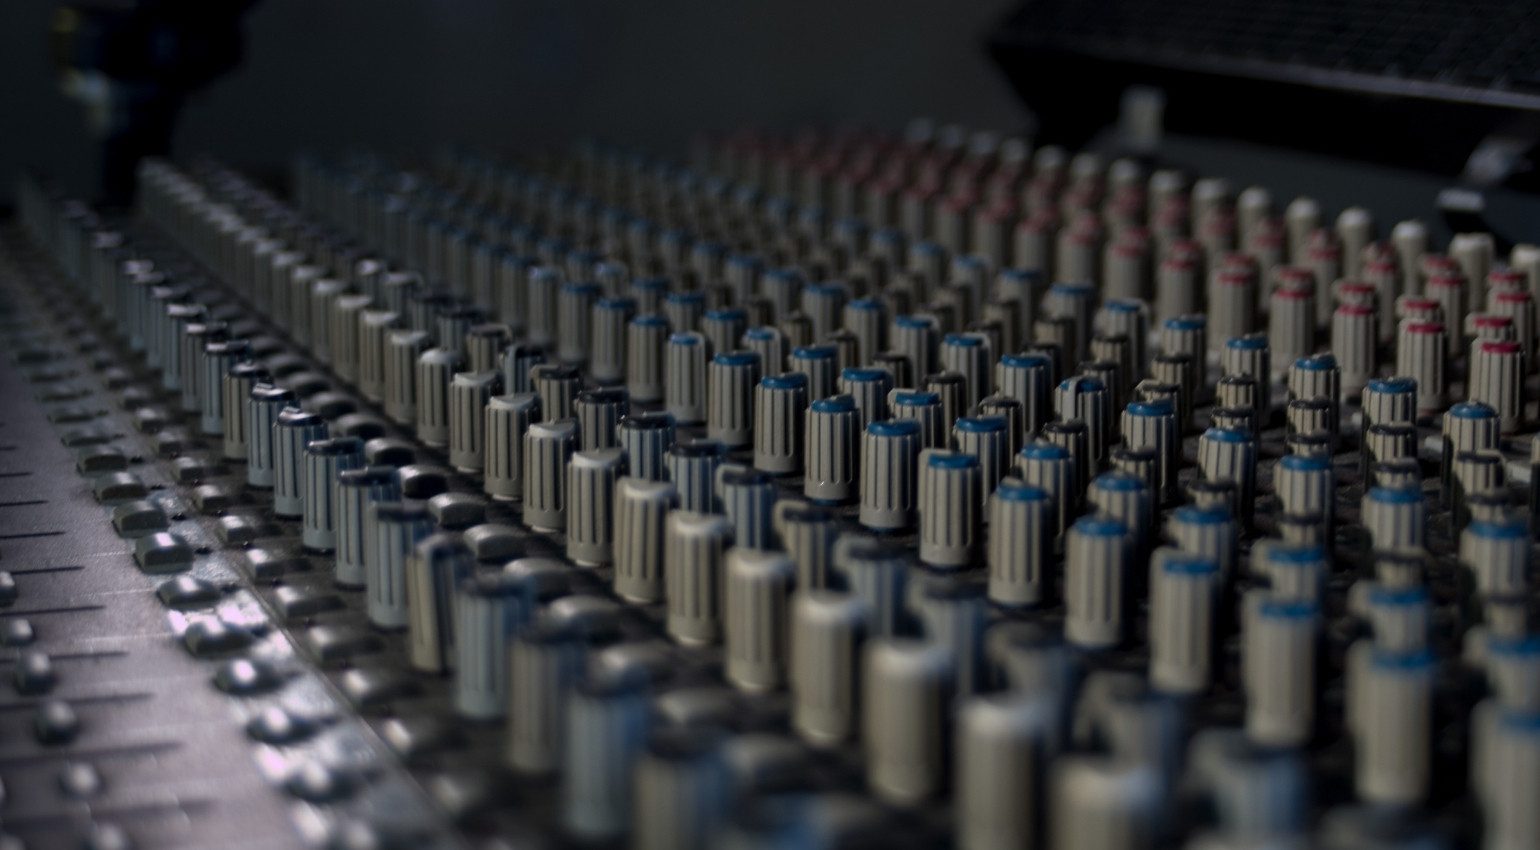
Source: Pixabay
Assign Inserts and Groups
Now is also a great time to assign your inserts and groups. With experience, you’ll soon anticipate what inserts you’ll need on particular instruments before even listening to them. As a general rule, you’ll need gates on every drum channel. Bass and vocals will need compression and so on. If you’re on an analogue desk, you’ll be making physical patches with patch cables. If you’re on a digital desk this will be on software. Patch in your inserts and any effects before starting soundcheck. It’ll aid with your workflow and make you look pro at your job!
Assigning channels to groups will completely revolutionise the way you mix at FOH. No matter how many input channels you have, with cleverly assigned groups you’ll be able to mix a whole band with only a handful of faders. On analogue desks, groups are also a very useful way of preserving your outboard gear. Place a compressor over a drum group for example to fatten the whole kit!
Most digital desks offer dynamics processing on every channel; if you’re on an analogue desk I’d recommend a bare minimum of a compressor on the vocals. Outboard processors aren’t expensive nowadays; used properly you’ll be amazed at the difference well-placed dynamics processors will make to your mix!
Communication
Communication is a crucial aspect to a successful soundcheck! Take a few minutes to introduce yourself to the performers and build a rapport with them. The more relaxed and comfortable you all are with each other, the better the show will be. My advice would always be to try and be as accommodating as possible. After all, it’s our role as engineers to make the band sound as good as possible.
Talk to the musicians, ask them how they set their gear up. For example, does the drummer have an unusual setup? How does the band like the vocals to sit? Is it a pop vocal or is it mixed in with the instruments?
Sound check
You’ll note that soundcheck itself is right at the very bottom of this article; that should give you an indication of how important the prior stages are! If you’ve done all the above prior preparation, then from this point on, getting a mix together should be fairly easy.
Call up each band member a channel at a time and dial in each channel individually. If you’re running monitors from FOH ask each musician if they want their instrument in the wedge whilst you’re working on that channel. That way if you get feedback straight away, you know it’s caused by monitors and not FOH.
My personal routine is to ask the band to play and start by getting the main vocal as loud as possible before feedback. I then bring in the bass instruments (kick drum and bass guitar) and construct a mix from there; you may have or develop a different approach. Above all, try not to get too fixated on one aspect of engineering at a time and make sure to step back occasionally and listen. Does it sound good out front? Some mix booths are terrible bass traps!
Once you’re happy with the soundcheck, and the band’s happy too, save the scene and move on. If you’re on an analogue desk you’ll need to use a markup sheet.
Workflow and communication
I hope that this blog has been of use to you. Once again, I can’t emphasise enough how important workflow and communication is to ensure a great soundcheck.
Any questions? Do you have tips of your own you’d like to share? If so, drop us a comment and let us know!

This might also interest you
One response to “Soundcheck like a Pro: An Engineer’s Guide”
Excellent!