How to Integrate External Synthesizers Into Ableton Live 12!
Learn How to Use Hardware Effects and Analog Synthesizers in Ableton Live
 3,9 / 5,0 |

Integrating external synthesizers into Ableton Live is not difficult and works just as easily as integrating external effects into the DAW as a “plugin”. What requirements need to be met, and what problems arise, when using external sound generators in Live? We’ll cover that in our workshop.
All About How to Integrate External Synthesizers Into Ableton Live
Why use external synthesizers and effects?
When it comes to music production, the global community is divided on the topics of “analog vs. digital” and “ITB vs. OTB.” I have to say that these discussions will certainly never find the perfect answer. Why should they? In the end, it’s the finished piece of music that matters. It’s either well received and listened to, or it’s not. Most of the time, listeners and fans of a song don’t question the creative process. Why should they?
Working “in the box” (ITB), i.e., using only a digital audio workstation (DAW) software, plugins, a keyboard, and a mouse (and perhaps a controller), is certainly due to the high costs associated with external audio equipment. In addition to a sound generator, you need a good converter, audio cables, a MIDI interface, and MIDI cables. If you have several devices, you should plan for enough space in your room or home studio and invest in keyboard stands. With ITB, mobility is also an issue if you produce with a laptop and headphones. The vast array of possibilities in such a small box is certainly impressive compared to a full-blown recording studio!
Workshop: Integrating External Synthesizers into Ableton Live
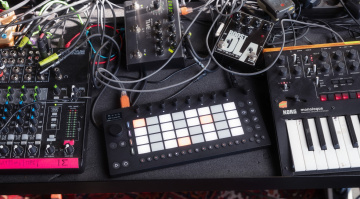
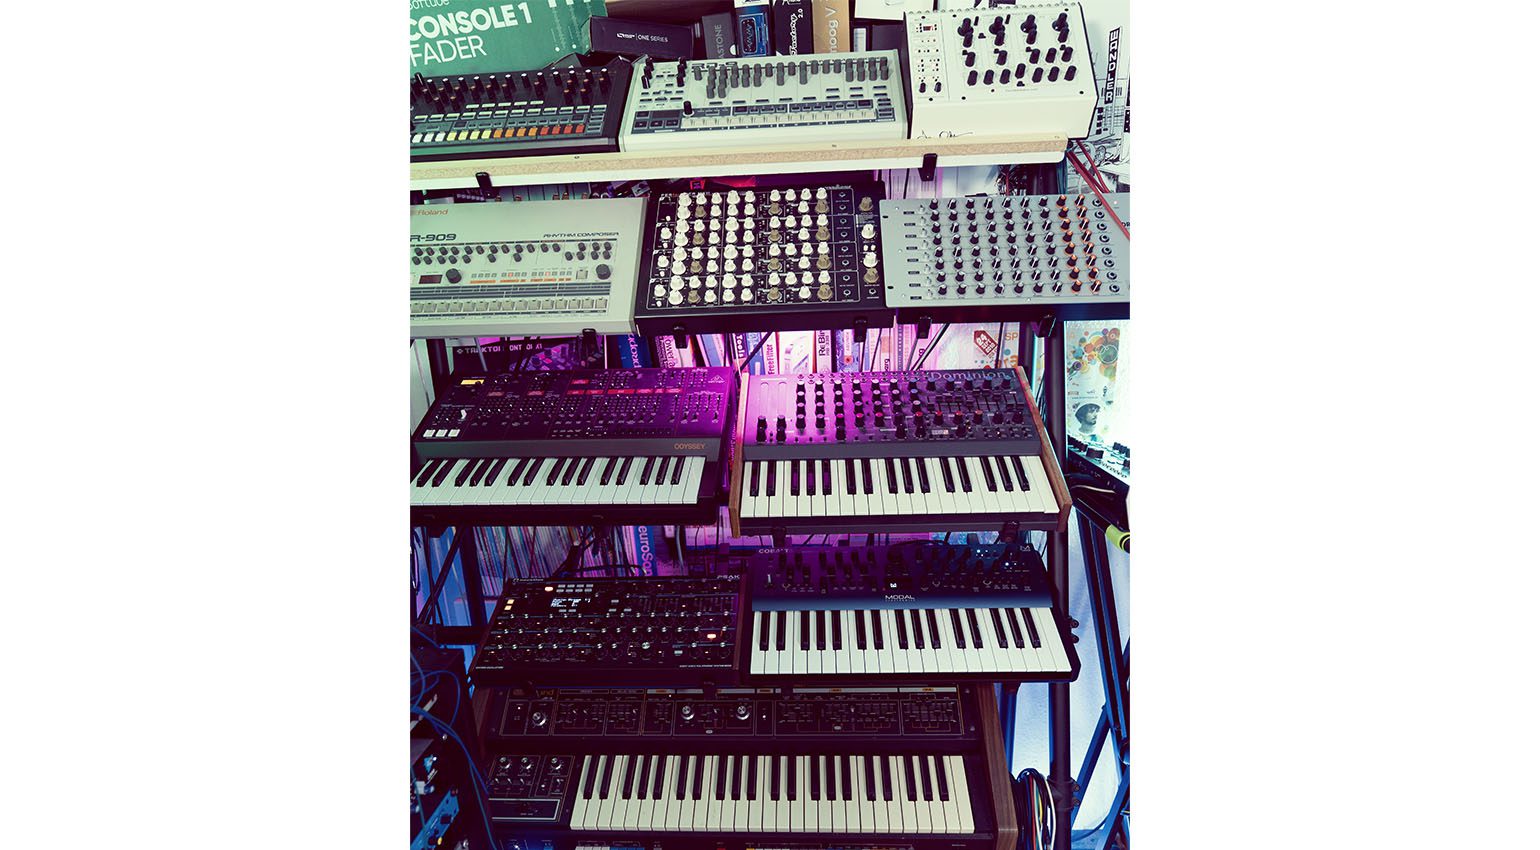
For several years, the music market has offered very tempting deals on inexpensive analog and digital external synthesizers (hello, Behringer!). Audio interfaces have also become more affordable, making it easier to integrate external synthesizers into Ableton Live. The advantage of a standalone sound generator or effect is definitely the tactile experience. You can turn knobs, edit sounds, and create new ones. I feel more comfortable that way (instead of just making music with a keyboard and mouse).
As mentioned above, the audio signal (i.e., the sound) from the sound generator must be fed into the computer via an audio cable. A converter then converts the signal from analog to digital. This converter is located in an audio interface, which is usually connected to your computer via a USB cable and can be controlled from the digital audio workstation (DAW). After this conversion process, the DAW can process the resulting “zeros and ones” of the audio signal. For example, you can add plugin effects to the “hardware sound” and integrate external synthesizers into Ableton Live with all its features. Many sound generators require the use of multiple audio interfaces.
How does a note pass from the DAW to the synthesizer?
Note values and controller data are sent to the sound generator via a MIDI interface. Modern hardware is equipped with a USB port that allows you to connect the computer directly to the synthesizer. This is sufficient for perfect MIDI communication. Old analog hardware (as well as some new analog devices) only has a round DIN MIDI input and output. For these devices, you need a MIDI converter that works similarly to an audio converter, but for MIDI data. I use the small Retrokits MIDI Hub to integrate external synthesizers into Ableton Live.
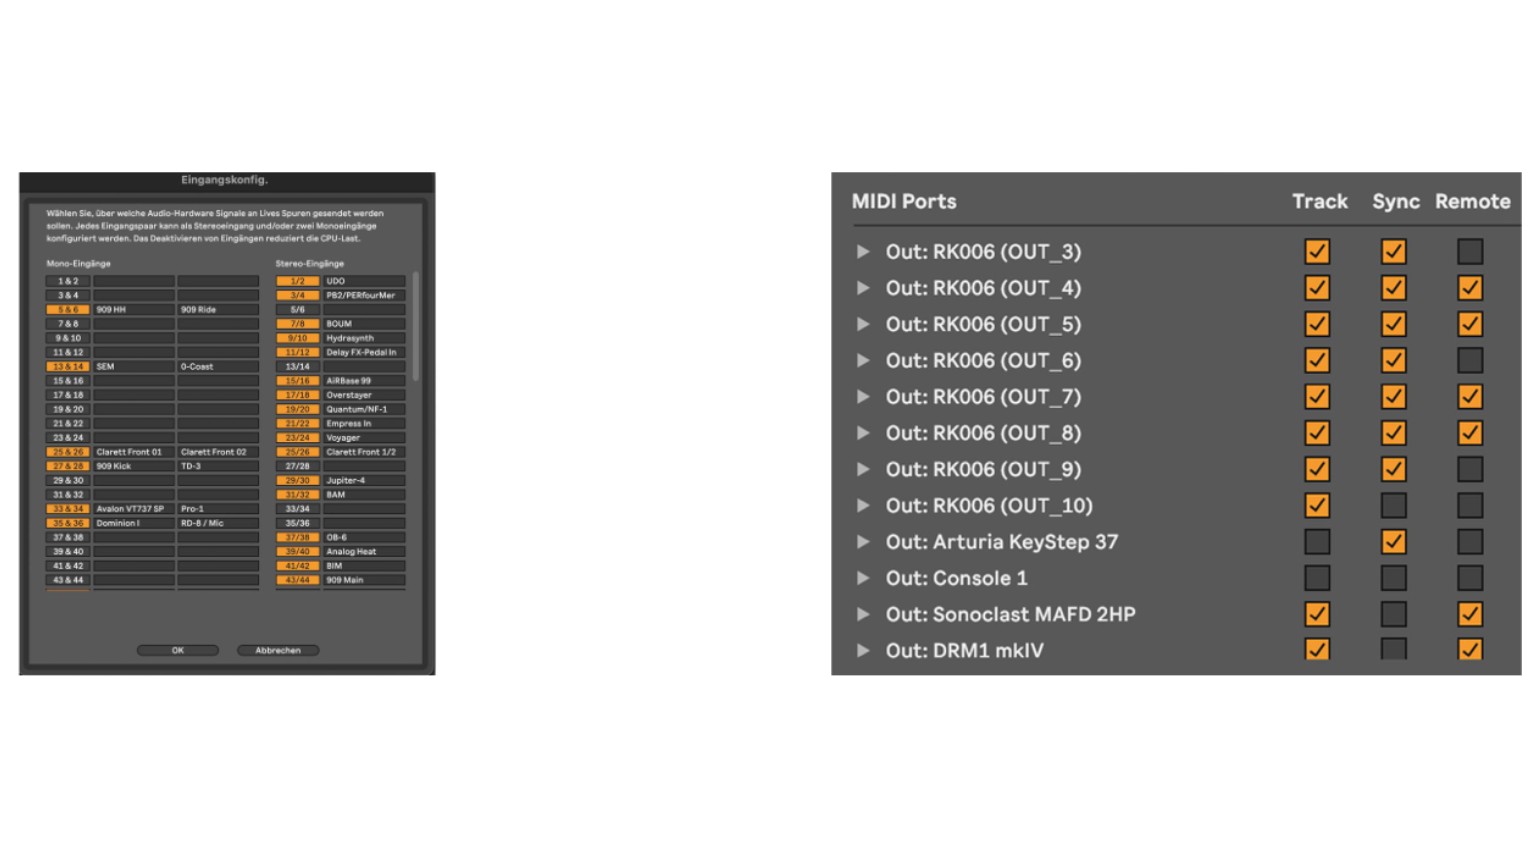
Once you have connected MIDI and audio to your computer and installed the appropriate drivers, you’re ready to go. Open Ableton Live, activate the correct MIDI input and output for your connected device in the settings, select your audio interface, and activate the necessary inputs and outputs. Now, you can send notes played in Live or set in the Piano Roll to the external synthesizer. The synthesizer will then send an audio signal to the audio interface, which can be heard via the DAW. Integrating external synthesizers into Ableton Live is easy!
Setting up the External Instrument for an External Synthesizer
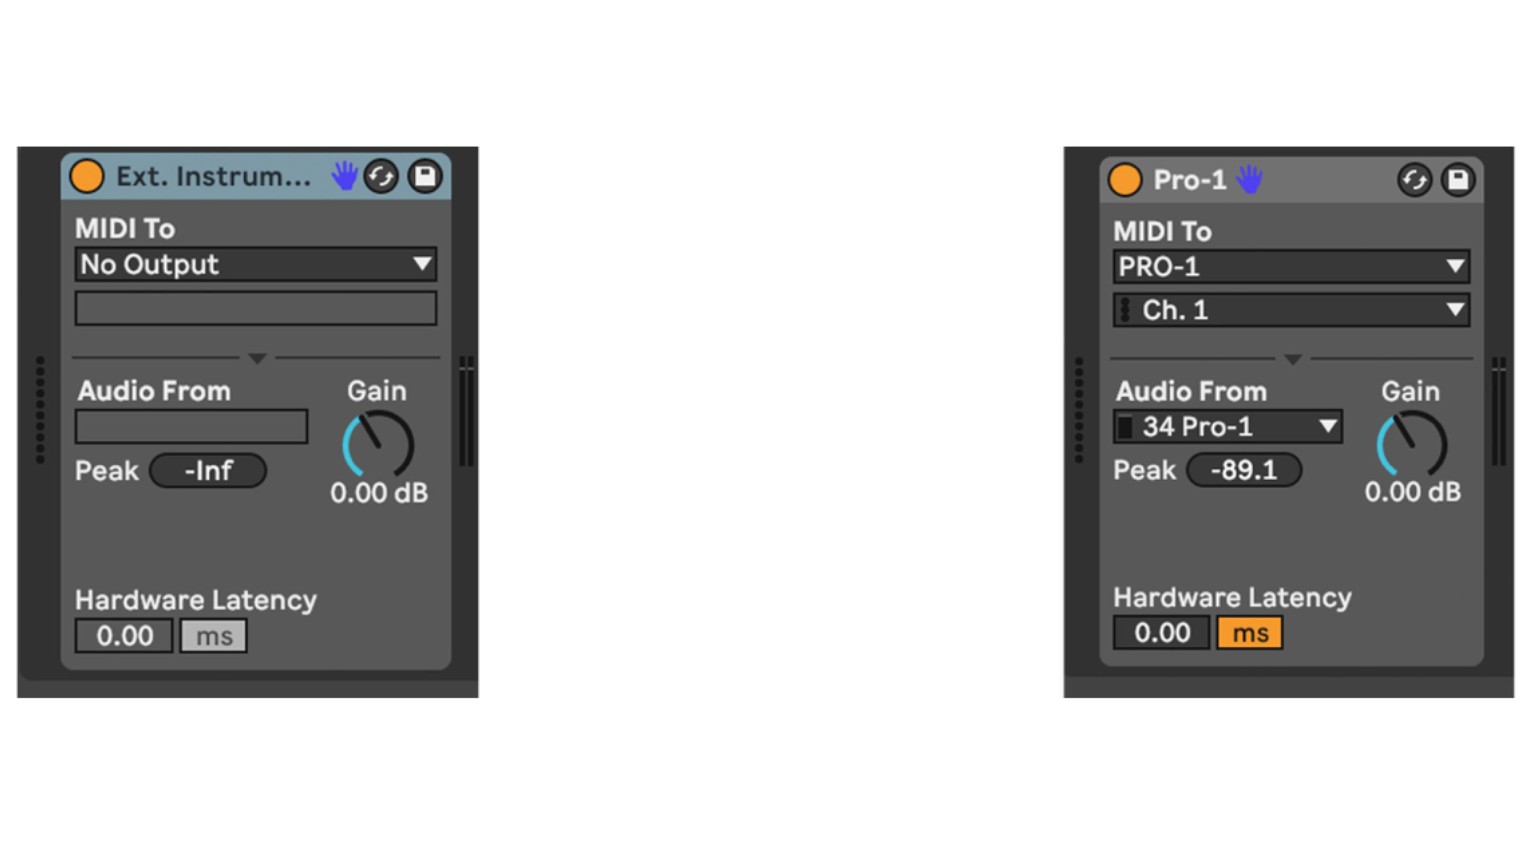
After configuring the MIDI and Audio settings in Ableton Live, drag the “External Instrument” into a MIDI channel in the “Instruments” section of the Device window. This allows you to easily integrate the synthesizer into Live as a “plugin.” In this small device window, you can set the MIDI routing without affecting note transmission to the sound generator.
“MIDI to” describes the output. Select either the USB port of your synthesizer or the MIDI port of your MIDI interface to which the hardware is connected. The “Audio From” field should contain the audio input channel to which you connected the synthesizer. Live displays small peak meters next to the inputs in the selection menu, which is a nice feature because you can quickly see which audio input to select by playing a sound from your sound generator.
Integrating External Synthesizers into Ableton Live and Solving Problems
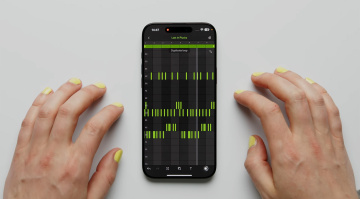
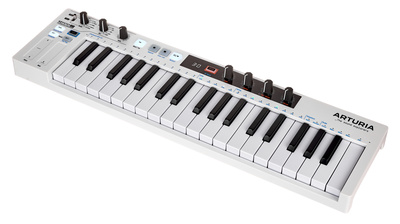
Now, you can send notes and automation parameters (MIDI CC) from Live’s Piano Roll to external synthesizers, or import this data via another controller, such as the Arturia Keystep 37. It works great with absolutely no problems.


Of course, complications arise as soon as external sequencers, MIDI clock-controlled arpeggiators, and effects are introduced. Live was developed for live use in version 1.0, and it has evolved into a full-fledged DAW used in many studios. For live performances, the most important feature is stability, followed by “perfect” latency, i.e., no delays in the input and output of sound and other data. Delays are particularly disruptive when performing live on stage.
Unfortunately, Ableton’s developers have not yet fully mastered ensuring that performance-hungry plugins, external synthesizers, sequencers, and effects via MIDI clock receive the same attention as the DAW’s audio system via automatic latency compensation (PDC). This means that external synthesizers with the arpeggiator activated, as well as external sequencers, do not start synchronously when the plugin load is studio-like. There is always an audible delay. This is very annoying when trying to work on sequences and ideas. Other DAWs have solved this issue more effectively, but of course, they lack live features.
The Right Timing is Essential – Synchronization
One workaround is to set the channel’s audio latency to a negative value or repeatedly adjust the MIDI latency (found in the MIDI settings) to a negative value. Unfortunately, you have to do this every time you add or remove a plugin from the song. However, this only affects “hungry” virtual effects and instruments. Another option is to use additional hardware that takes care of the timing, essentially taking over completely, but this is more expensive.
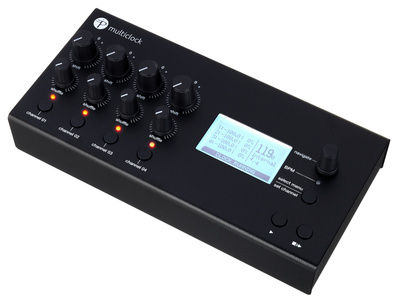
These sync clock boxes are usually fed an audio signal from Live (or your DAW), so you will need an additional audio output on your audio interface. The box uses this signal to calculate the track’s speed. Speed changes are detected and implemented directly, and the changes are passed on as a MIDI clock signal. The DAW’s latency is also automatically transferred via the audio click track. For this purpose in the studio, I use the Floatingpoint Instruments Multiclock (formerly E-RM Multiclock), and it really is the perfect solution.

In Conclusion, Have Fun in the Studio With External Hardware!
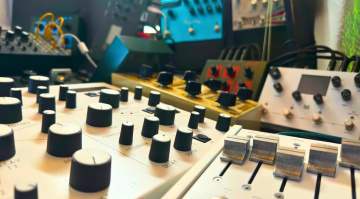
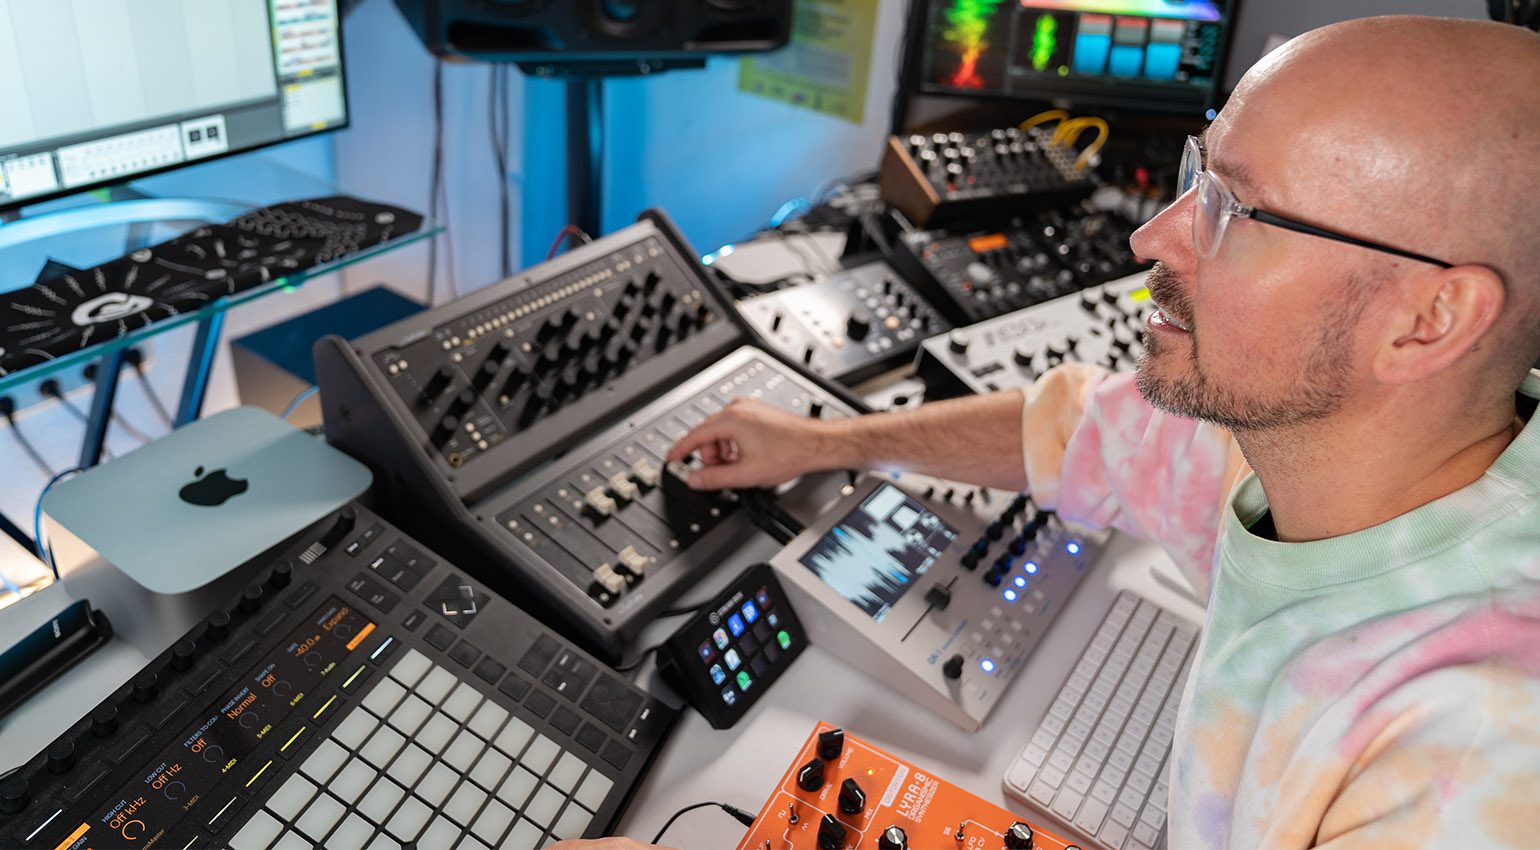
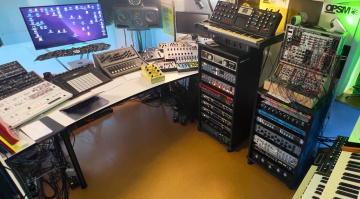
That’s exactly what’s needed to create good music and be artistically productive. My studio is a good example of producing music with Ableton Live. I use more than 50 external synthesizers, over 20 external effects devices (reverb, delay, and distortion), and eight different sequencers simultaneously. And all of this is possible without patching back and forth via a patchbay (MIDI and audio). I can feed in three to four microphone signals simultaneously and record vocals, percussion, or acoustic instruments in sync with the song – it’s pure fun!
Unfortunately, constantly adjusting the individual track latencies is part of my daily studio workflow, but I’ve grown accustomed to it over the years. Still, I hope Ableton is working on these “problems” and will come up with an acceptable solution soon.
In the meantime, I recommend that every beginner and ITB musician try out external synthesizers and effects in their own system. Touching and turning knobs to directly change the sound and integrate a little noise into the mix as ambient sound with analog synthesizers can be a lot of fun. For me, that means getting creative. That’s what drives us musicians and music producers forward, allowing us to create new songs and tracks. In the end, though, it’s the result that counts, no matter how it was created! Now you know how to integrate external synthesizers into Ableton Live.
More About Integrating External Synthesizers into Ableton Live
Various versions of Ableton Live are available at different prices here at Thomann*.


Videos on How to Integrate External Synthesizers into Ableton Live
*Note: This article contains affiliate links to the workshop “Integrating External Synthesizers into Ableton Live.” These links help us finance our site. Rest assured, the price remains the same for you! If you purchase something through these links, we receive a small commission. Thank you for your support!

This might also interest you