How to Create the Perfect Default Preset for Designing Sounds from Scratch
A Blank Canvas for Sonic Exploration

 5,0 / 5,0 |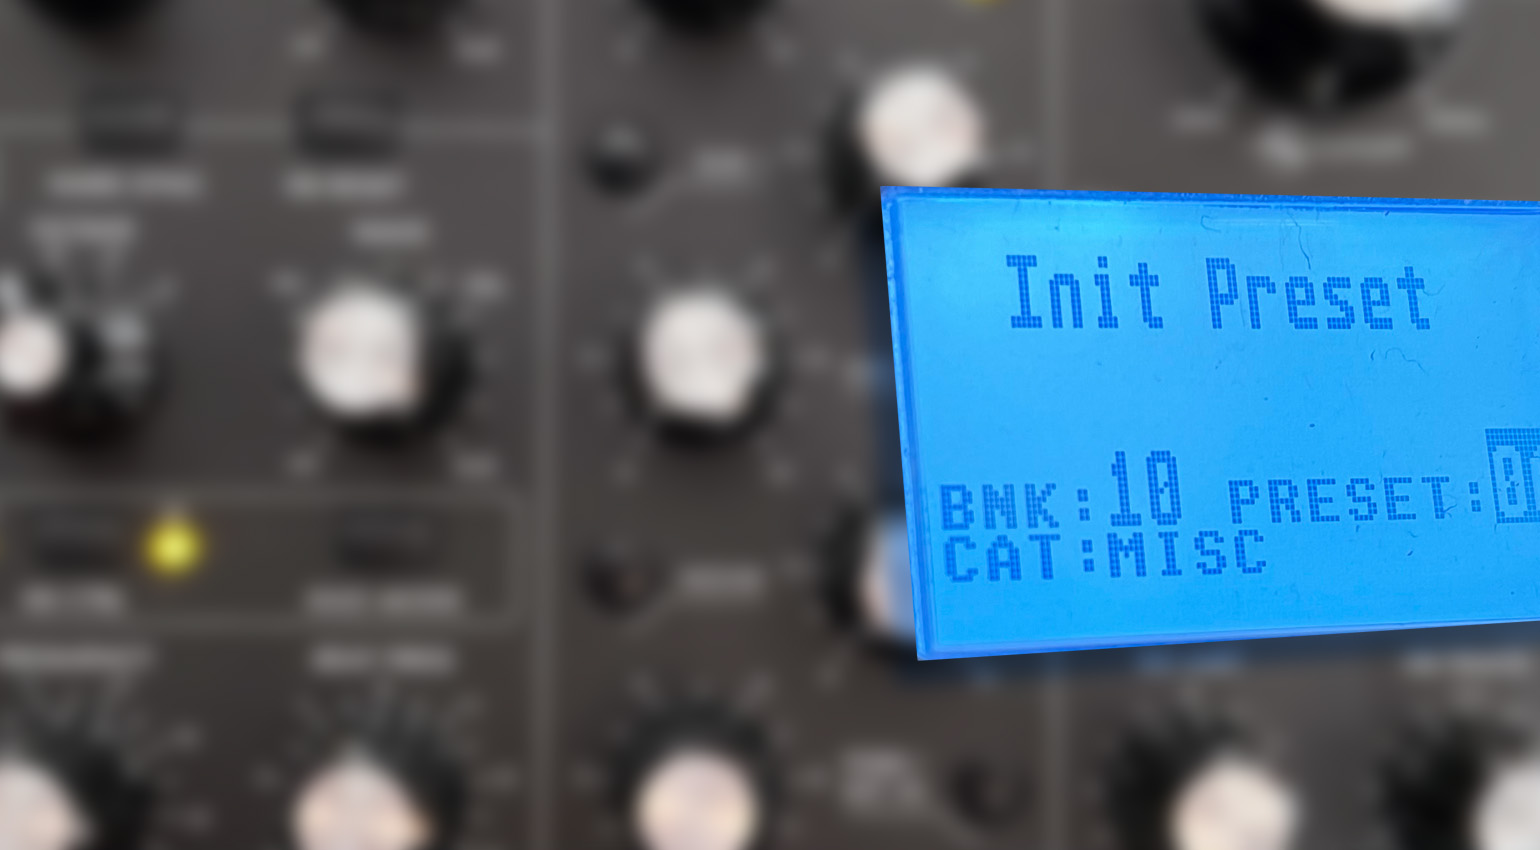
How to Create the Perfect Default Preset for Designing Sounds from Scratch · Source: GEARNEWS / Lasse Eilers

Want to design your own synth sounds from scratch? A neutral default preset is the perfect starting point. Find out how to design a custom default preset that perfectly suits your workflow.
How to Create a Default Preset for any Synth
What is a Default Preset?
A default preset is to sound designers what the proverbial ‘blank canvas’ is to painters: a wide-open space with plenty of room for imagination. It offers a neutral starting point for designing your own sounds from scratch, without steering your ideas in any particular direction.
In a subtractive, analog-style synth, a typical default preset consists of a single oscillator with a basic waveform and neutral settings. All other components that follow in the signal path, such as the filter, envelopes, and LFOs, are set up so they don’t affect the sound at all, or as little as possible. Similarly, a useful default preset for an FM synth would contain two operators: a single carrier/modulator combination, with the modulator mapped to, but not yet affecting the carrier.
From there, you can then bring your own sound design ideas to life – without being influenced by something that’s already there.
Why Should I Use a Default Preset?
Most beginner sound designers learn the ropes by tweaking the factory presets of their synths, figuring out how everything works along the way. And of course, there’s absolutely nothing wrong with that!
However, if you want to design your very own sounds from scratch, this approach isn’t ideal. Factory presets are designed to, quite literally, sell the synth. That’s why they’re usually packed to the brim with exciting modulations and effects – everything the synth has to offer. For example, if your synth has a built-in reverb effect, you can be sure it’s turned on in nearly every factory preset, whether it does something for the sound or not.
Factory presets are designed to sound great – on their own. But perhaps you’ve already noticed that they tend to require some tweaking to work in a production. More often than not, you’ll find that you need to remove a bunch of stuff, such as effects or modulations, to make a preset play nice with other elements in the mix. What’s more, many synths (especially digital ones) are so complex that it can take the better part of an afternoon to figure out exactly what’s going on in a preset and what’s being modulated by what. If you’re trying to come up with a custom sound to elevate your song, this can be very distracting, to say the least.
That’s why I prefer starting with a blank canvas: a simple sound that contains none of that stuff and leaves it up to me to add it when needed. And that’s where a custom default preset comes into play.
Your Synth Likely Already Has a Default Preset
Many hardware and software synths offer a default preset out of the box. It’s usually named ‘Init(ialize)’, ‘Reset’ or, well, ‘Default’. Alternatively, some synths require you to press a combination of buttons to reset all parameters to neutral settings.
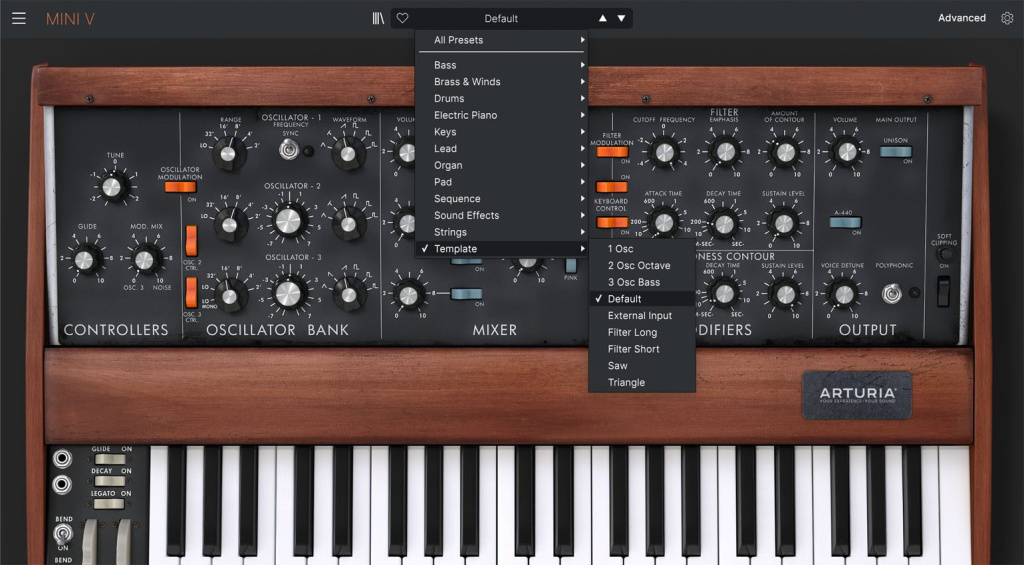
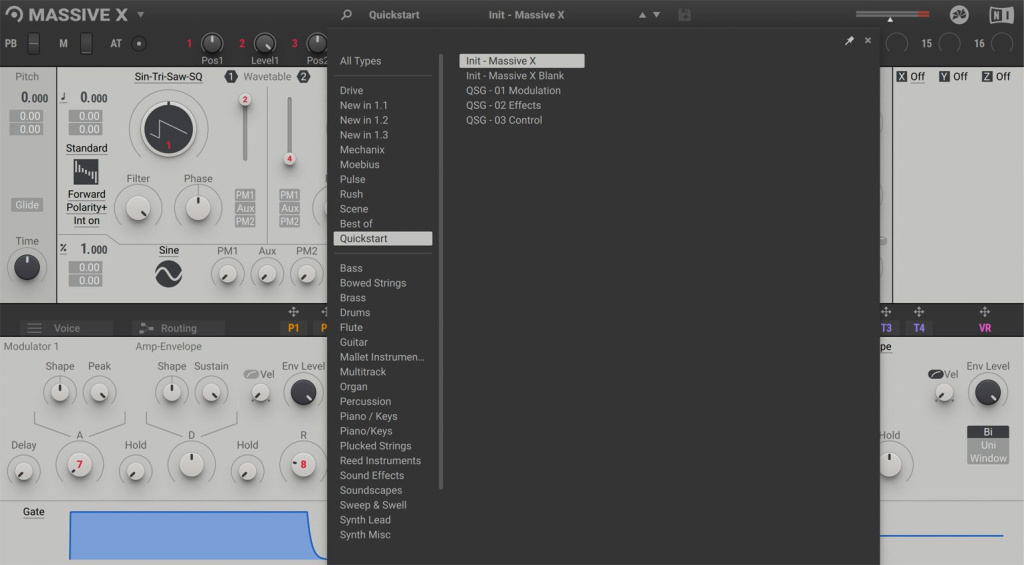
In many cases, the manufacturer’s default preset will be all you need. Depending on the synth, however, it can still contain certain modulation routings and other settings that may not suit your workflow. That’s why I prefer to create my own default presets for all of my synths. This way, I know exactly what I’m working with and can be certain there’s nothing in there that I don’t want.
How to Create a Default Preset
To build a default preset on an analog-style subtractive synth, set the oscillator to one of the basic waveforms; in most cases, a saw wave is used. Anything that modifies or shapes the waveform, such as waveshapers or PWM, should be deactivated. The same goes for oscillator sync, FM, ring modulation, and similar functions. If the synth has more than one oscillator, deactivate all but one of them by turning them off or setting their levels to zero in the mixer, depending on the synth. Any sub-oscillators and sub-octaves should also be set to ‘off’.
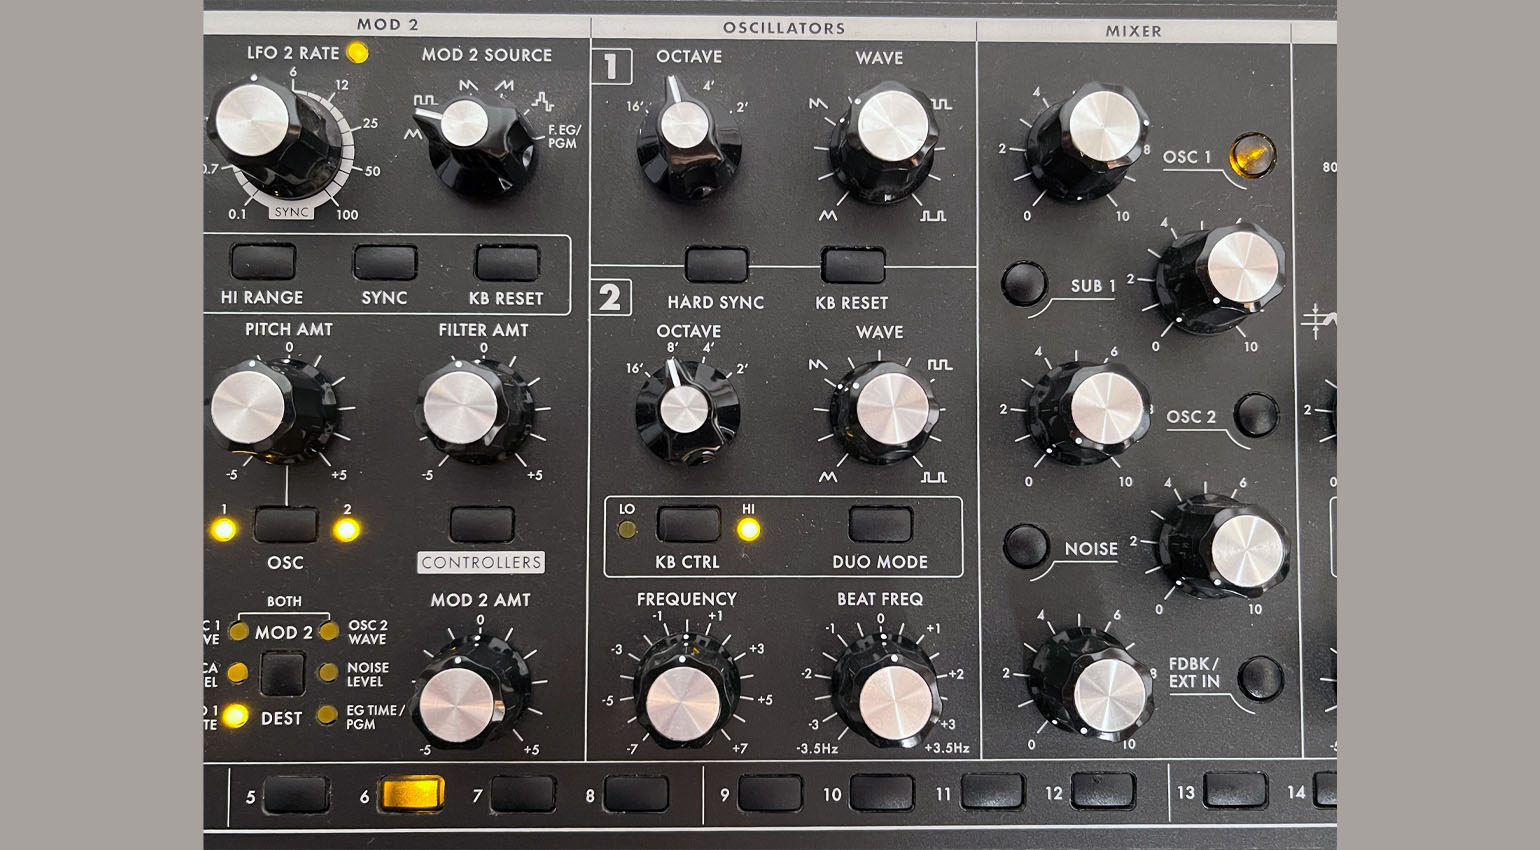
Speaking of the mixer: for now, turn up only the single oscillator that’s being used. Although you could be tempted to turn it all the way up, keep in mind that some synths (certain Moogs, for example) can boost the signal in the mixer to overdrive the filter input, resulting in slight saturation or even audible distortion. While this is absolutely intentional in the synths that offer it, an overdriven filter doesn’t belong in a neutral default preset. That’s why it’s better to use a moderate level of about 75%, for example.
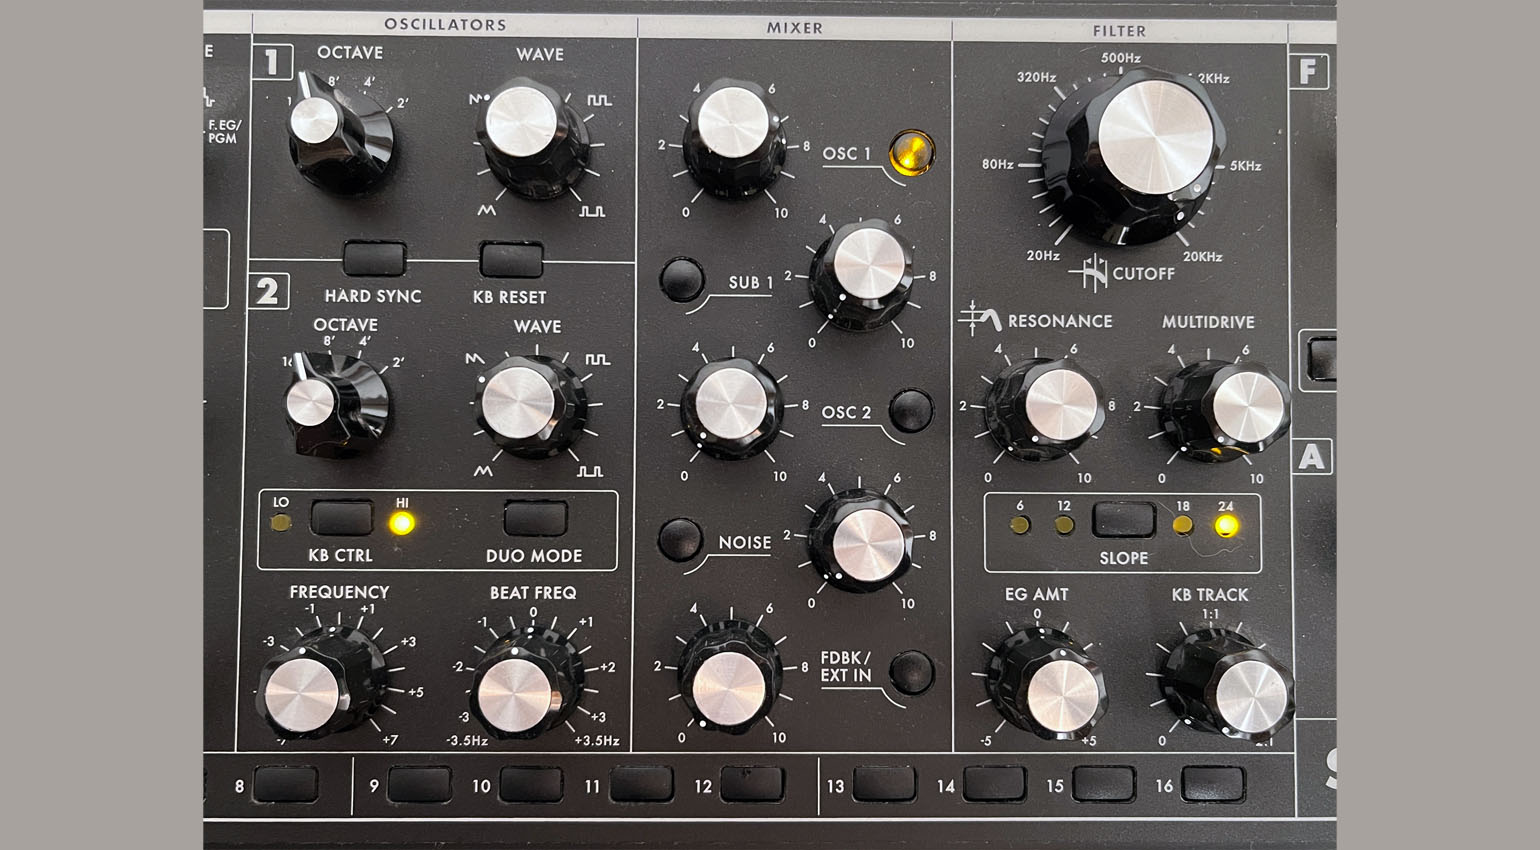
Filters and Modulation
The filter should be set to ‘fully open’, meaning it shouldn’t affect the sound at all. For a lowpass filter, this means turning the cutoff all the way up and the resonance all the way down. Also, the modulation depth of the filter envelope and any potential LFOs should be set to zero. How this is done depends on the synth; the corresponding controls can be located in the filter section, in the envelope/LFO section, or even in the modulation matrix. Keep in mind that, depending on whether the synth allows for bipolar filter modulation, the neutral setting might be in the center position of the corresponding knob or slider! You should also deactivate filter keytracking and anything else that affects the cutoff frequency.
For the amp envelope, I prefer to turn all the times (Attack, Decay, Release) all the way down and the Sustain level all the way up. This effectively repurposes the envelope as a switch that turns the sound on and off, like an organ. Depending on the synth, you may need to add a very short release time to prevent audible pop sounds. If your synth offers this option, you can also deactivate the amp envelope completely by setting the corresponding switch from ‘Env’ to ‘Gate’, or similar.
Although they’re not yet doing anything, I also like to prepare all other available envelopes in the same way. This lets me start from a neutral setting when I decide to use them later.
To finish off, switch off any available effects (such as Reverb, Delay, Chorus, or Distortion) and the Glide/Portamento function.
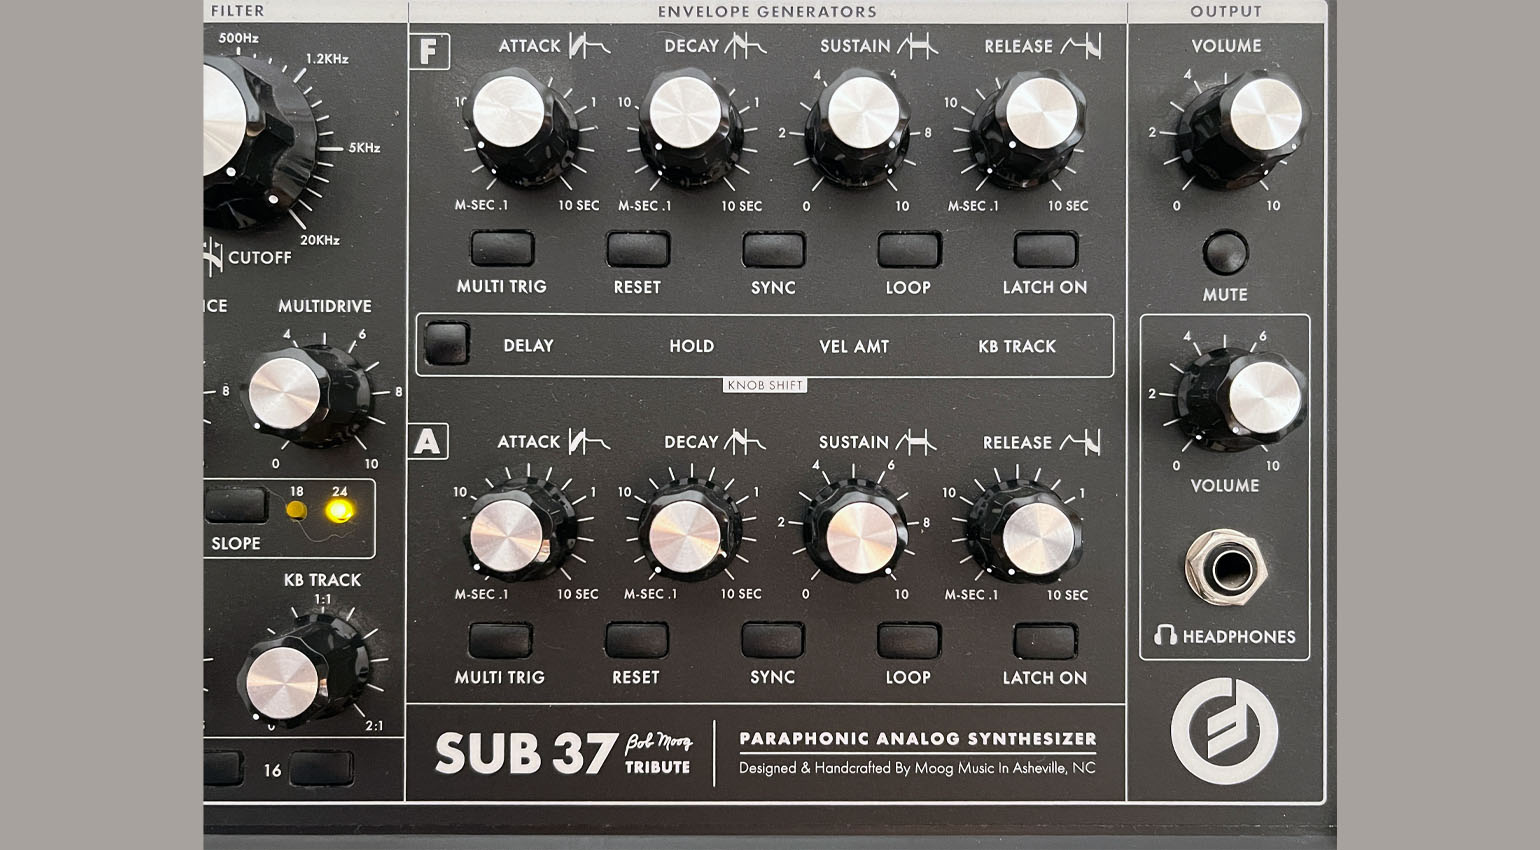
Modulation Routing
When it comes to modulation, there are different ways to go about it in a default preset. Ultimately, it comes down to how the synth handles modulation. With simple synths without a complex mod matrix, it’s usually sufficient to set the modulation depth of all envelopes and LFOs to ‘zero’.
It gets a little more complicated on synths that offer a more complex modulation routing system, such as a mod matrix. In this case, you can either follow a ‘clean sheet’ philosophy and delete all assignments across the board. This ensures that no modulation can occur during sound design unless you deliberately add it.
Or, you could take this opportunity to set up a couple of standard routings you frequently use. For example, if you like to use a specific LFO for PWM or filter modulation, you could set up the routing in your default preset so you don’t have to add it every time you make a new sound. This approach lets you customize your default preset to your preferred way of working. However, even if you decide to ‘pre-wire’ modulation routings, all depths should still be set to zero at this point.
Don’t Forget to Name and Save your Default Preset
Once your new default preset is all set up and ready to go, give it a unique name (if your synth uses preset names), and save it to a memory slot you can remember. I’ve gotten into the habit of using the highest available memory slot for my default preset, the reason being that many of my synths have free slots there that aren’t occupied by factory presets. But of course, you can save it anywhere you like, as long as you remember where you put it.
If your synth offers this option, it’s also a good idea to save your default preset externally, e.g., archive it on your computer via SysEx or a software editor. This way, you have a backup in case you accidentally delete or overwrite your default preset (which will inevitably happen at some point).
Custom Default Presets for Specific Sounds
Using the principle outlined above, you can also take things a step further and create different default presets for different kinds of sounds. For example, if you like to design your own drum sounds, you might want to start with noise instead of a saw wave, and/or decouple the oscillators from the keyboard if your synth allows. A default preset for drum sounds could also include a percussive envelope with a short decay time, instead of the gated setting described above.
Similarly, you could also save custom default presets for pads, basses, arpeggiator sounds, and more. It’s also not uncommon to update your default preset from time to time to make adjustments – I do it all the time! The more sounds you create, the better you’ll know which settings suit your workflow.
More Sound Design Tips
Want to learn more about synthesizers and sound design? You’ll find many helpful tips and tutorials in these books*!





More about Synths and Sound Design
- 5 of the Best Synths for Sound Design
- 5 of the Best Synths for Beginners: Buying Your First Synth
- The Sound Lab: 3 Cool Pieces of Gear for Creative Sound Exploration – Perfect Match!
*This post contains affiliate links and/or widgets. When you buy a product via our affiliate partner, we receive a small commission that helps support what we do. Don’t worry, you pay the same price. Thanks for your support!

This might also interest you