Building My First Pedal Board: Gear, Signals & Surprises
 4,7 / 5,0 |
My first pedal board build was way overdue. Here’s how I built it, what I used, and what I’d do differently next time.
In this weekend feature post here at gearnews, stay with me as I delve into building my first-ever pedal board. This post includes the process of building, the gear required and lessons I learnt along the way.
Key Information about Pedal Boards
- Guitar pedal boards allow players to utilise and store their pedals in one place. Improving reliability of your effects, signal flow, and on-stage efficiency.
- You need to choose the right board size for you. This will depend on what pedals you already have, or are planning to purchase. Buying larger could future-proof yourself.
- Safe power supplies and good quality patch cables are the make-or-break on a good pedal board.
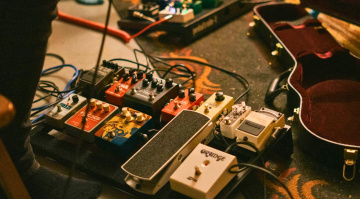
Building a Pedal Board
My First Board
As a guitarist of 17 years, you’d think that I’d have built a pedal board by now. And do you know what? So did I. However, it’s just something that I’ve never got around to doing.
For context, I’ve played in bands and as a duo for approaching 10 years. With bands, I’ve always gone straight into my Fender 700 Roc Pro, with a footswitch to change between the clean channel and tube drive circuits. Furthermore, when I’m playing acoustically, I just go straight into our PA desk that has integrated effects. Therefore, I’ve never really needed anything more.
Over the years, I have dabbled in multi-effects pedals and some standalone pedals. Most recently, I invested in the versatile *NUX Cerberus. Now with a few modest pedals in my collection, I decided that 2026 was the year for me to get into board building. Afterall, everyone is going digital these days, it’s nice to go back to basics.
Pedal Board Gear
What do you need to build a guitar pedal board? It can all seem very cool and glamorous, but there are a few key components that you need before you do anything else. As ever, you could spend a small fortune, or you could build a setup on a budget. I went somewhere in the middle. Keeping it real, y’all.
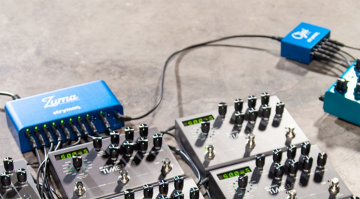
The Physical Board
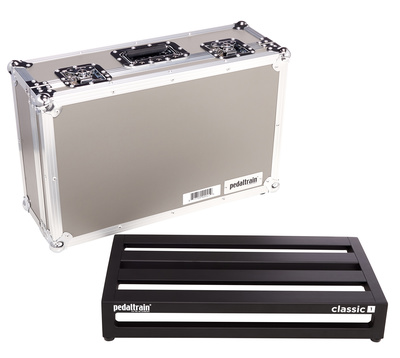
The board you get all depends on how many pedals you have, or want to use in the future. I only had 4 pedals to use at the time of building. Therefore, I went for the *Pedaltrain Classic 1 TC. This allowed me to easily store my existing pedals, whilst leaving room for more.
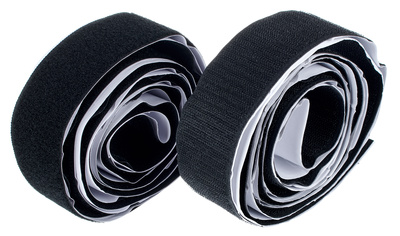
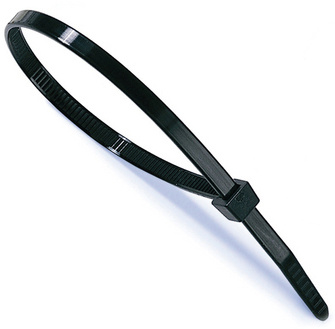
Additionally, you’ll want to get some Velcro tape strips, along with some cable ties. Both of these aid in fixing your pedals to the board. Whilst I love the aluminium construction, one limitation with the Pedaltrain classic is that it does not facilitate power supplies to be drilled into it, therefore cable ties became my solution.


Power Supply
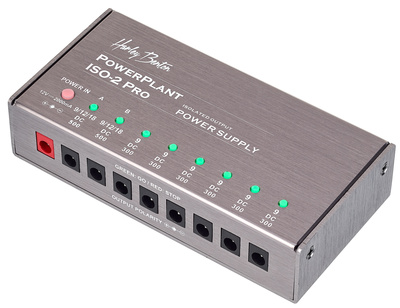
Another important step in building your board. When it comes to electricity, don’t mess around. What does an ISO do? It provides power safely to your pedals, with only one mains plug being required.
The supply that I elected to use allows for a single POWER IN, which is the 12V mains supply. From here, I get x7 9v 300mA outputs for pedals, along with x3 9v 500mA ports for extra power. In my case, one of my pedals required more than 300mA to work correctly.
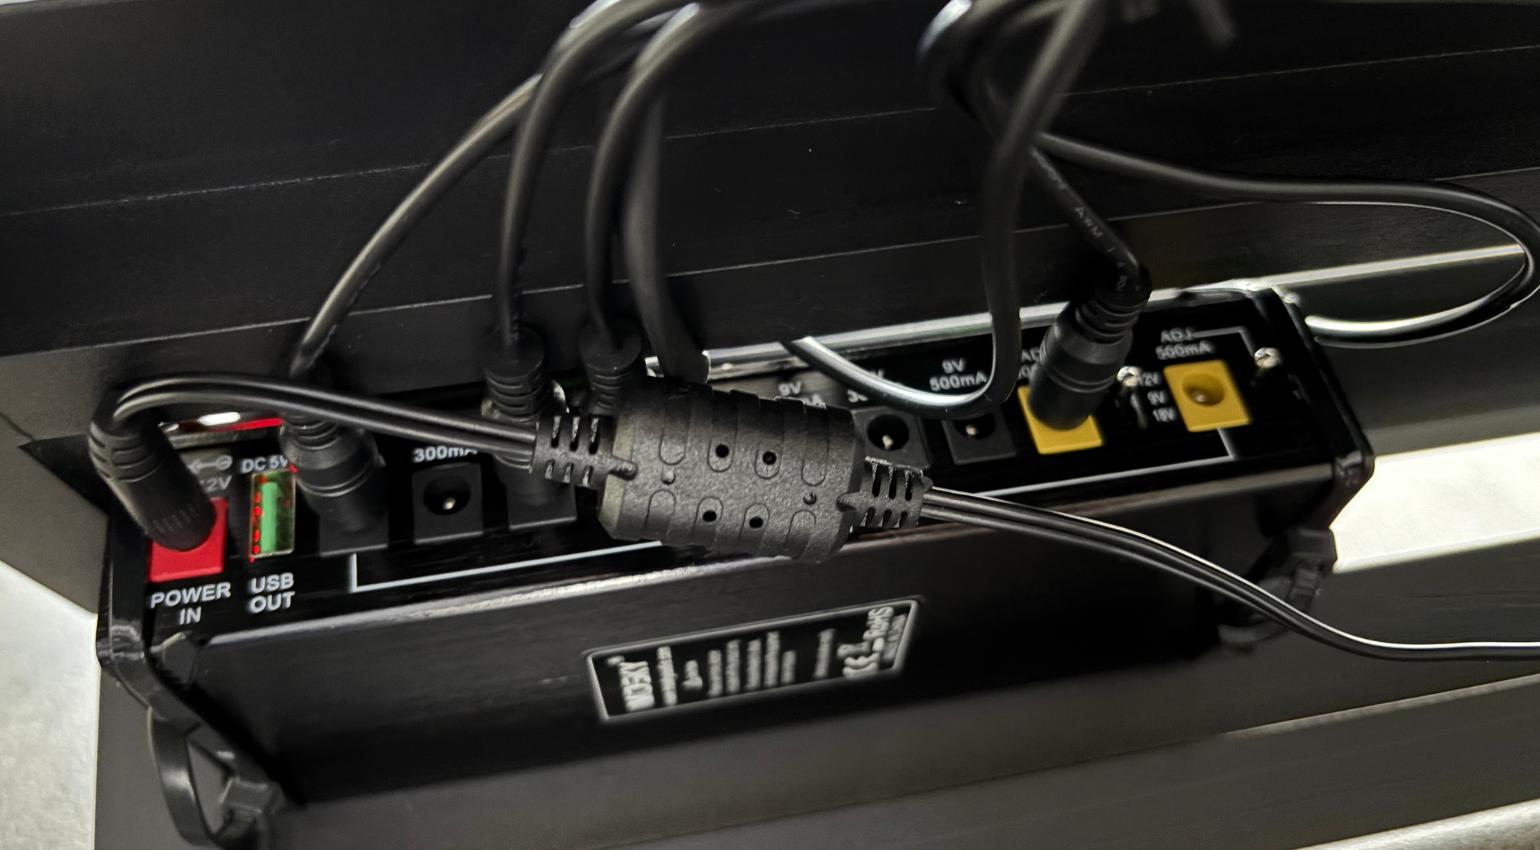
You’ll want to secure your power supply underneath your board, in a location that allows you to still see and use all of the connections. As aforementioned, I used two cable ties to secure the power supply in place. This means that if I want to replace it at any time, I can simply cut the zip ties at my convenience. This is a secure and cost-effective way to secure your power supply to your pedal board.


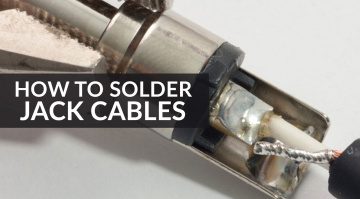
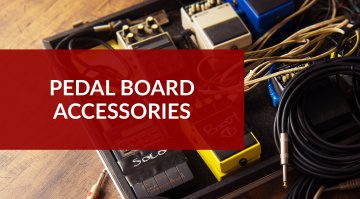
Patch Cables
One of the final pieces of the puzzle is patch cables. These act as a way to connect your pedals together. Typically, regular guitar jack cables are far too long for pedal board use. This is where patch cables come into play.
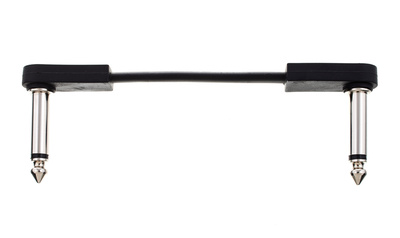


There are various makes, models, and sizes on the market. Try to buy the best that you can afford, as a broken patch cable could be the end of your gig. For a tidy board, try to route your patch cables as neatly as you see fit. A good way to do this is by routing them underneath your board, where nobody can see them.
Pedals
Right, the part you’ve all been waiting for! What’s on my pedal board? Some of these pedals have been in my collection for a while, whilst others were either gifted or purchased recently.
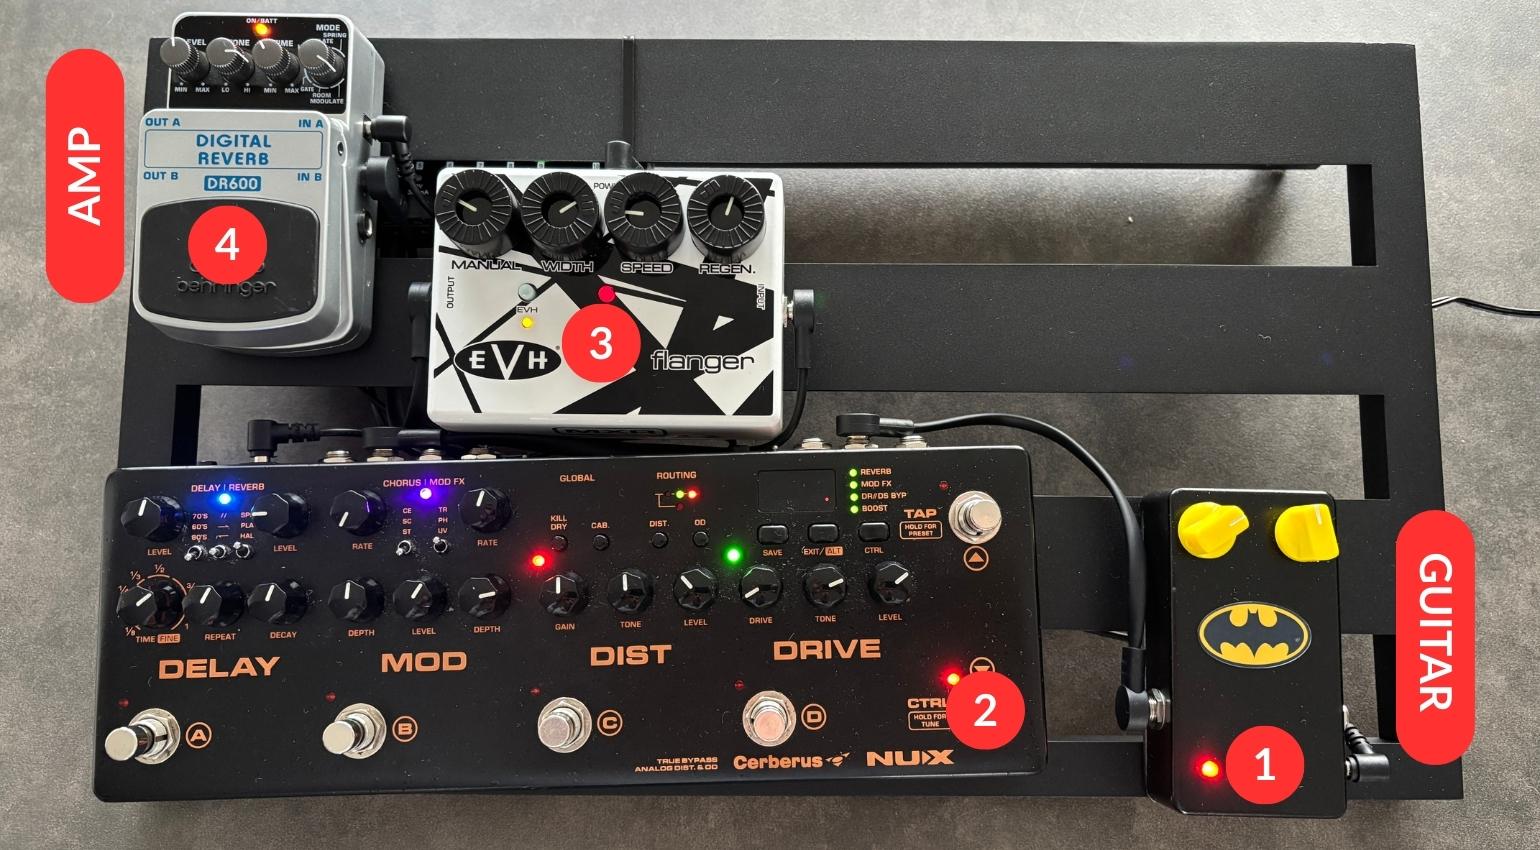
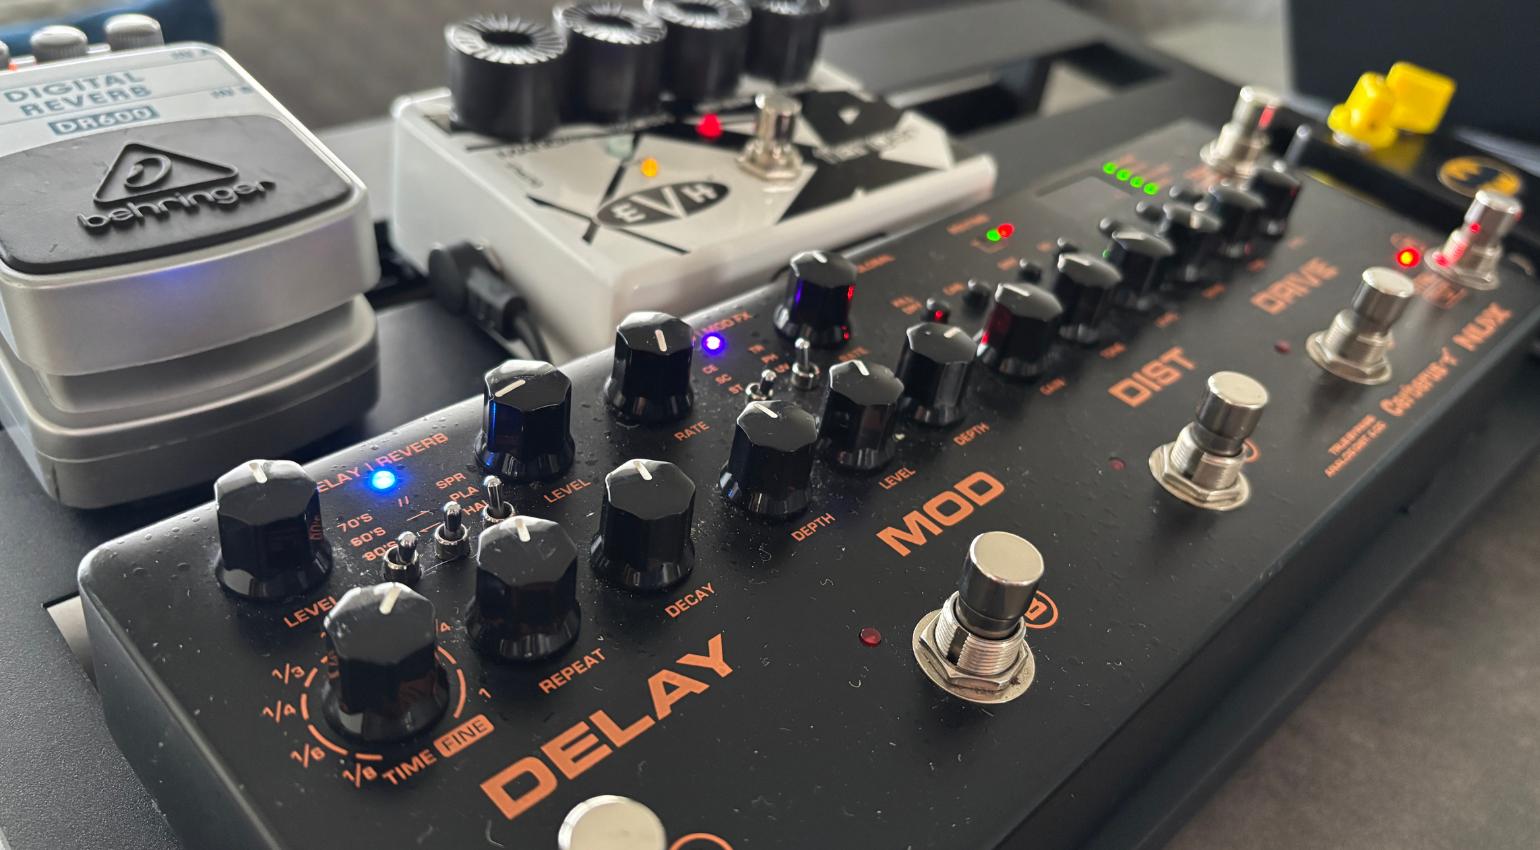
The pedals in question are:
- 1 – Fuzz
- 2 – NUX Cerberus
- 3 – EVH Flanger
- 4 – Behringer DR600 Digital Reverb
What a strange collection, I hear you say. Allow me to explain. Since September, I have been using the NUX Cerberus multi-effects pedal for both live and studio use. It allows me to use multiple effects simultaneously, along with reverb and an integrated tuner.

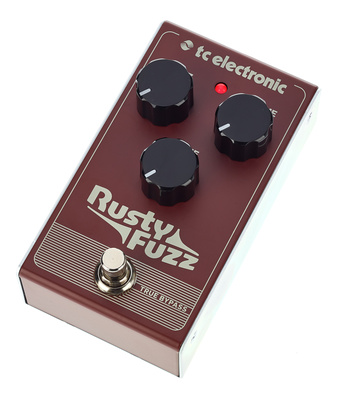


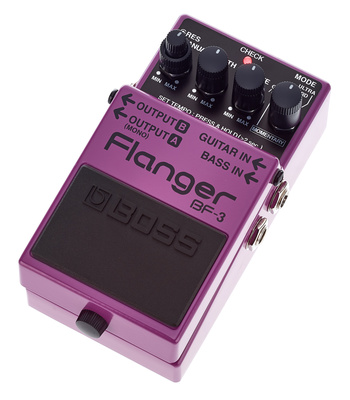

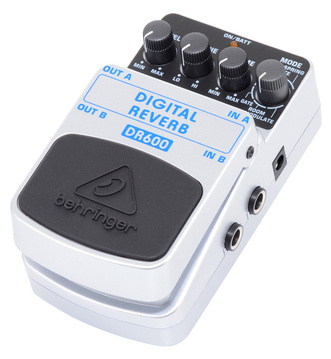
I was gifted the Fuzz pedal from a gentleman who makes his own pedals! Moreover, the Flanger was a recent Christmas gift. Finally, the *Behringer Reverb unit has been with me for years. I love the ‘Room Modulate’ feature blends both reverb and chorus. It sounds magical.
Signal Chain
Onto one of the most complicated elements of building a pedal board. The best way to ensure that your pedal board actually works is to follow a simple rule order:
- Guitar
- Tuner
- Drive / Gain
- Modulation
- Delay / Reverb
- Amp
In my case, I’ve started with the Fuzz in front of the Cerberus, along to the Flanger and concluding with the Reverb. This allows everything to work as it should and voids any harsh interference. Moreover, I can still utilise the tuner on the NUX unit.
One admission I have to make is that the Cerberus facilitates an effects loop, as can my amplifier. However, I have no idea how to make use of the four cable method that is an effects loop. Any help would be welcome!
Conclusion
What would I do differently next time? I’m no expert in building pedal boards, so I have certainly learnt from my mistakes. Firstly, I’d be more cautious with where I lay the Velcro tape to affix the pedals. I should have tested if all of the patch cables reached each pedal before I committed to the locations of the pedals.
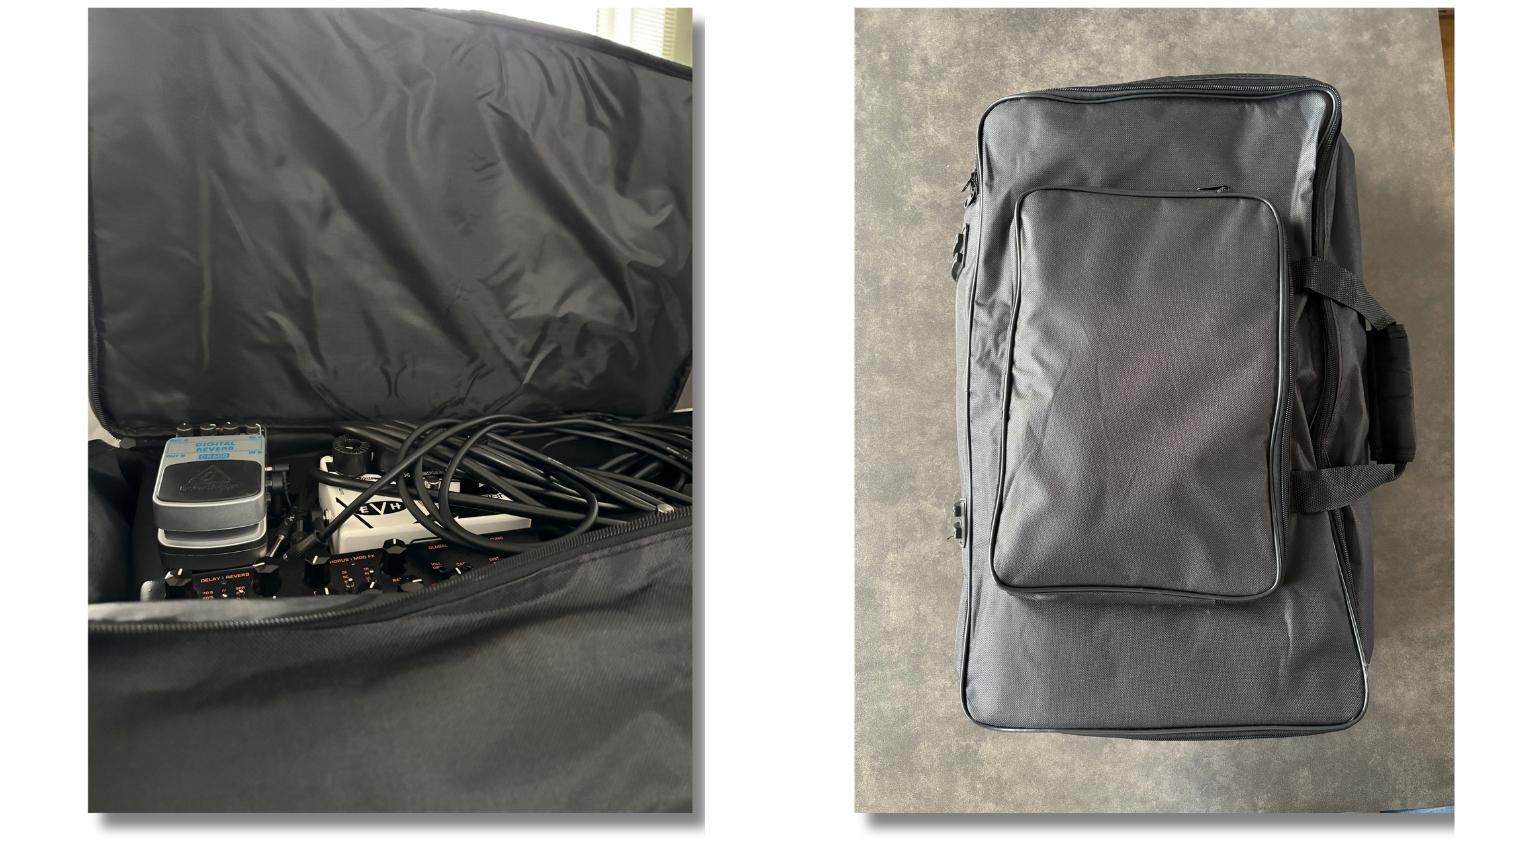
Furthermore, I’d recommend buying some sort of carry case. This allows me to store the pedal board whilst I’m not using it, and it’ll help me take it between band practices and studio sessions. Luckily, I soon purchased one later.
Videos
Further Information:
*This post contains affiliate links and/or widgets. When you buy a product via our affiliate partner, we receive a small commission that helps support what we do. Don’t worry, you pay the same price. Thanks for your support!

This might also interest you
2 responses to “Building My First Pedal Board: Gear, Signals & Surprises”

Just a quick note on effects loops – they are really just like an extra patch point to allow routing external things between multiple components that are housed in one enclosure. Usually, this is found on amps so that guitarists can put modulation (chorus, flanger, tremolo, etc.) or time-based effects (delay and reverb) after the amp’s preamp stage. Many players prefer these type of effects to come after all of the drive stages, including the overdrive from the preamp.
To elaborate excessively…
A guitar amplifier is often though of as a single element in the signal chain, but almost always, it’s really at least two distinct components packaged together – a preamp and a power amp. The preamp takes in the signal and changes it, sometimes barely at all, sometimes dramatically. This depends on the specific amp and how you have the settings configured. One common use of the preamp is to add overdrive/distortion by increasing the input gain. EQ settings also get tweaked here. The power amp has an influence on the sound too, but much less so. Usually, it will only have one direct knob to adjust things – the output volume. It’s main job is to makes the signal louder before passing it on to the speakers in the attached cabinet.
So consider a simple signal chain with one pedal going straight into the input of an amp like this:
Guitar > Reverb Pedal > Amp > Cabinet
Let’s say we set something long and cavernous on the reverb pedal.
If we keep the input gain low on the amp, it will sound like most players would expect – a clean guitar tone that sound like it’s originating from a huge space.
However, if we crank the input gain on the amp to give ourselves some sweet tube overdrive, the trails from the reverb will be dirtied up and compressed, creating more of a wall of sound type of effect rather than a sense of space.
Multiple genres are built around the signal chain above and it can sound amazing, but lets say you just wanted to hear an overdriven guitar tone in a cavern, not create a shoegaze opus. What can you do?
(Multiple thing honestly, but since we’re talking about effect loops here, let’s focus on that…)
Enter the loop!
Using our amp’s effect loop, imagine that we changed the signal chain to this:
Guitar > Amp (Preamp) > Reverb Pedal > Amp (Power Amp) > Cabinet
So now, we’re overdriving the guitar tone before passing it to the reverb pedal, thus the reverb effect itself stays clean and clear, passing straight to the power amp without any further changes.
For a pedal like the Nux Cerberus, the concept is mostly the same, but with some additional nuance.
From what I can tell, the signal chain in the article is like this:
Guitar > Fuzz pedal > Cerberus (Drive/Dist side) > Cerberus (Mod/Delay side) > Flanger pedal > Reverb pedal > Amp (Preamp) > Amp (Power Amp) > Cabinet
A common more traditional signal chain using both the Cerberus’s effect loop and the amp’s effect loop might look something like this:
Guitar > Cerberus (Drive/Dist side) > Fuzz pedal > Amp (Preamp) > Flanger pedal > Cerberus (Mod/Delay side) > Reverb pedal > Amp (Power Amp) > Cabinet
Why that?
1.) Drive effects are usually recommended to go in order from lowest gain (drive/dist) to highest gain (fuzz).
2.) All drive drive stages (including the preamp) are usually recommended to go before the modulation and time-based effects.
3.) Modulation effects (flanger, Cerberus mod) are usually recommended to go before time-based effects (Cerberus delay, reverb).
I personally would start by trying the traditional setup, but with the flanger pedal after the drive/dist and before the fuzz deal. The Cerebrus mod side probably already has a flanger, so there’s room for flexibility and a modulated tone going into fuzz can sound amazing.
Two last conflicting thoughts…. All of these rules are made to be broken. There is no one “right” way and everyone’s own unique mix of different playing styles, different gear, different genres, etc. will lend itself better to different setups. Conversely, some gear has specific hard requirements or limitations that must be accommodated, for example many vintage fuzzes must go first in the chain due to weird impedance standards and some amp effects loops put out a super hot signal that can be too much for some pedals.
I use pedalgalaxy.com to plan out my builds. Very helpful for visualizing before actually putting it all together