Understanding and Reducing Noise Floor for Recording and Live Sound
 4,8 / 5,0 |
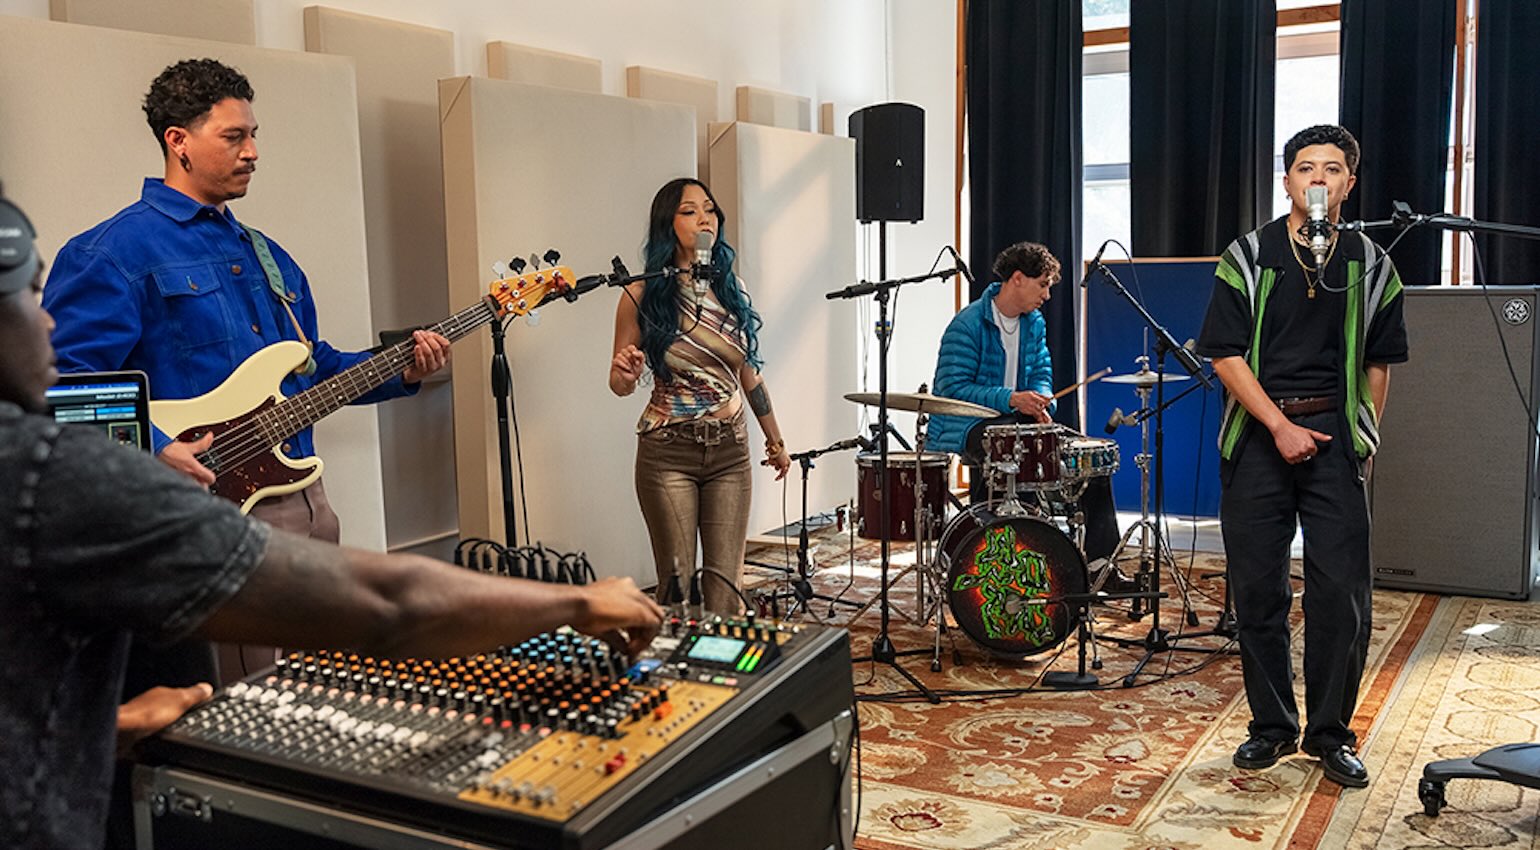

Noise is a problem in all walks of audio life, from studios to line arrays. We’re looking at noise floor and ways to keep it under control.
In this Article:
Understanding and Reducing Noise Floor
Ever turned a PA system, a guitar amp, or studio monitors up without any signal present and wondered about the almost atmospheric hissing sound that emerges from the speakers? This ever-present sound layer consists of electrical hum, hiss, and interference, and is called the noise floor because it is the lowest extremity of the dynamic range.
This means that the noise floor is the quietest level possible in any audio system. As the noise level increases, the dynamic range, headroom, and overall clarity are reduced, which makes it essential to keep the signal-to-noise ratio as high as possible. While digital audio environments like DAWs have a negligible noise factor, there are many sources of potential noise and interference that come into play when we combine a range of different analogue and digital devices in studio or live sound environments.
Through an understanding of the origin points of system noise and taking methodical steps and precautions when connecting various equipment, we can optimize signal paths and dramatically improve the quality of our recordings and sound reinforcement, adding depth, weight, and detail.
Understanding and Reducing Noise Floor: What Is Noise Floor?
The noise floor in any audio system is the level of undesired sound that is aparent even when there are no signals being transmitted intentionally. To measure this, we generally use decibels (dB), the relation to full-scale digital (dBFS), or voltage reference (dBU/dBV).
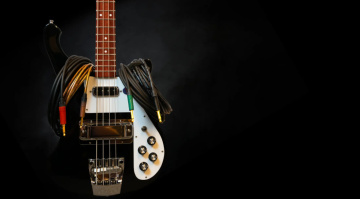
When we use gear with analogue circuitry, components such as transistors, op-amps, cables, and resistors can contribute to the noise floor by adding small amounts of electrical or thermal noise. You’ll notice that when you boost up the gain of an analogue mic preamp or mixer channel, even relatively high-end gear designs can emit a hiss.
Alternatively, in the digital world, noise floor is determined by the bit depth that any analogue signal has been converted to. Theoritcally, this means that a format like CD audio (16-bit 44.1 kHz) has an approximate noise floor of -96 dBFS. Meanwhile, in a 24-bit DAW envirionment, this goes down to about -144 dBFS, which is pretty much inaudible.
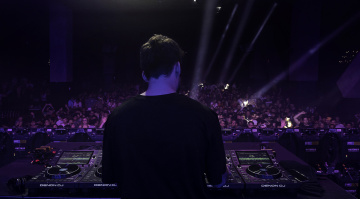
Whether we are recording, doing FOH, or stage monitor mixes, we need to ensure that the signal-to-noise ratio (SNR) is as high as possible within the boundaries of our acoustic environment and the equipment being used. The signal-to-noise ratio means difference between the optimal signal level and the noise floor. So higher means more clarity and definition.
Understanding and Reducing Noise Floor: Common Sources of Noise
Noise can intrude on any signal path in various ways, and hunting down the cause is part of the troubleshooting process. Some of the most common noise types are:
- Ground Hum: Often occurs as a 50 or 60 Hz buzz as a result of ground loops from pieces of gear with differing ground potentials. (For more info, read this article about Power Distribution)
- Thermal Noise: Created by resistors and other circuit components through the random motion of electrons. We can reduce this by gain staging correctly and using gear designed with discrete Class-A circuitry.
- Electromagnetic Interference (EMI): Unbalanced or badly shielded cables are vulnerable to interference leaked from RF radio frequency signals, lighting dimmers, and power cables.
- Power Supply Noise: Using cheap adapters or switching power supplies can often produce audible clicks or high-frequency hums.
- Digital Clocking Noise: Sync issues or jitter between different devices in a digital signal path can cause distortion or noise.
- Mechanical Noise: The noise from machinery that uses cooling fans, or magnetic hard drives (not SSD) can be picked up on closeby mics.
Every I/O point, gain stage, or power connection has the potential to increase the noise floor, but we can minimize this with careful gear setups, optimized gain staging, and clean signal paths.
Understanding and Reducing Noise Floor: Measuring and Identifying Noise Floor
Before we go about minimizing any noise within an audio system, we need to know how to find and measure it. To do a basic noise analysis, we need to compare the existing noise level with the nominal operating level of the gear being used.
- We can do this by recording the silent signal into a DAW and using a professional metering plugin or spectrum analyzer to get a reading of the noise.
- A piece of analogue equipment can be checked with an oscilloscope or VU meter. We just need to set the faders/knobs to unity gain, disconnect all the inputs, and keep an eye on the noise levels.
- The behaviour of the noise signal can lead us to the problem. A consistent hiss is often a result of self-noise from a preamp or component, while cyclical hum is usually power or grounding-related.
- By switching off adjacent lights, computers, or other devices and monitoring any changes in the noise level, we can also find external noise sources.
In recording studios, the desired noise floor is generally anything below -80 dB. However, with high-end preamps and audio interfaces, we can easily reach -100 dBu and below. Meanwhile, a noise floor below -70 dBu is usually OK in live sound environments.
Understanding and Reducing Noise Floor: Gain Staging and Signal Integrity
Unless you have the ability and the necessary tools to modify a piece of equipment on the spot, gain staging or optimizing signal levels is the most effective method for reducing noise.
- Start with the source: Make sure that the mics, instruments, and DI boxes are putting out clean, strong signals. Because weaker signals require you to push the gain, this also boosts noise.
- Optimize your preamp gain: Add sufficient gain to produce a strong signal without clipping, and keep the trim controls and faders near unity to maximize headroom.
- Use balanced cables and connectors where possible: TRS and XLR cables make use of differential signal termination, which cancels out any noise running along the cable. This means unbalanced TS or RCA cables are a no-no for long cable runs.
- Use short cable runs: Longer cables result in more resistance, which means more risk of noise. Always keep power and audio cables and only cross them at 90-degree angles if you have to.
- Don’t overprocess your signals: Overcompression or using too many EQ boosts can increase the noise floor, particularly when using analogue gear. Try using subtractive EQ where you can.
- Stay aware of your power distribution layout: Use clean power lines and filtered power conditioners to run your gear on the same circuit. Learn more about Power Distribution
It all adds up: With each precautionary step, you collectively lower the noise floor and maximize your dynamic range.
Understanding and Reducing Noise Floor: Advanced Noise Control Techniques
We can manage noise levels in recording studios and live sound environments with a range of techniques:
Grounding and Isolation
- Avoid ground loops with star grounding: Minimize potential differences by connecting all grounds to a single point.
- Use isolation transformers between FOH and stage: This adds galvanic separation for improved signal integrity.
- Ground lifting: only use on DI boxes or audio isolation devices and not ever on mains earth connections.
Power and Shielding
- For balanced power in pro studios: Divide 230V into ±115V branches around the ground, as this cancels noise and hum.
- Use shielded cables and ferrite chokes to decrease EMI and RF from lighting fixtures or adjascent transmitters.
- Use separate power for lighting and audio: This prevents dimmer and motor noise leaking into your audio signals.
Digital and Software Noise Reduction
- Dithering: During the bit-depth reduction process, dithering introduces a low-level layer of noise that smooths digital quantization distortion.
- Expanders and Noise Gates: Cuts channels as the signal goes below a defined threshold, which is useful for vocals, drums, and stage mics.
- Spectral Processing: Software such as iZotope RX or Steinberg Spectralayers can isolate and remove noise while preserving signal integrity.


Component and Environment Upgrades
- Use low-noise preamps and converters with EIN (Equivalent Input Noise) ratings below -125 dBu
- Keep equipment shielded with metal rack casings and use grounded panels to decrease interference.
- Reduce acoustic noise in your space by using studio-friendly fans and AC, isolating computer hardware, and using acoustic treatment as well as soundproofing.
| Device/System | Typical Noise Floor | Details |
|---|---|---|
| 16-bit Digital | -96 dBFS | CD Audio Quality (44.1 kHz) |
| 24-bit Digital | -144 dBFS (theoretical) | between -110 and -120 dBFS in practice |
| Mid-level Analogue Mixer | between -75 and -85 dBu | Design and era dependent |
| High-end Mic Preamp | -125 dBu EIN | Pro Studio Standard |
| PA System (FOH) | between -65 and -75 dBu | Abundant environmental noise |
| Consumer Audio Device | between -60 and -70 dBu | Useful for playback only |
More about the Understanding and Reducing Noise Floor:
*Note: This article contains affiliate links that help us fund our site. Don’t worry: the price for you always stays the same! If you buy something through these links, we will receive a small commission. Thank you for your support!

This might also interest you